Bathroom
Which tiles should you choose for a bathroom?
Floor, walls, shower area: the criteria to consider when balancing your wishes, your needs and the everyday use of the room.
Bathrooms
Shower, bath, vanity unit and floor: we tile the whole room on substrates suited to moisture, with waterproofing wherever water splashes and finishes that stay neat over the years.
At a glance
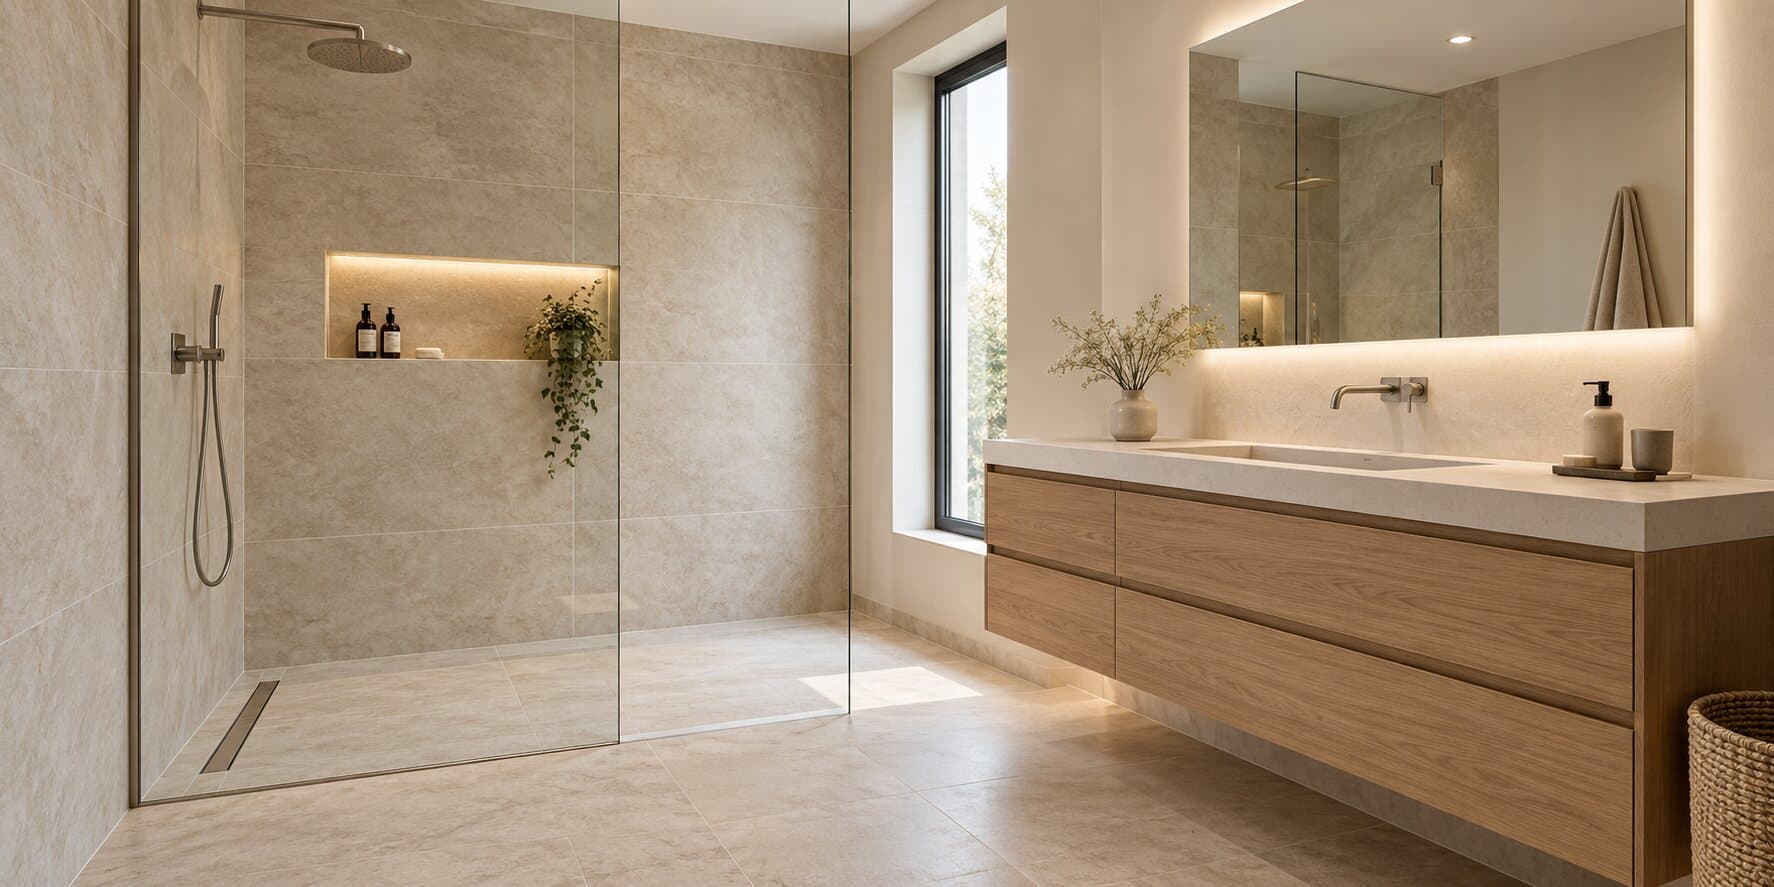
Tiling a bathroom means covering the floor and walls of a room exposed to water and steam every day. It calls for substrates that tolerate moisture, a waterproofing layer under the tiles wherever water splashes, tiles suited to each surface, then grout and flexible sealant joints that close off the corners and junctions.
We work on the whole room, in renovations and new builds, in Paris, Évreux and the surrounding areas: shower walls and bath surrounds, floor, bath panel, boxing, niches and the vanity wall. When the project includes a walk-in shower, its falls and drainage are covered on a dedicated page.
Materials
The floor, the walls and the shower area face different demands: we choose each material for the surface it will cover.
Barely porous and unaffected by everyday cleaning products, porcelain is the standard floor covering for bathrooms. We favour a matt or lightly textured finish whose slip resistance is stated on the data sheet.
A porous body under a glaze: light, easy to cut and available in many designs, these tiles suit every wall in the room, including in the shower when laid over a waterproofing layer. They are for walls only.
Using the same tile on the floor and walls makes the room feel seamless. Heavier and harder than ceramic wall tiles, porcelain needs a suitable adhesive, a substrate able to carry it and more precise cuts around water outlets and sockets.
Its small pieces follow every contour: ideal for a niche, a feature wall or a shower floor. Translucent glass mosaic is laid with white adhesive so its colour stays even.
Moisture-resistant plasterboard for partitions and wall linings, and coated extruded polystyrene boards, ready to tile, for bath panels, boxing and niches. These boards are light, stable and unaffected by water.
Cement grout suits most surfaces. In the shower, denser epoxy grout stands up better to water, stains and mould. Corners and junctions with the bath or vanity unit receive a sanitary silicone sealant that stays flexible.
Our method
In a bathroom, the order of the work matters as much as the quality of each step.
We examine the walls (plaster, plasterboard, old tiles), the floor, the ventilation and the clearance under the door, and locate the water supplies and wastes. Pipework must be in place and checked before the walls are closed in.
Removing old coverings where needed, replacing standard plasterboard in wet areas, levelling the floor and applying primer. The base of the partitions is protected from floor moisture.
In the shower and around the bath, we apply the waterproofing system, usually in two coats, with sealing tapes in the corners and collars around every pipe, observing the manufacturer’s drying times.
We line up the wall joints with the floor joints, set a row of full tiles along the bath rim and push the cuts into the least visible corners. The top edge of the tiling, the taps and the niches all sit on grout lines.
The bath panel is built from tile-ready boards with an access hatch. Pipe boxing and the frame of a wall-hung toilet are closed in the same way, and niche shelves get a slight fall towards the shower so water does not sit.
On the walls we start from a batten fixed above the first row, which goes in last, resting on the floor tiles. In wet areas the adhesive covers the whole back of each tile, leaving no voids where water could collect.
Cement or epoxy grout depending on the area, then silicone in the corners and against the bath and vanity unit. We tell you when the room can be used: good ventilation helps the joints cure, then keeps mould at bay day to day.
Send us a few photos and the dimensions of the room: we will come and check the substrates and give you a free, detailed quote.
Tools
Accurate levels, clean cuts and tidy finishes: the equipment behind a successful bathroom.
Good practice
A bathroom draws on several reference documents: those for tiling, for substrates and for waterproofing products.
Your questions
No. Porcelain absorbs very little water, but cement grout is porous and water eventually reaches the substrate. In splash zones, around the shower and the bath, it is the waterproofing layer applied under the tiles that protects the walls and floor. The tiles and grout are the finish on top of it.
Not everywhere. In the shower, the tiling goes at least above the shower head, and often up to the ceiling for a cleaner look. Elsewhere, partial height is enough, for example above the bath or behind the vanity unit, with paint suited to wet rooms above and a trim along the top edge of the tiles.
Yes, provided the boards are moisture-resistant (usually recognisable by their green face) and fixed to a stiff enough frame. In splash zones they also receive waterproofing under the tiles, and the base of the partitions is protected from floor moisture. Standard plasterboard already in place in a shower generally needs replacing.
Check the data sheet: the R rating (R9 to R13) measures grip with shoes on, while classes A, B and C measure grip barefoot on a wet floor, which is more relevant in a bathroom. A matt or lightly textured finish, or a smaller tile with more grout lines, also helps. For a shower floor, class B is a good benchmark.
We build the bath panel from a stable, water-resistant material and fit an access hatch, tiled in the same design so it stays discreet. It lifts out to reach the trap and waste, or in case of a leak. The bath is set and wedged before the panel, and filled with water when the silicone goes on, so the joint does not tear under the weight.
Often, yes. Darkened cement grout can be raked out to part of its depth and replaced, and silicone joints are renewed once the old sealant has been fully removed and the surface cleaned. First we check that no tiles sound hollow and that the wall behind is in good condition: if water has already got under the tiles, new grout will not be enough.
Our other services

 AI-edited image
Bathroom
Floor, walls, shower area: the criteria to consider when balancing your wishes, your needs and the everyday use of the room.
Finishes & details
Tone on tone or subtle contrast: explore the combinations that bring out the best in your tiles and their lines.
Choosing your tiles
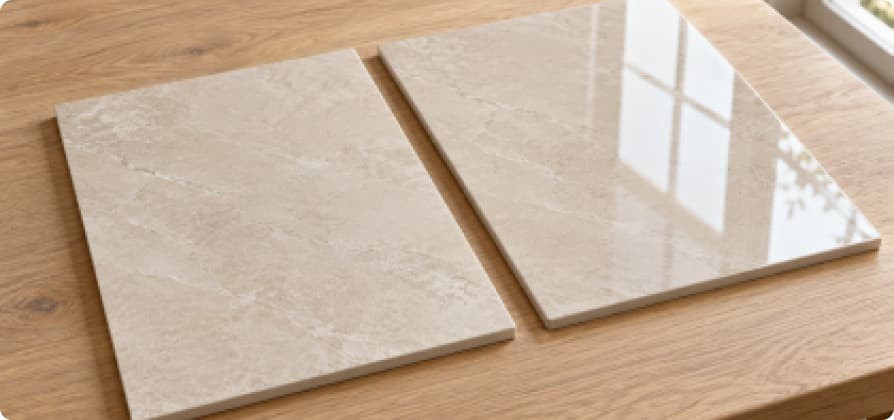
Light, look and maintenance: discover the differences between these finishes to choose the one that suits your room.