Bathroom
Bathroom mosaic tiles: materials, uses and laying them in the shower
Mosaic is the ideal covering for a walk-in shower floor, niches and curved surfaces, because its small tiles follow falls and contours. In return, it needs a very flat substrate, a suitable adhesive (white for glass) and, in the shower, a low-absorption grout such as epoxy.
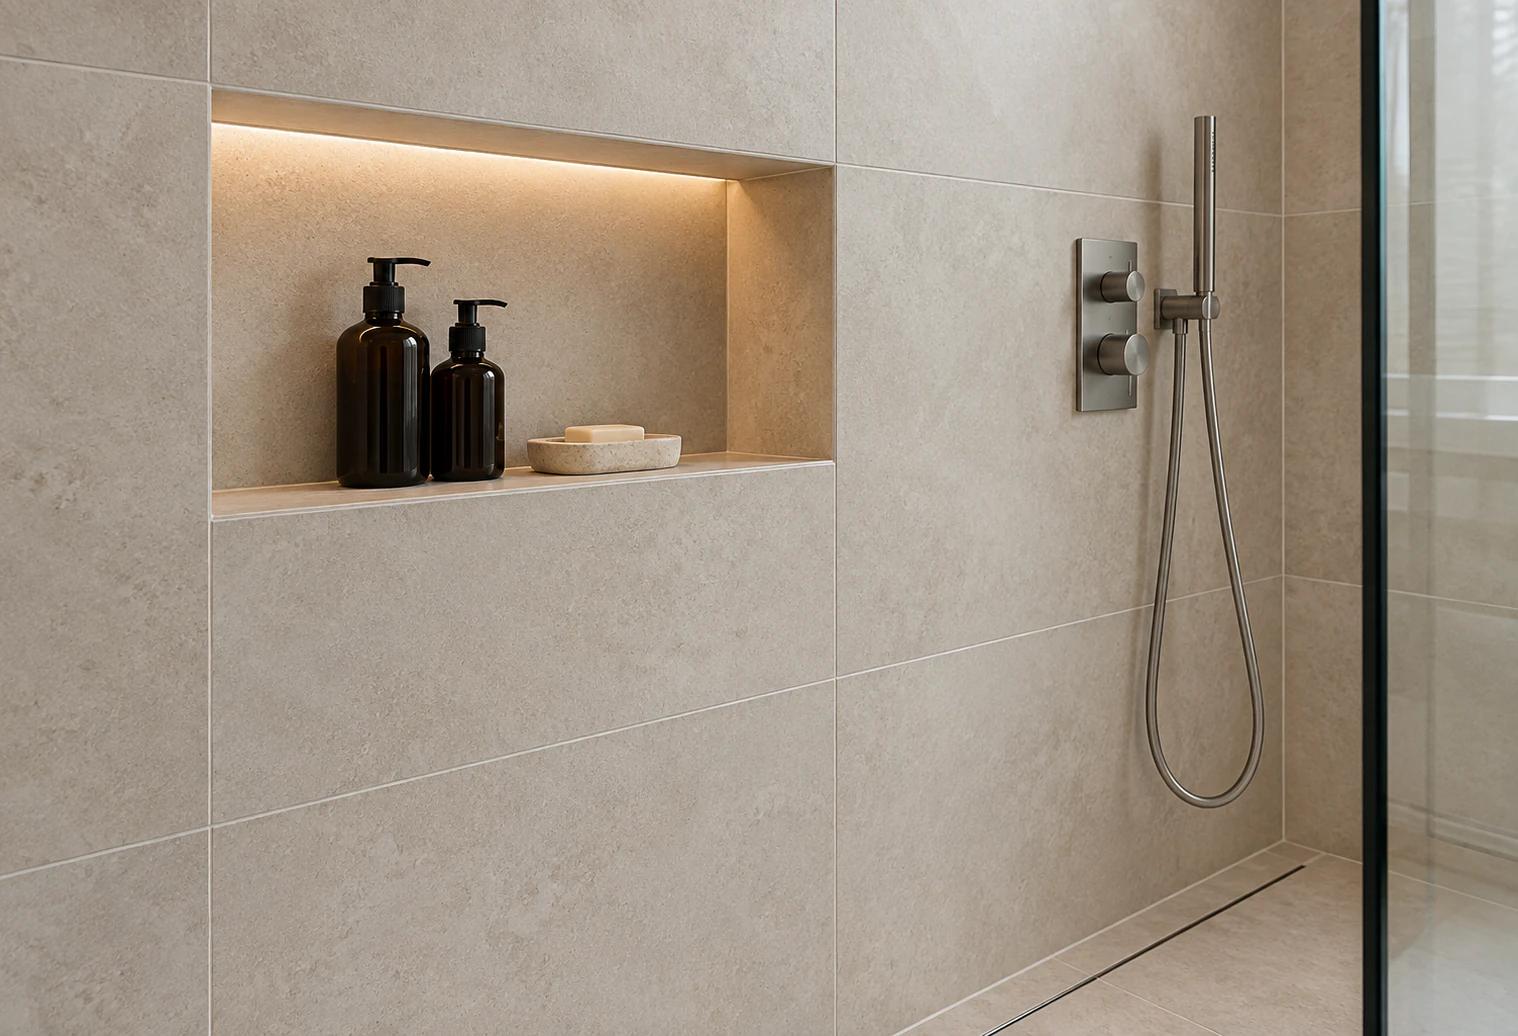
Mosaic is made of small tiles a few centimetres across, called tesserae, usually supplied mounted in sheets. In a bathroom it adds decoration, but above all a flexibility that no large tile offers: it follows a floor that falls in several directions, the back of a niche or a curved wall.
Its many joints give grip underfoot, but every flaw in the substrate, the adhesive or the alignment shows.
Glass, porcelain, stone or metal: mosaic materials
The material decides the look, but also where the mosaic can go and the precautions it needs.
| Material | Look | Where to use it | Points to watch |
|---|---|---|---|
| Glass | Glossy, translucent, bright or iridescent colours | Walls, niches, basin splashbacks; on floors only in a version made for floors | White adhesive, slippery when wet, can scratch |
| Porcelain | Matt or glazed, plain, stone-effect or cement-effect | Shower floors, walls, all wet areas | Check the barefoot slip rating for a shower floor |
| Natural stone | Marble, travertine or slate, natural variations | Walls, niches, shower floors with care | Porous, needs sealing, sensitive to acidic products |
| Metal | Stainless steel, aluminium or brass, reflections | Decorative touches away from direct spray | Scratches, gentle cleaning, use set by the data sheet |
For a shower floor, porcelain remains our most frequent choice: it absorbs very little water and comes in slip-resistant finishes. Glass and metal are better suited to walls.
Mesh-backed or paper-faced sheets: two ways of supplying mosaic
Most mosaics are sold in sheets, often around 30 × 30 cm, which are laid like one large tile. There are two kinds of mounting:
- mesh-backed: a net bonded to the back of the tesserae and bedded into the adhesive. It is the most common mounting, easy to handle and to cut;
- paper-faced or film-faced: the sheet is stuck to the visible face, so the back of the tesserae is bare and sits fully in the adhesive. The paper is dampened and peeled off after the initial set, which leaves a short window to adjust a stray tessera.
In a shower, we check on the data sheet that the chosen mounting is suitable for wet areas: the glue that holds the tesserae to the mesh slightly reduces their contact with the tile adhesive.
Where mosaic works best in a bathroom
- The floor of a walk-in shower with a central drain: the sloped bed falls from several sides, and the small tesserae follow these planes without the envelope cuts a larger tile would need.
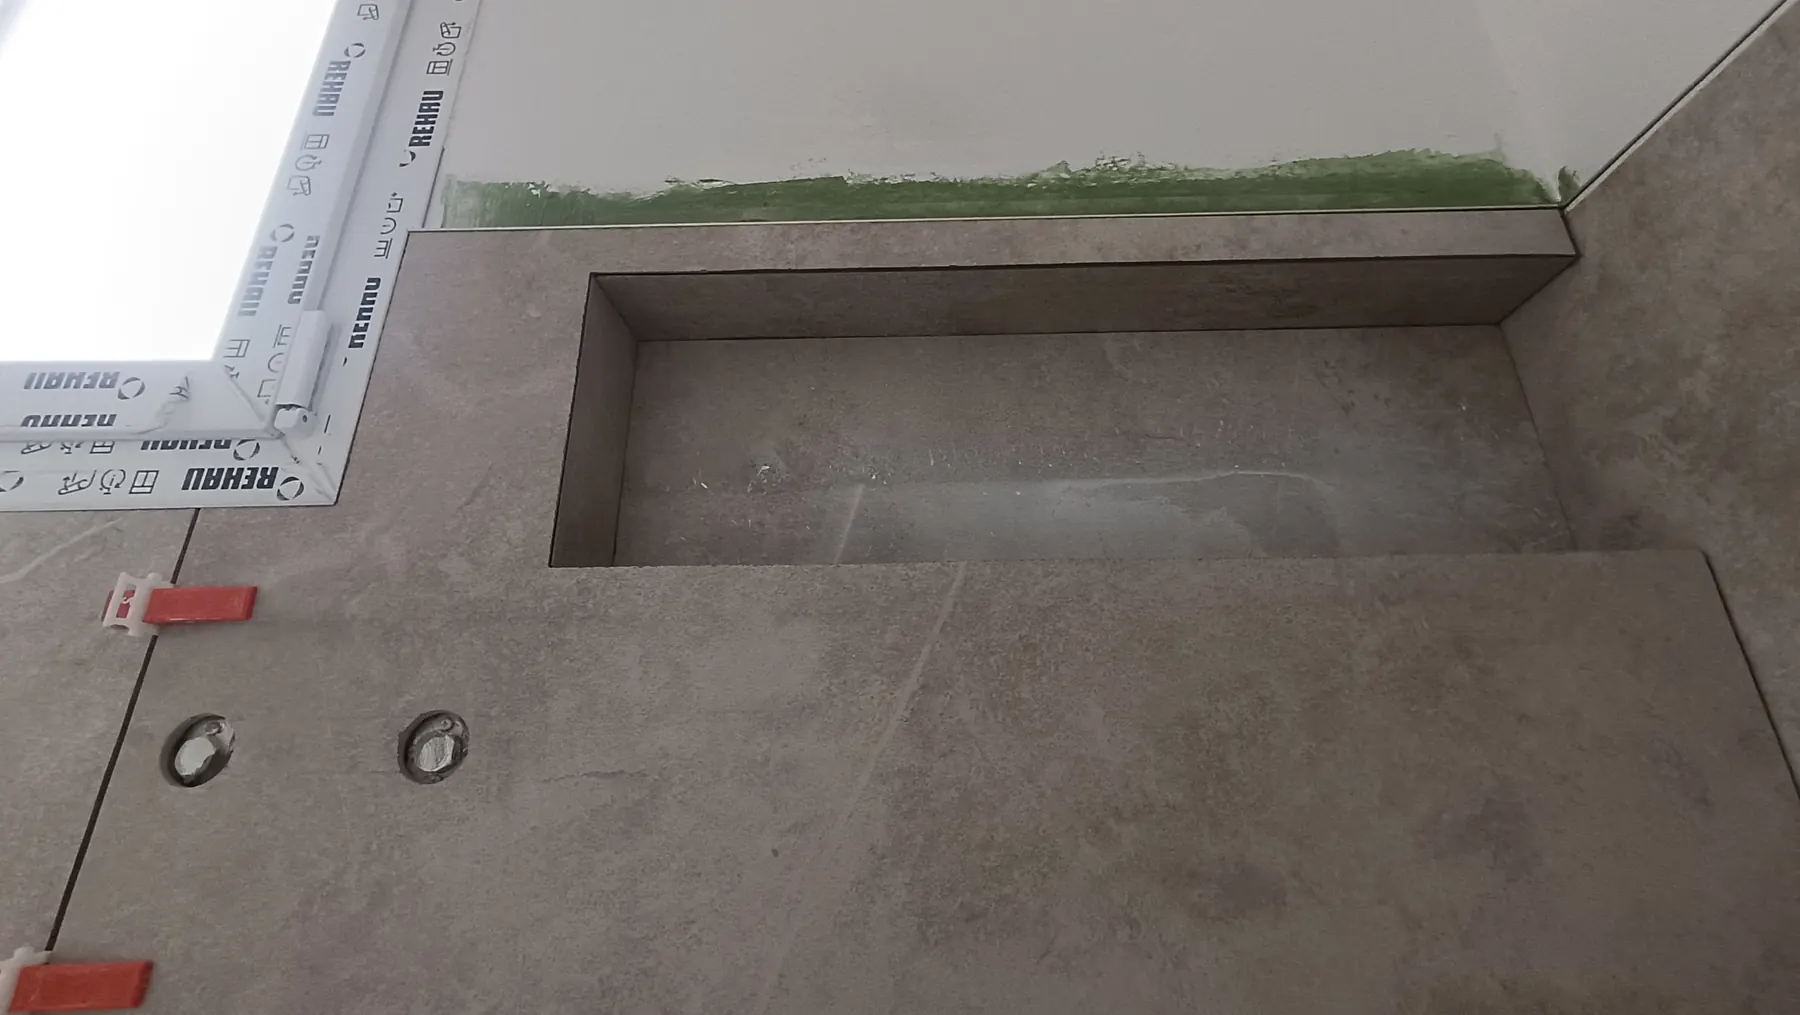
- Niches: the back and returns of a niche can be tiled neatly in mosaic, without slivers of cut tile.
- A feature wall, behind the basin or at the back of the shower.
- Curved surfaces: a rounded bath panel, a curved partition, a column or a low wall with softened corners.
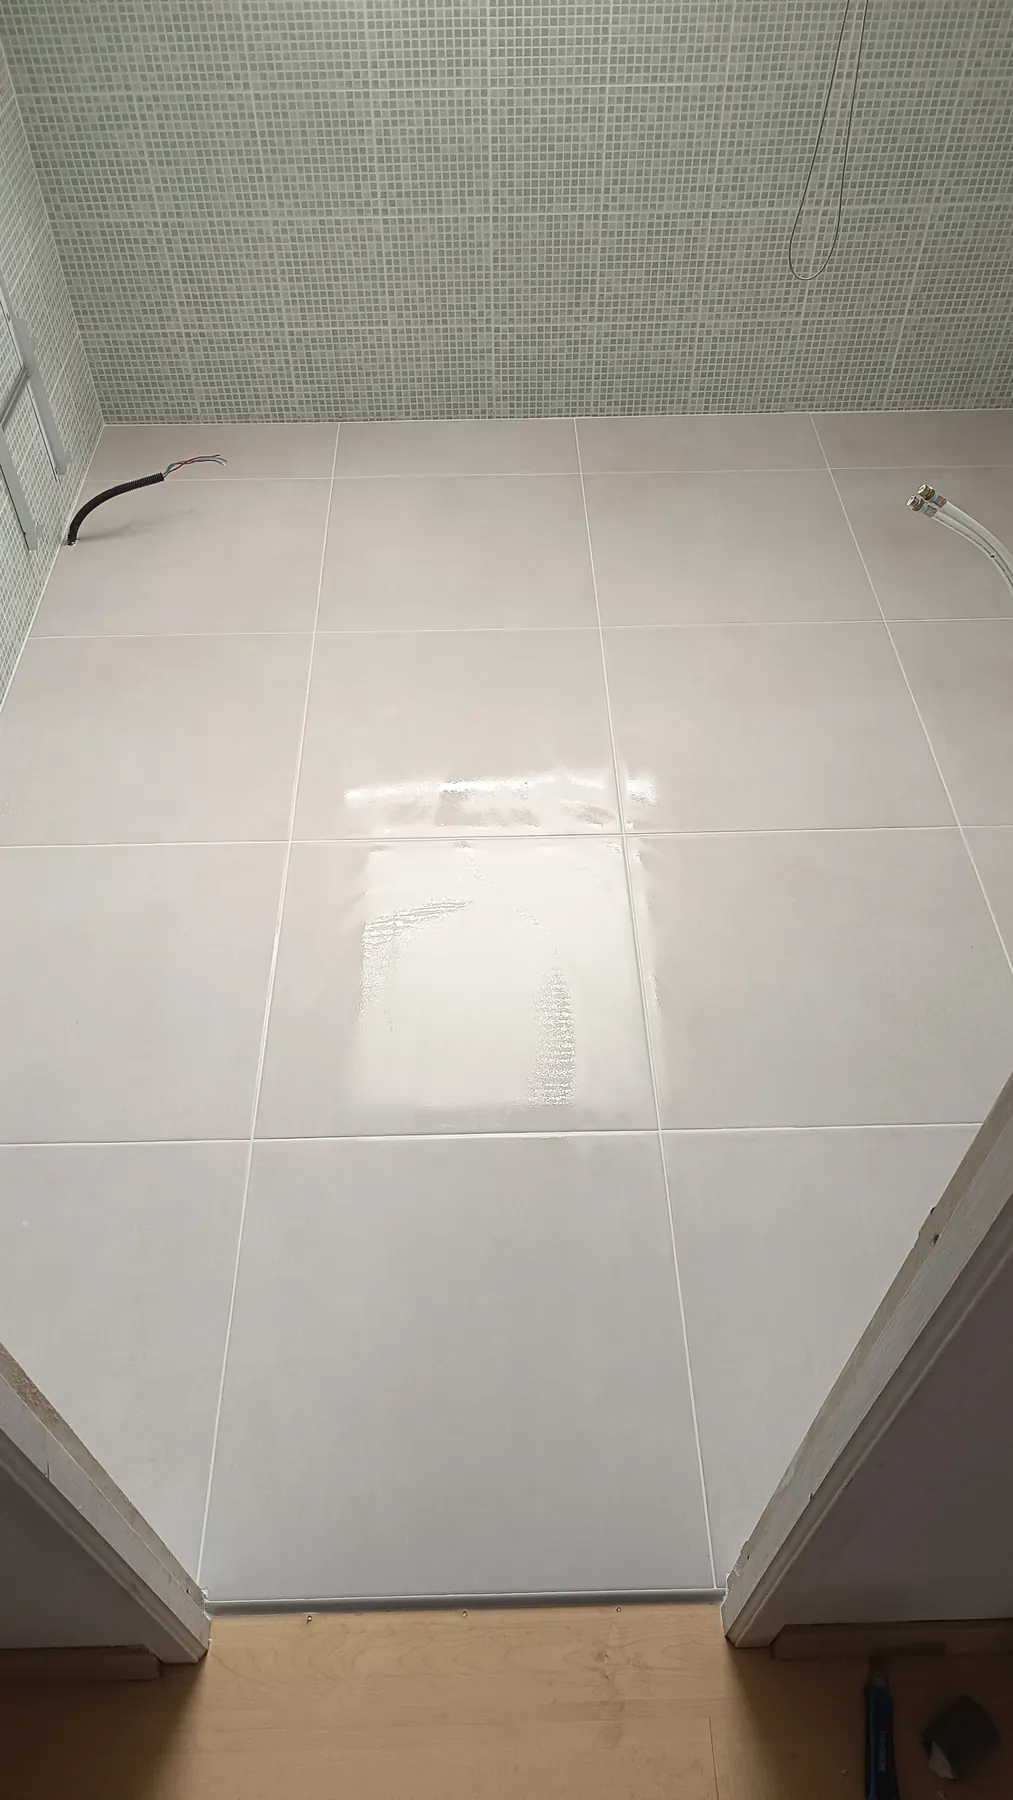
Even so, we often keep it to one area: across a whole bathroom floor, it multiplies the joints to look after. The most common combination in our walk-in showers pairs a mosaic shower floor with larger tiles around it.
Beneath the mosaic: flatness, falls and waterproofing
Mosaic hides nothing: each tessera faithfully follows the substrate, so a dip or a bump shows as soon as light falls across it. Before laying, we correct the flatness of walls with a suitable render or filler and of floors with a levelling compound. In a shower, the fall must be even, with no hollow where water could pool.
Neither the tesserae nor the grout are waterproof. On the floor and on the walls exposed to spray, the mosaic goes over a waterproofing layer, the SPEC (the French liquid-applied system for homes), connected to the drain and reinforced in the corners: we explain these steps in our article on waterproofing under tiles.
Laying: adhesive, bedding in and invisible joints between sheets
Every step matters:
- the adhesive: a tile adhesive suited to the substrate and the room, white for glass and pale stone, since grey adhesive darkens translucent glass. It is spread with a fine-notched trowel, then evened out so the ridges do not show through the glass;
- small areas at a time: a sheet laid on adhesive that has already skinned over will not bond;
- bedding in: each sheet is pressed with a rubber float so that every tessera is fully embedded and sits at the same height;
- alignment: the gap between two sheets must match the gap between the tesserae within a sheet. We check the lines with a straightedge and adjust while the adhesive allows, otherwise the outline of each sheet draws a grid;
- clearing the joints: adhesive squeezed up between the tesserae is removed straight away, so the grout fills the full depth and keeps an even colour;
- cuts: around the mixer, pipes or drain, tesserae are taken off the mesh and trimmed one by one with nippers or a wet saw for a clean edge.
Which grout for a shower mosaic?
With tesserae a few centimetres across, joints make up a large share of the surface, so the grout matters as much for the look as for maintenance. In a shower we prefer epoxy grout, which does not absorb water and resists stains and mould. It has to be worked quickly and the excess removed carefully, especially on glass, where the slightest film stays visible.
Away from spray zones, an improved cement grout with reduced water absorption works very well. The differences between these products are covered in our article on regrouting tiles. Corners and junctions with the shower tray or bath take a flexible sealant instead.
As for colour, grout close to the shade of the tesserae unifies the surface, while a contrasting grout brings out the pattern and reveals the slightest misalignment: our guidance is gathered in our article on grout colour.
Combining mosaic with large-format tiles
Mosaic on the shower floor or in the niche, large tiles on the walls and the rest of the floor: the combination is well balanced, with mosaic bringing grip and flexibility where needed and large formats keeping joints to a minimum elsewhere. It is planned at the layout stage:
- thickness: mosaic is often thinner than the neighbouring tiles, and the difference is made up with the adhesive bed or the substrate so the surfaces meet flush;
- the boundary: the transition follows a clean line, the edge of the shower, the frame of the niche or a joint in the large tiles, and the lines of the mosaic align with those joints;
- finishing: the edges of a niche are finished with a mitred cut or an edge trim chosen to match the tiles.
These junctions are part of every bathroom renovation we carry out, in the Eure as well as in Paris and Île-de-France.
Looking after a bathroom mosaic
Well-grouted mosaic is cleaned like any other tiled surface: a mild, pH-neutral product, a squeegee after each shower and good ventilation so the joints can dry. Avoid abrasive pads on glass and metal, and acidic products on natural stone as well as on cement grout. Stone mosaic is sealed after laying, and the treatment is renewed depending on use and the product.
Frequently asked questions
Can glass mosaic be used on a shower floor?
Only if the manufacturer declares it suitable for floors. Many glass mosaics are designed for walls: smooth and glossy, they become slippery when wet and can scratch underfoot. For a shower floor we would rather recommend a porcelain mosaic with a suitable barefoot slip rating, and keep glass for the walls, the niche or a feature panel.
Why can the outline of mosaic sheets sometimes be seen?
Because the gap between two sheets was not set to match the gap between the tesserae within a sheet, or the sheets were not aligned while the adhesive still allowed it. The fault shows mostly at an angle and with a contrasting grout. Careful laying checks the lines at every sheet, adjusts the gaps and beds each sheet in so that the surface reads as one.
Is mosaic with so many joints hard to keep clean?
Not if the grout is well chosen. In a shower, epoxy grout absorbs neither water nor dirt, and regular gentle cleaning is enough. With standard cement grout in a very wet area, the many joints stain faster and need more attention. Good ventilation remains the best way to prevent mould, whatever the grout.
Does laying mosaic take longer than standard tiling?
Yes. For the same area, mosaic needs a more carefully prepared substrate, alignment checked sheet by sheet, more cuts around fittings and longer grouting, since there are far more joints. That is why we often keep it for the areas where it brings a real advantage, such as the shower floor or a niche, alongside larger tiles.