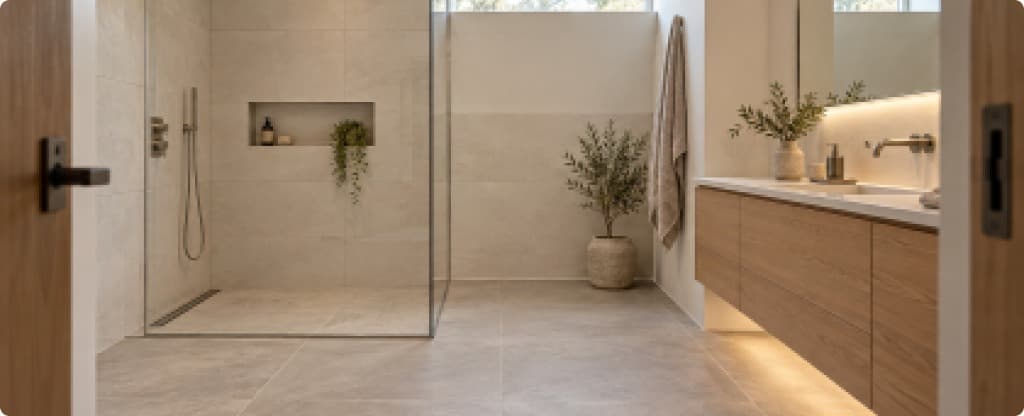
Bathroom
Which tiles should you choose for a bathroom?
Floor, walls, shower area: the criteria to consider when balancing your wishes, your needs and the everyday use of the room.
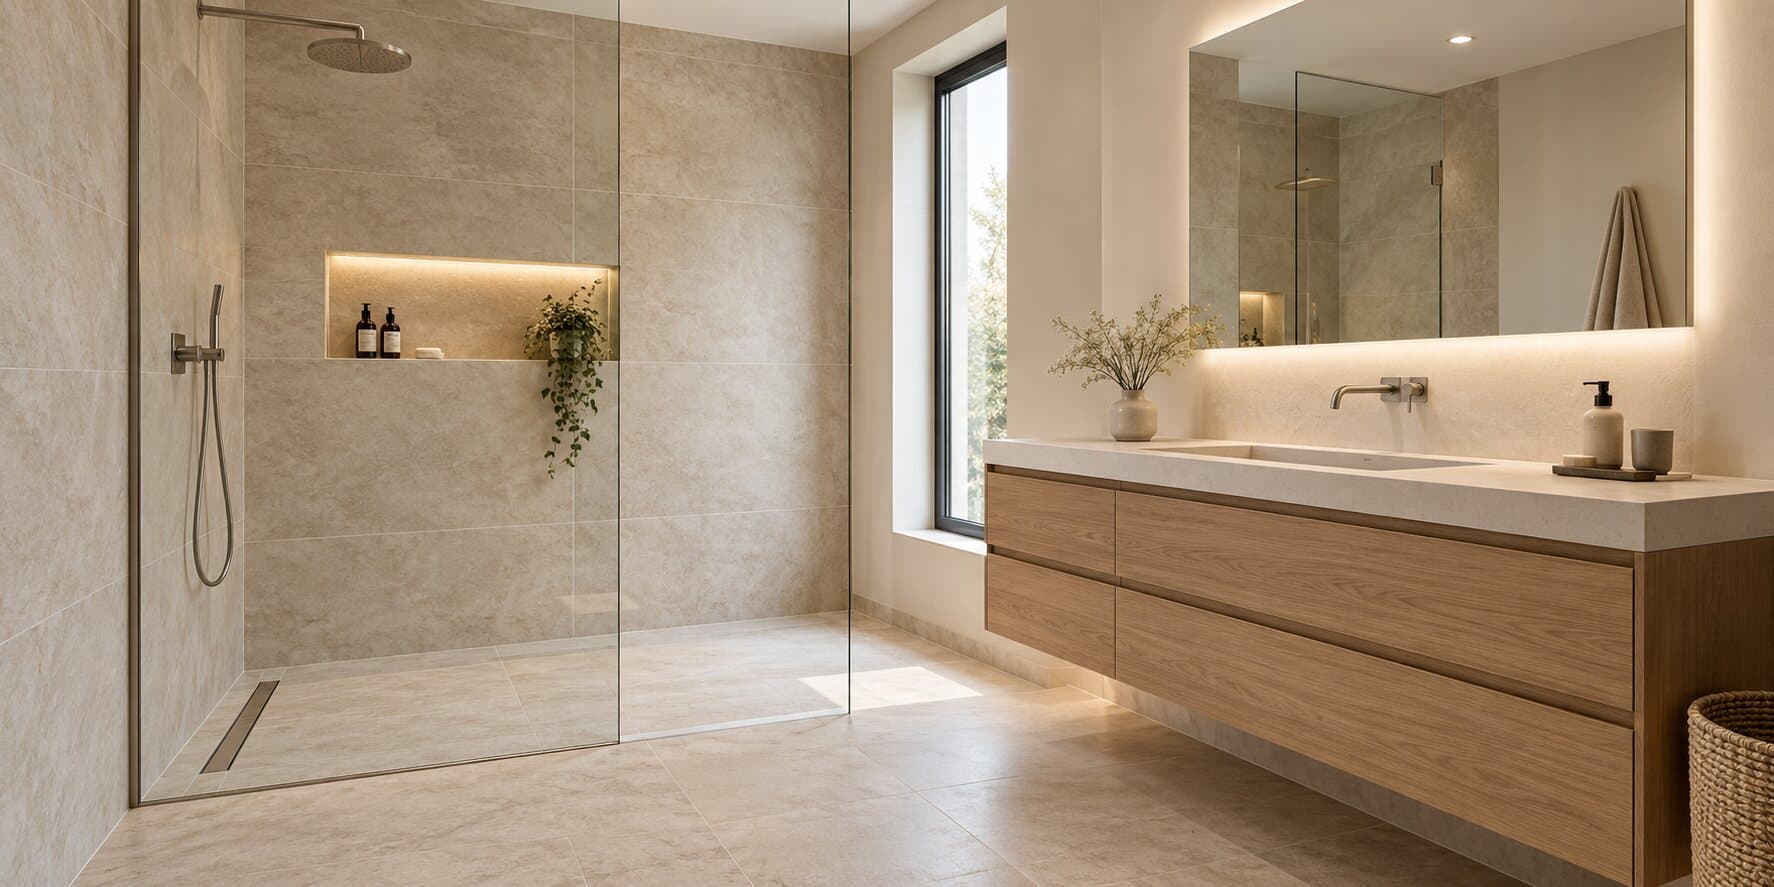
Level-access shower
A continuous floor with no step and no visible tray: a successful walk-in shower depends on the right fall, a well-chosen drain and unbroken waterproofing under the tiles. We settle these three points before the first tile goes down.
At a glance
A walk-in shower (douche à l’italienne) is a level-access shower with no raised tray: its tiled floor continues the bathroom floor and slopes gently towards a recessed drain, either a point drain or a linear channel. Under the tiles, a waterproofing system keeps everything watertight, because neither tiles nor grout are waterproof.
We build the shower itself, from the sloped base to the grout, in new builds and as a replacement for a bath, in Paris, Évreux and the surrounding areas. Every project starts with a feasibility check: the depth available under the floor, the type of floor structure and the route of the waste pipe.
Materials
A level-access shower is an assembly: each part is chosen with the others in mind, and with the floor that carries it.
A prefabricated board, usually coated extruded polystyrene, with the fall and the drain position built in. Light and accurate, it is bonded to a flat substrate and works well on timber floors and wherever depth is limited.
A sand and cement screed shaped on site towards the drain. It adapts to any shower size or shape, but it is heavy, thicker and must dry before the waterproofing goes on.
A single outlet, central or offset, with the floor sloping towards it from several sides. Low-profile models reduce the depth needed, but these multiple slopes call for diagonal cuts or small tiles.
A long, narrow drain set against a wall or across the shower entrance. The floor then forms a single sloping plane, which allows large tiles without diagonal cuts. The cover can be stainless steel or tiled to match the floor.
A liquid applied in coats or a sheet membrane, completed by corner tapes, pipe collars and a flange bonded to the drain. All the parts come from the same system so they remain compatible.
Mosaic and small tiles follow multi-directional slopes and grip well thanks to their many joints. Porcelain needs suitable barefoot slip resistance, and a large format is only an option with a single-plane fall.
Our method
In a walk-in shower, a mistake cannot be put right once the tiles are down: everything is decided beforehand.
We measure the depth available between the structural floor and the finished floor level, locate the soil stack and note how far away it is, and identify the floor: concrete slab, screed or timber. In a block of flats we also check what the co-ownership rules allow.
Tileable tray or mortar fall, point drain or channel, drain position and slope direction: we decide together based on the available depth, the tile size you want and the side from which you step into the shower.
Depending on the case, we cut into the existing screed to recess the shower or raise the bathroom floor. The waste pipe gets its own steady fall to the stack, and the flow is checked before anything is closed in.
The tray is fully bonded and levelled, or the mortar fall is screeded from the edges down to the drain. We check the fall at several points: there must be no back-fall or hollow where water could sit.
The waterproofing system covers the shower floor, its surroundings and the exposed walls, with upstands at the base of the walls, tapes in the corners, collars around the water supplies and a flange on the drain. Each coat dries before the next.
The layout starts from the drain: envelope cuts around a point drain, or a single plane towards a channel. Tiles are bedded with no voids and finish flush with the drain cover, and the wall joints continue the floor joints.
Epoxy grout is recommended on the floor, with silicone in the corners. The glass screen comes next: its fixings go through the tiles, and each hole is filled with sealant to keep the waterproofing intact. We explain how to clean the drain and when the shower can first be used.
Tell us the type of floor, which storey the bathroom is on and, if possible, where the current waste outlet is: we will assess feasibility during a visit and give you a free quote.
Tools
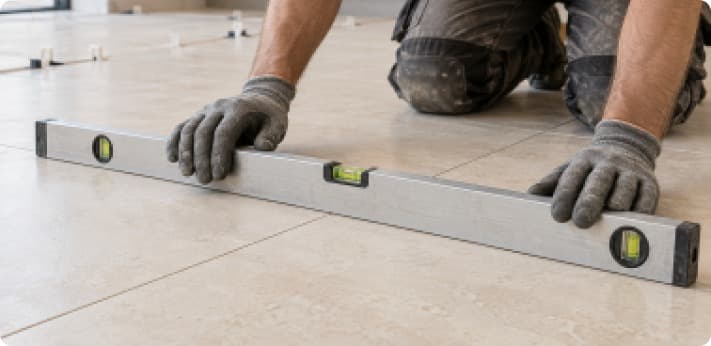
A fall of 1 or 2 cm per metre cannot be judged by eye: we measure it.
Good practice
A walk-in shower combines technically assessed systems with trade rules on falls and drainage.
Your questions
Yes, it is one of the most common projects. The key issue is drainage: a bath trap sits above the floor, whereas a level-access shower drain is recessed below it. There must therefore be enough depth under the finished floor and enough fall to the stack. Otherwise the bathroom floor is raised slightly or, as a last resort, a suitable shower pump is fitted.
Not necessarily, and it is often not allowed: in a block of flats, the concrete slab is usually a common part of the building and cannot be cut without approval. We then work within the thickness of the existing screed, with a low-profile tray and drain, or raise the bathroom floor slightly to keep a step-free shower.
Yes, with some precautions. The floor must be stiff enough: we check the joists and their deflection, then lay boards suited to wet rooms and a light tileable tray rather than a mortar fall, which is heavy and sensitive to timber movement. The waterproofing is chosen for this substrate, and the waste pipe runs along the joists to avoid notching them.
A shower without a door needs a little more room than an enclosure: a length of at least 1.20 m is often recommended to keep water in the shower area, more with a rainfall head. The width of the fixed toughened glass screen, the position of the hand shower and the direction of the fall matter as much as the floor area.
Yes, provided the shower floor forms a single sloping plane: that is what a linear channel drain allows, set against a wall or across the entrance. With a central point drain, the floor slopes in several directions and a large tile cannot follow them without diagonal cuts. In every case we choose a finish suited to wet bare feet.
The cover lifts off by hand or with a small tool, and most drains and channels have a basket that catches hair: regular cleaning is enough to maintain a good flow. That is why the cover always stays removable, even when tiled. If the shower is left unused for a long time, run a little water to keep the trap’s water seal, which blocks odours.
Each layer has to cure in turn: the mortar fall if there is one, the waterproofing, the adhesive, then the grout and silicone. Every product has its own curing time, which also depends on temperature and ventilation. A tileable tray makes the whole process quicker than a mortar fall. We give you the date of first use at handover.
Our other services
 AI-edited image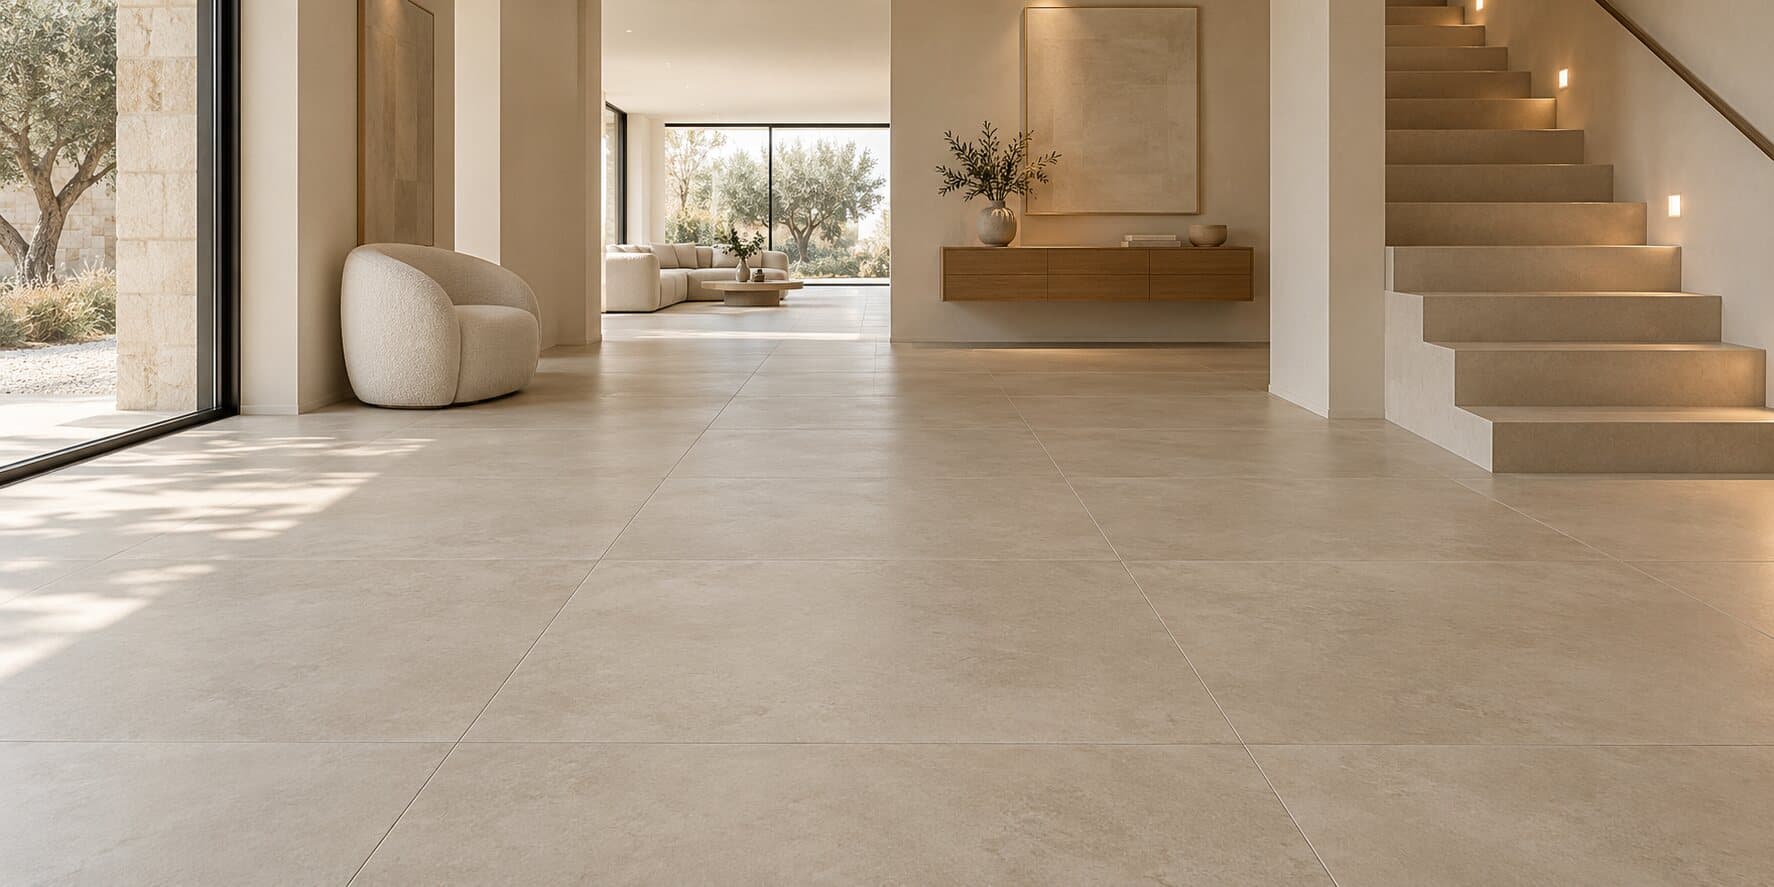

Bathroom
Floor, walls, shower area: the criteria to consider when balancing your wishes, your needs and the everyday use of the room.
Choosing your tiles
Tile size, room proportions and the look you want: the points to consider when choosing a format that suits your space.
Planning your project
Surface area, condition of the substrate, preferred tile size: gather the details that help you present your project to a tiler.