Finishes & details
Regrouting tiles: method, products and drying times
To regrout tiles, the old grout must first be raked out to a good part of its depth and the joints cleaned, then a grout suited to the room is applied and the silicone joints are replaced. Spreading new grout over the old does not last: it flakes off and hides the problem.
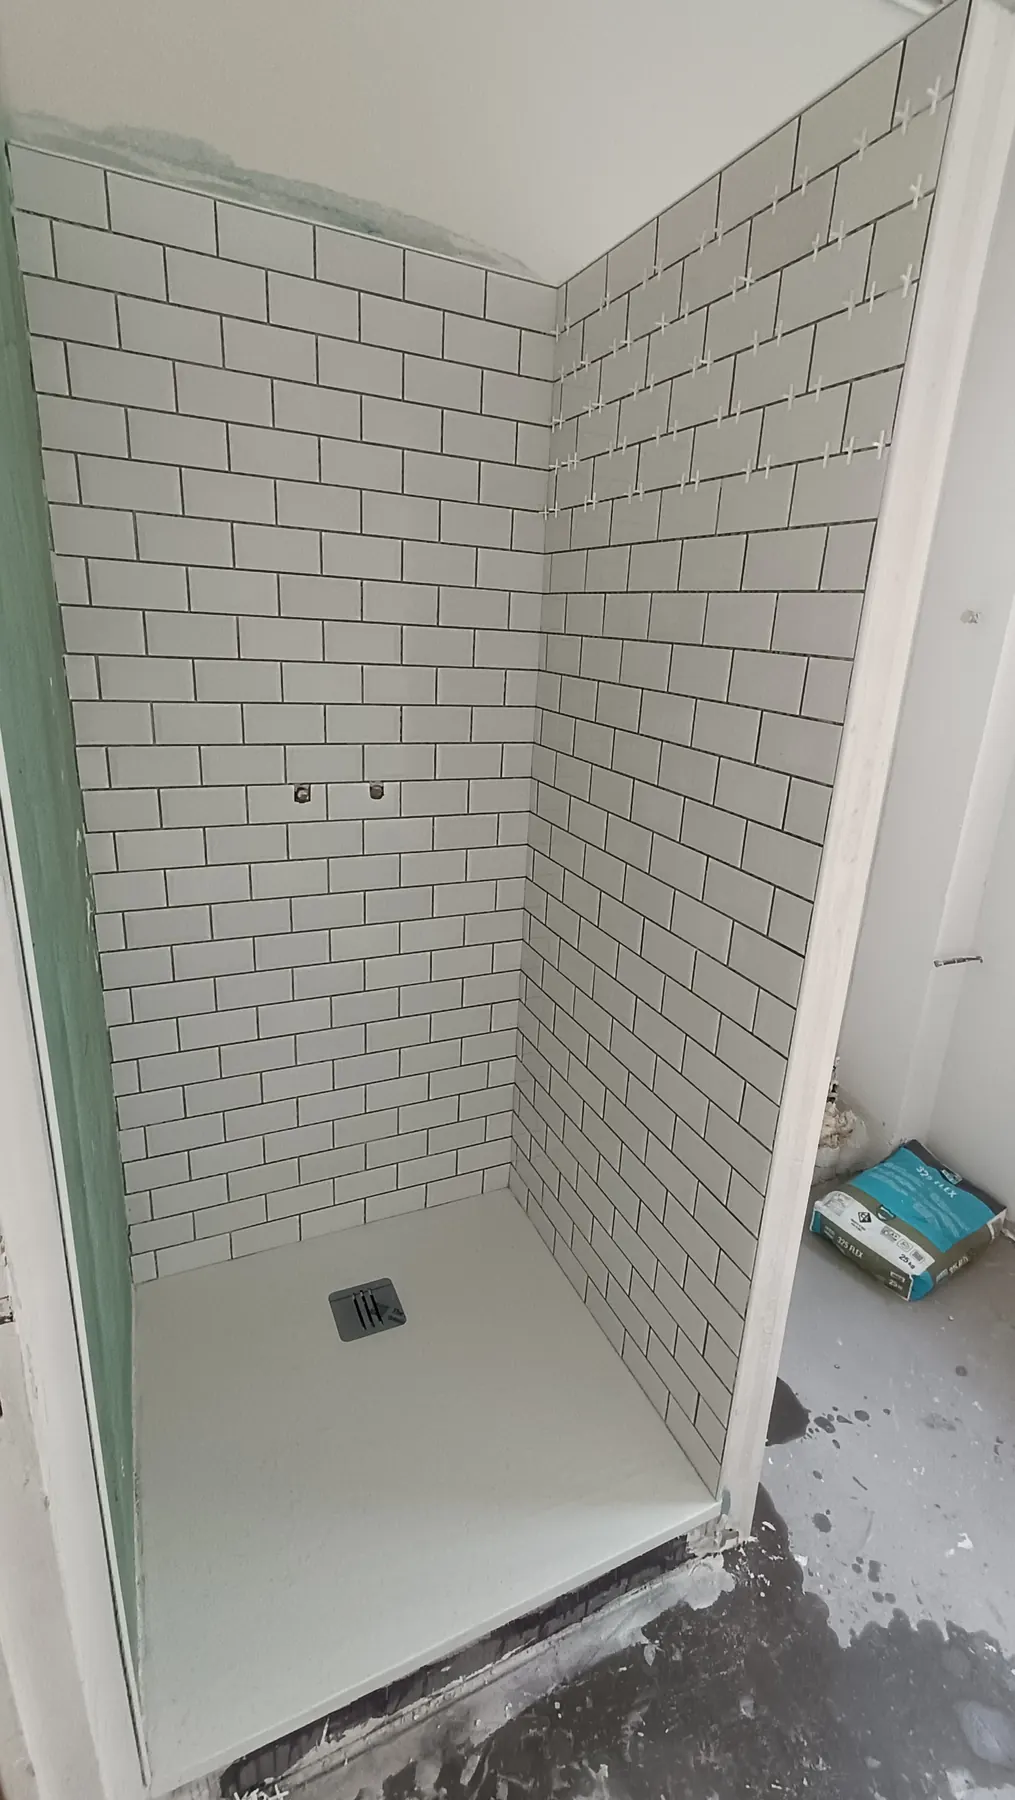
More porous than the tiles, grout gets dirty, darkens in damp rooms and sometimes ends up cracking or crumbling. Regrouting gives a bathroom or a floor a fresh look without touching the tiles, provided they are sound. It is meticulous work, where preparation matters more than the product.
When does grout need redoing?
Dirty grout does not always need replacing. We start with a deep clean using a brush and a suitable product, tested on a discreet area: if the grout gets its colour back and stays hard under the tip of a tool, regular maintenance is enough. Regrouting is needed when:
- black marks stay ingrained, a sign that mould has got into the body of the grout;
- the grout crumbles, recedes or is missing in places;
- cracks appear along the tiles or in the corners;
- blackened, loose or split silicone no longer protects the junction with the bath, shower tray or worktop.
In a bathroom, the joints in the shower and around the bath are almost always the first to fail.
Why new grout cannot go over the old
It is the question we hear most. Spreading fresh grout over the old seems quick, but it does not hold: where the old grout is flush, the new layer is only a fraction of a millimetre thick, bonds poorly to hardened grout clogged with soap or limescale, and ends up flaking off.
Above all, it hides the problem: the mould and moisture stay in the grout, and a joint cracked by substrate movement will crack again (the causes of that movement are covered in our article on tiling rules and standards). The old grout has to be raked out deep enough for the new grout to form a real joint, well bonded to the tile edges.
Raking out the old grout without damaging the tiles
Raking out is the longest and most delicate step. Depending on the width and hardness of the grout, we use:
- a hand grout rake with a carbide blade, precise and safe for the glaze, ideal for wall tiles;
- an oscillating tool with a carbide blade, faster over large areas;
- a thin diamond blade on a small angle grinder, kept for wide, hard floor joints, since the slightest slip nicks the tile.
The grout is removed evenly, without digging into the adhesive or the tile edges, then brushed and vacuumed. The shower tray, bath and drain are protected. Bevelled tiles and natural stone need particular care: a chip shows far more than worn grout.
Cement, epoxy or silicone: which product where
Joints between tiles are filled with grout, cement-based or epoxy; corners and junctions with sanitaryware take a flexible sealant.
| Type of joint | Where to use it | Strengths | Limits |
|---|---|---|---|
| Cement grout | Walls and floors in most rooms, bathrooms included | Wide range of colours, improved CG2 grade under the EN 13888 standard | Slightly porous, stains more quickly in damp areas |
| Epoxy grout | Showers, splashbacks, worktops, heavily used floors | Does not absorb water, resists stains and household cleaners | More expensive, sets quickly, more technical to apply |
| Silicone sealant | Internal corners, around baths and shower trays, worktops | Absorbs movement between two surfaces | Needs renewing more often than grout |
For cement grout in a bathroom, we choose a product with reduced water absorption (marked CG2W or CG2WA). Epoxy suits a heavily used shower, but it is not waterproofing: water can still get through a failed sealant joint or around a pipe, and only waterproofing under the tiles truly protects the wall.
Silicone joints: replace, never cover
In the corners and along the bath, two surfaces move relative to each other, so cement grout always cracks there. These places need a flexible sealant joint made with anti-fungal sanitary silicone.
Mould grows inside the silicone itself, so a blackened bead has to be replaced. The old sealant is removed completely, since new silicone does not bond to old, then the surface is degreased and left dry before a new bead is applied in one pass and smoothed. A bath is filled with water before sealing, and stays full while the silicone cures, so that the joint is made in its working position.
Applying the new grout, cleaning and drying times
After vacuuming, the joints are lightly dampened if the product data sheet calls for it. The grout is pressed in with a grout float, in diagonal passes. Once it starts to firm up, the surface is cleaned with a damp, well-wrung sponge, then the remaining cement haze is buffed off with a dry cloth. A stubborn haze can later be removed with a dedicated cleaner, after the manufacturer’s waiting time; never use an acid cleaner on marble, travertine or limestone, which it etches.
Grout drying time depends on the product, the temperature and the ventilation. As an order of magnitude, standard cement grout can take careful foot traffic after about a day, and fast-setting grout sooner. Before using a shower again, respect the time on the packaging, which varies widely between products. Epoxy reaches its full chemical resistance only after several days, and silicone cures through far more slowly than it skins over.
Changing colour while you regrout
Since the old grout comes out, regrouting is a chance to change shade: a mid grey in a shower where white grout kept darkening, tone on tone to calm a floor, or a contrast to bring out metro tiles. Our advice is gathered in the article on grout colour.

Cement grout often dries slightly lighter, so a test is worthwhile, and new grout never quite matches grout that is several years old. As for grout pens and grout paints, they colour the surface of sound grout but repair neither hollow nor deeply mouldy joints.
Signs the problem goes deeper than the grout
Regrouting only fixes grout problems. During the assessment and while raking out, we watch for signs of a deeper fault:
- tiles that sound hollow when tapped with a mallet, or move;
- a joint that stays damp, a musty smell, or mould that comes back within weeks;
- water marks on the adjoining wall, on the ceiling below or behind a skirting board;
- on floors, cracks that always follow the same line, or tiles lifting because there is no perimeter joint.
In that case water has got under the tiles, or the substrate is moving, and new grout will not last. Some or all of the tiles must come off, the substrate must be repaired and, in a shower, waterproofed: that is the work we carry out during a bathroom renovation or when relaying floor and wall tiles, in the Eure as well as in Paris and Île-de-France.
Frequently asked questions
Can new grout be applied straight over the old grout?
No, it is not a lasting repair. A thin layer of grout over hardened, dirty grout bonds poorly, flakes off and leaves the mould and moisture in place. The old grout must first be raked out to a good part of its depth, the dust removed, then the new grout applied. Only surface colourants go over existing grout, and they repair nothing.
How soon can the shower be used after regrouting?
It depends on the grout, the temperature and how well the room is ventilated. Data sheets set a waiting time before the shower can get wet again, shorter for fast-setting grouts. The silicone must also have cured right through, which takes longer than forming a skin. At the end of the job, we tell you when the shower can be used, based on the products applied.
Why does my grout turn black again a few months later?
Mould feeds on moisture and soap residue. If the bathroom does not dry out properly, through lack of airing or ventilation, new grout will darken in turn; grout that stays permanently damp may also point to water behind the tiles. Airing after each shower, a squeegee on the walls, cleaning with a mild product and a less porous grout greatly reduce the problem.
Should all the grout be redone, or only the damaged joints?
Localised regrouting is possible, around a shower or on a cracked area, but it shows: new grout never quite matches the shade of grout that is several years old, even with the same reference. On a surface seen at a single glance, it is better to redo everything or stop at a natural break, such as a corner, a skirting board or a change of tile.
Can cement grout be replaced with epoxy grout?
Yes, and it is a common upgrade in a shower. The old grout must be raked out deep enough and the joints left perfectly clean and dry, as epoxy tolerates no residue. It hardens quickly and the excess must be removed carefully during application, otherwise it leaves a film on the tiles that is hard to shift.