Bathroom
Waterproofing under tiles: SPEC, SEL and walk-in showers
Neither tiles nor grout are waterproof: in a shower, it is the membrane applied under the tiles, a SPEC in a private home, that protects the walls and floor. Whether it works comes down to the details: corners, pipe penetrations and the connection to the drain.
Waterproofing under tiles is the layer, liquid or sheet, applied to the substrate before a shower or any wet area is tiled. In a private bathroom in France it takes the form of an under-tile water protection system, known as a SPEC. The tiles then cover an assembly that is already protected: they provide the finish, not the waterproofing.
Here is why this layer matters, what separates a SPEC from a SEL and the points we watch on every walk-in shower.
Why tiles and grout are not waterproof
Porcelain absorbs very little water, but a tiled surface is not a continuous one. Cement grout is a porous mortar: it takes on water with every shower and lets it travel to the adhesive, then to the substrate. A hairline crack, ageing silicone or a tile with voids underneath opens up other routes.
Epoxy grout is far less porous and copes better with moisture, but it does not replace a membrane: there are still corners, changes of plane and drilled holes. Water that builds up behind the tiles eventually shows, often late:
- plaster or plasterboard that softens, and tiles that come loose;
- grout that keeps turning black, a sign of a substrate that stays damp;
- skirting or a neighbouring partition that swells, a musty smell;
- a stain on the ceiling of the room below, or in the flat downstairs.
SPEC or SEL: two levels of protection
A SPEC protects the substrate from shower water and splashing. It is the standard solution in private bathrooms, where shower walls generally fall under the EB+ privatif class of the French rules. It usually comes as a resin or flexible cement-based coating applied in coats, sometimes as a bonded sheet membrane.
A SEL, or liquid waterproofing system, goes further: thicker and reinforced, it forms true waterproofing where a leak would reach a room directly, for example on a balcony or loggia above a room, or in communal showers. A roof terrace above a living space is generally a matter for roof waterproofing carried out by a specialist, with the tiles often laid on pedestals on top.
| Criterion | SPEC | SEL |
|---|---|---|
| Purpose | Protect the substrate from shower water and splashing | Provide true waterproofing above a room |
| Typical use | Bathrooms and walk-in showers in private homes | Balconies or loggias above a room, communal showers |
| Form | Resin or flexible coating in coats, or a bonded sheet | Resin or cement-based coats, thicker and reinforced |
| Framework | Usually an Avis Technique or DTA for the system | An Avis Technique setting its uses and accepted substrates |
Where the protection goes in a bathroom
The substrate matters as much as the use. French professional rules make the protection essential on water-sensitive substrates such as plaster or moisture-resistant plasterboard, which limits absorption but is not waterproof. In a level-access shower we apply it to the floor and walls whatever the substrate, because the floor gets wet every time. It covers:
- the shower floor and its surroundings, with an upstand at the base of the walls;
- the shower walls, at least above the shower head and often up to the ceiling;
- the wall around a bath, especially if it is also used for showering;
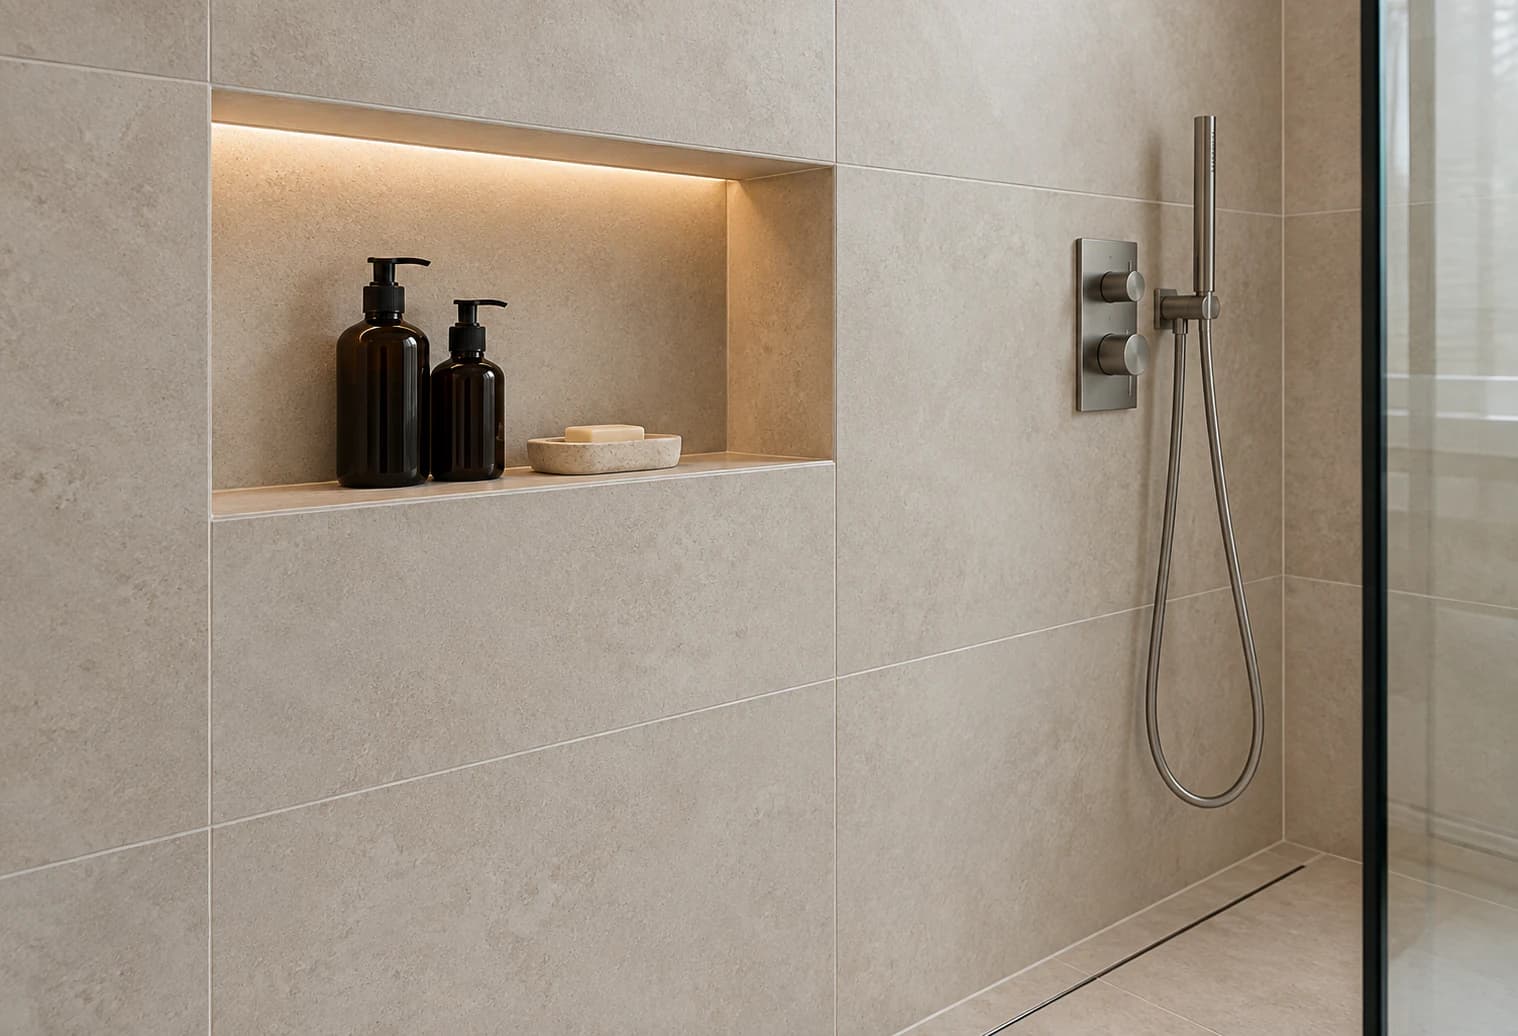
- the inside of a niche: back, sides and shelf, the shelf sloping slightly forwards.
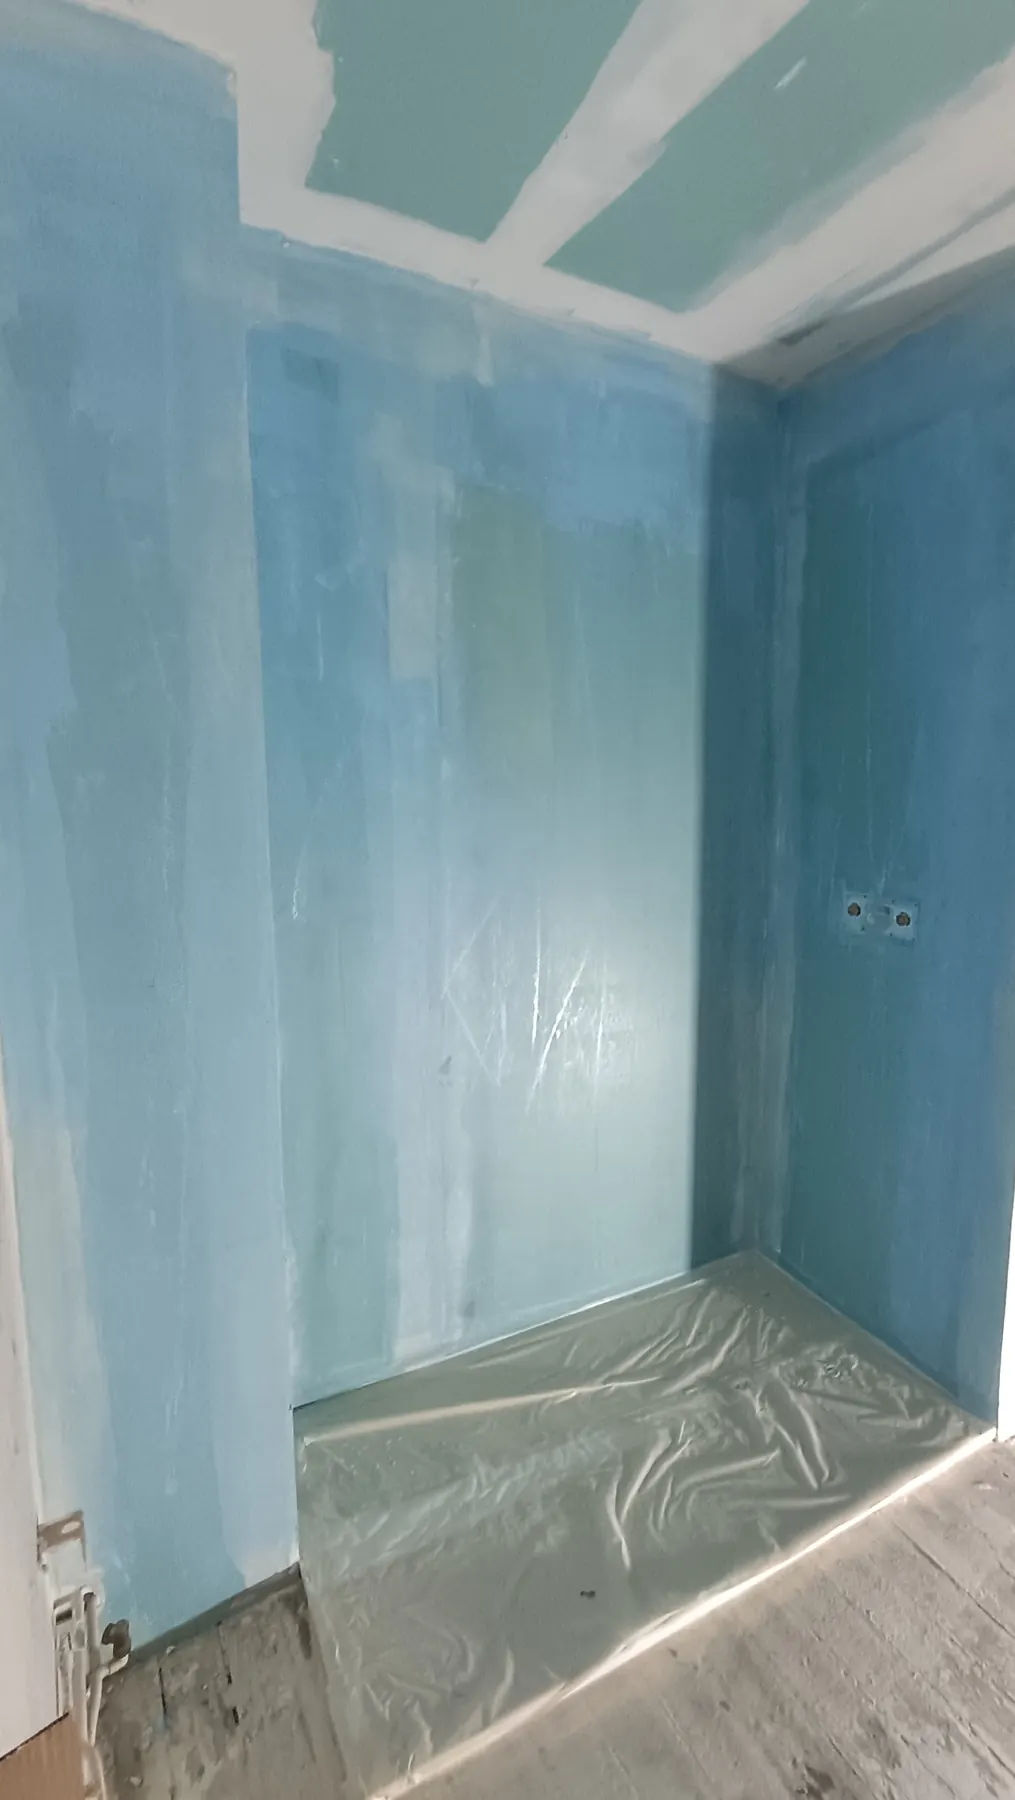
Corners, pipes and drains: the critical details
A membrane properly applied across a flat wall rarely leaks. Leaks almost always start where the surface changes: a corner, a penetration, a joint between two materials. Every system has its own accessories for these areas, and we use those made by the membrane’s manufacturer:
- corner tapes, embedded in the first coat, between walls and between wall and floor;
- collars around each water supply and the mixer outlet;
- a flange that links the membrane to the point drain or the linear drain;
- tapes over the joints between boards, and between a tileable tray and the walls.
The connection to the drain is the most sensitive point. A drain designed for under-tile waterproofing has a flange the membrane bonds to; an old drain without one cannot be connected reliably, so we replace it. The holes drilled for the glass screen after tiling are filled with sealant so the protection is not left punctured.
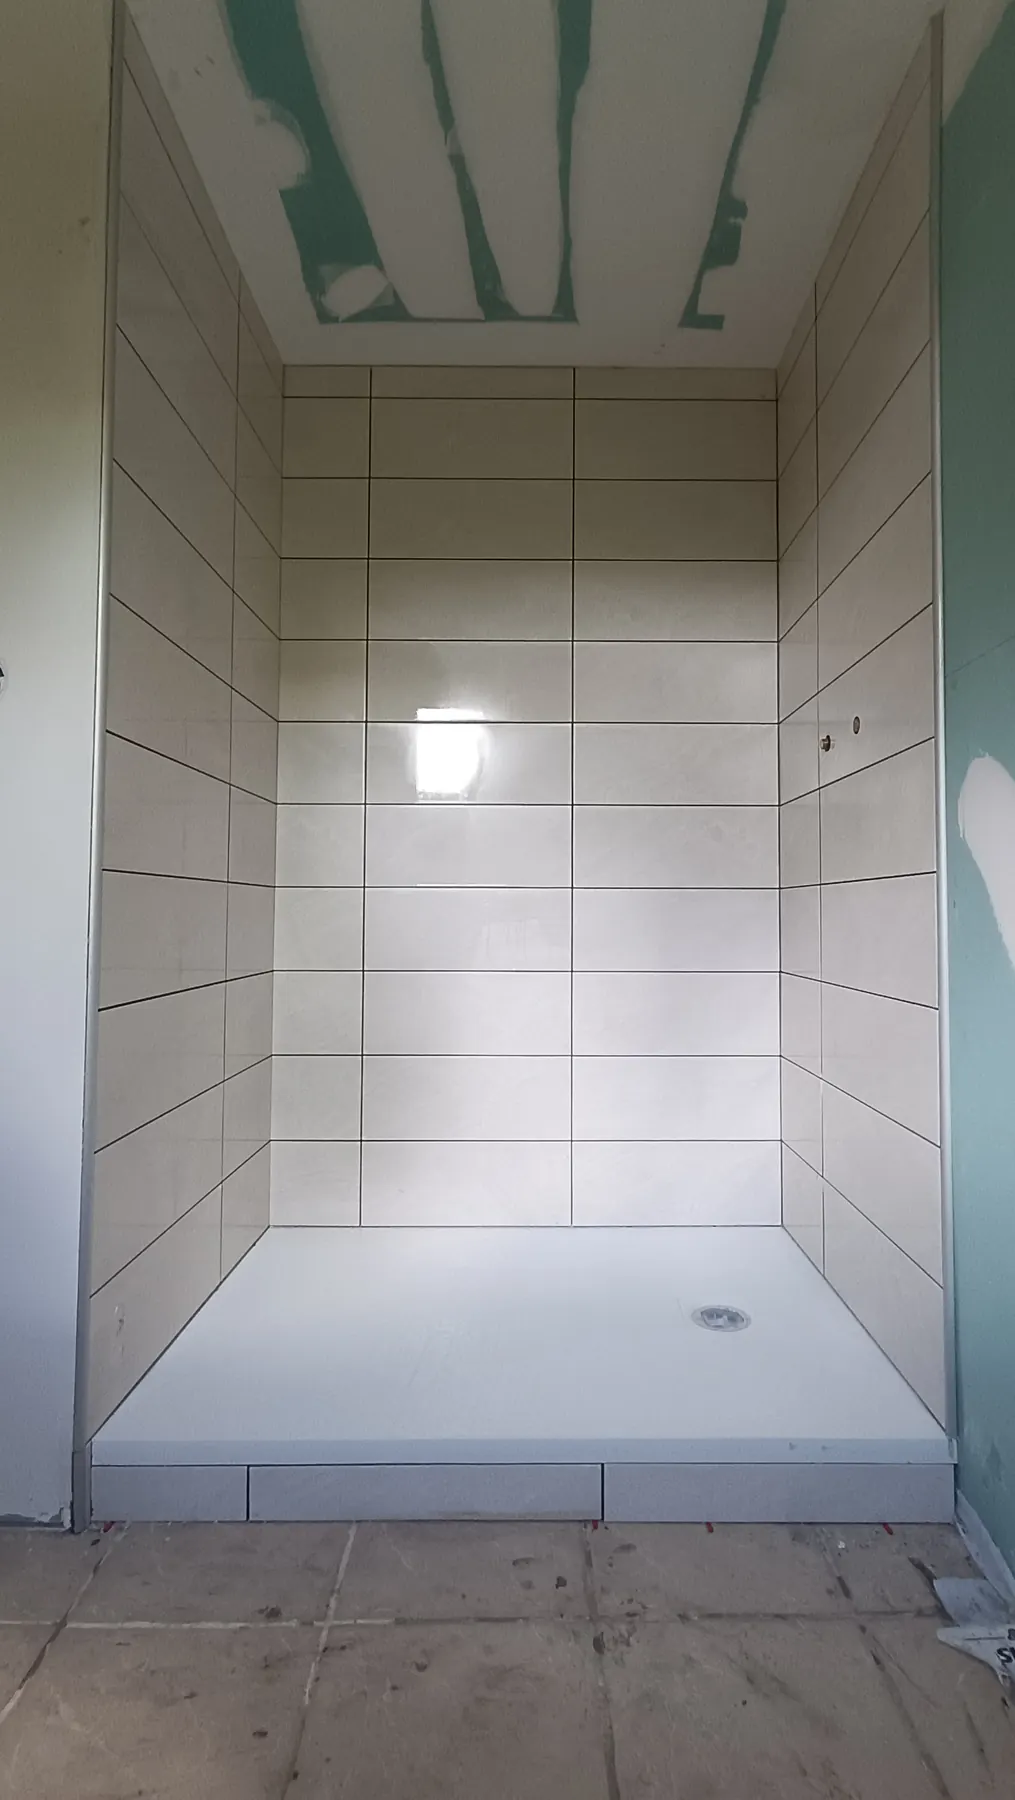
Application, thickness and drying times
The substrate must be sound, dry and free of dust, then receive the primer specified by the system if it calls for one. A liquid membrane is generally applied in two coats, by roller, brush or trowel, to reach the minimum thickness set by the manufacturer. One thin coat or a gap behind a pipe is enough to create a weak spot.
Each coat dries before the next, and the last one before tiling. Drying takes anything from a few hours to a day or more, depending on the product, temperature and ventilation: we follow the data sheet rather than habit. Before tiling, we check that the membrane, tapes and collars are continuous.
The tiles are then bonded straight onto the membrane with an adhesive named by the system’s manufacturer, following the rules for bonded tiling: full adhesive contact, suitable joints and flexible sealant in the corners.
Sheet membranes, boards and tileable trays
Liquid membranes are not the only option. A sheet membrane is bonded with tile adhesive, in strips that overlap or are joined with tapes depending on the system. It needs no drying between coats and gives an even thickness. Some uncoupling membranes provide both uncoupling and water protection.
On walls, coated extruded polystyrene boards sometimes replace plasterboard: water does not harm them, but their joints and fixings receive the system’s tapes and sealant. On the floor, a tileable shower tray has the fall and drain built in. In every case, the system’s Avis Technique sets the accepted substrates, the accessories and the adhesive to use.
In a renovation: warning signs and questions to ask
A leaking shower is not fixed by redoing the surface grout alone. If tiles sound hollow, the bottom of the walls stays damp or a stain appears below the shower, water has already got behind: the usual remedy is to strip the tiles, let the substrate dry or replace it, then rebuild a continuous protection. Our article on regrouting explains what can and cannot be saved.
Before signing a quote for a bathroom renovation, ask which system is planned, on which surfaces, how high and how it connects to the drain. A line that just says “waterproofing” makes comparison impossible. How much this item weighs in the budget is covered in our guide to the cost of a walk-in shower. We answer these questions during the site visit, in Évreux as well as in the Paris region.
Frequently asked questions
Can waterproofing be applied over old shower tiles?
Some systems allow it, if their Avis Technique lists that substrate. The old tiles must then be fully bonded: we tap each one, degrease them and apply the specified primer. In a shower that has already let water through, stripping the tiles is often the better choice: it lets us check the wall behind, replace whatever is damaged and rebuild a sound assembly instead of sealing the damp in.
How many coats of waterproofing are needed?
Usually two coats for a liquid system, sometimes more depending on the product, with a minimum thickness set by the manufacturer. The number of coats matters less than continuity: corner tapes are embedded in the first coat, collars are fully bonded and no area is left thin around the pipes. Each coat dries before the next, as the data sheet specifies.
Is epoxy grout enough to make a shower watertight?
No. Epoxy grout is far less porous than cement grout and resists stains and mould better, which makes it an excellent choice for a shower floor. But it does nothing for corners, pipe penetrations or the hairline cracks that can appear over time. It complements the waterproofing underneath; it does not replace it.
How can I tell if water is getting behind my shower tiles?
Several signs should ring alarm bells: grout that turns black again soon after cleaning, tiles that sound hollow when tapped, the bottom of a partition swelling next to the shower, a persistent musty smell or a stain on the ceiling below. It is best to have it checked quickly: the longer water sits there, the more the substrate deteriorates.
Does the whole bathroom floor need waterproofing?
Not always. Outside the shower, the floor of a bathroom in a home only gets occasional water. Protection becomes necessary on a water-sensitive substrate, such as a timber floor, or when the shower is open and water spreads beyond it. We then extend it to the surrounding area, with an upstand at the base of the walls, so no weak zone is left.