Techniques and standards
How to lay tiles properly: the NF DTU 52.2 rules explained
Laying tiles properly means checking the substrate, choosing an adhesive suited to the tile and the room, bonding with no voids and respecting joints and drying times. In France, these rules are set out in NF DTU 52.2 for bonded tiling and NF DTU 52.1 for floors laid on a mortar bed.
This article is not a DIY tutorial: it describes what a tiler checks, and why. Hollow-sounding tiles, cracks, crumbling grout: these problems rarely come from a bad tile, and most often from a skipped step, such as a damp substrate, the wrong adhesive or incomplete coverage.
NF DTU 52.2 and NF DTU 52.1: the reference texts
NF DTU 52.2, a French unified technical document published as a standard, sets the rules for bonding ceramic tiles and natural stone to floors and walls, indoors and outdoors: accepted substrates, preparation, adhesives, coverage, joints and tolerances. It covers the vast majority of jobs. NF DTU 52.1 covers floors laid on a thick mortar bed, still used for natural stone, terracotta or large differences in level.
Their scope is limited, in particular by tile size depending on location and substrate. Beyond it, for very large slabs, thin porcelain or an old timber floor, installation follows a technical assessment (Avis Technique) or the manufacturers’ instructions.
Checking the substrate first
Concrete slab, screed, existing tiles, plasterboard or render: the substrate carries the tiles for decades. Before laying, we check:
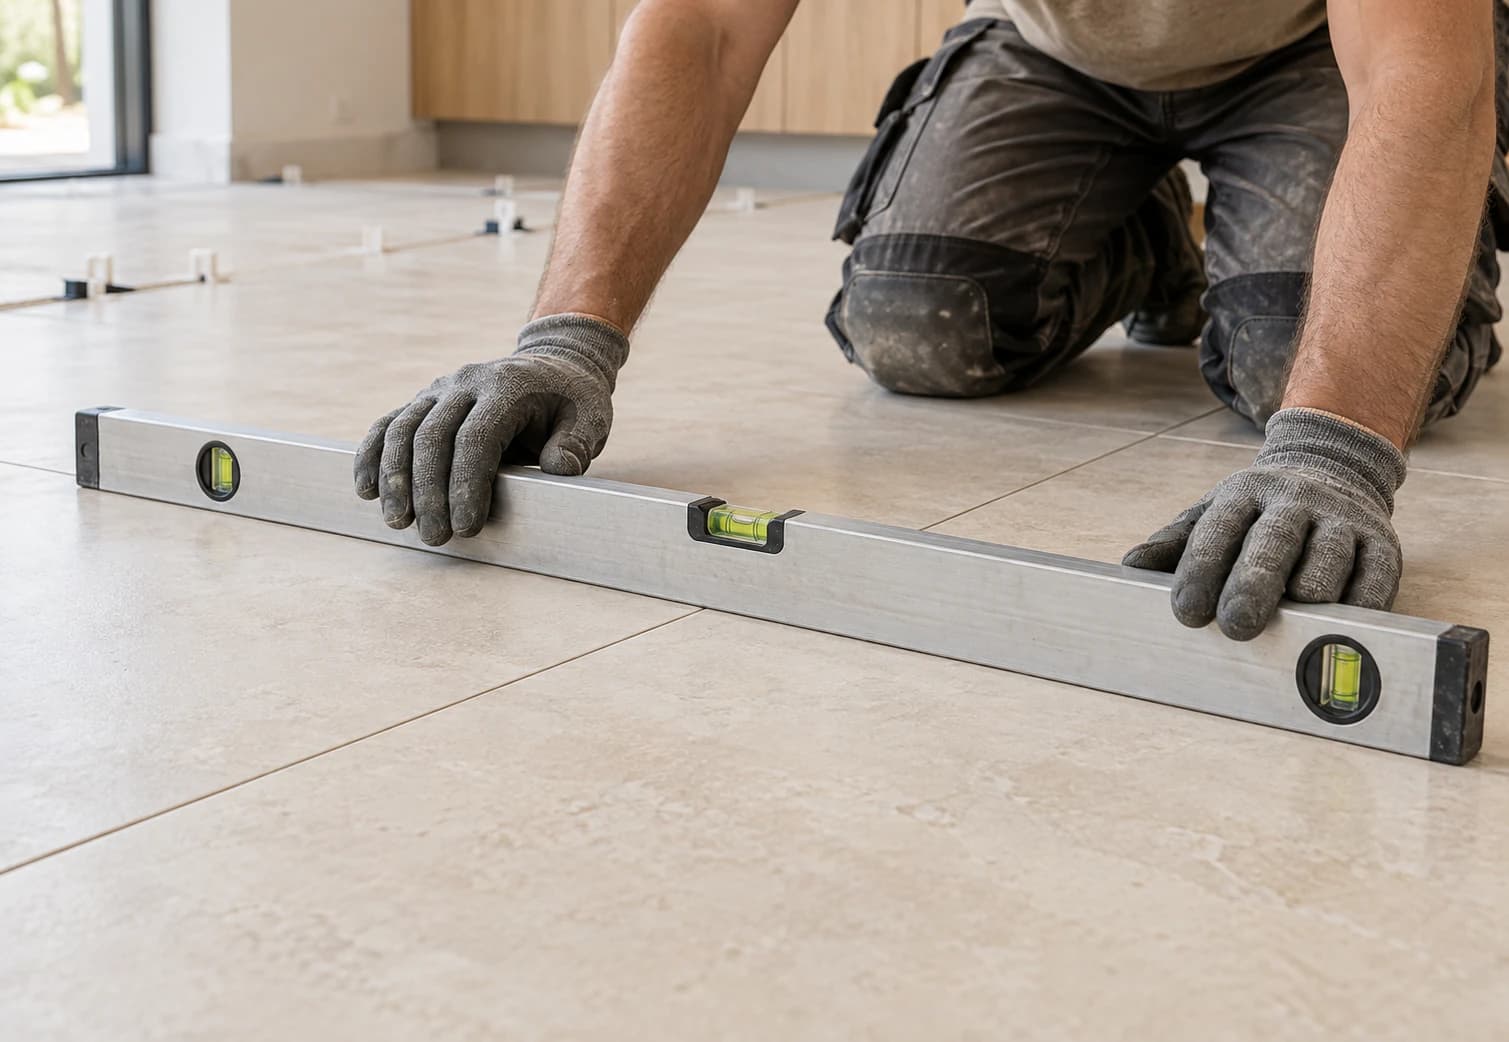
- flatness, with a 2 m straightedge and a short rule: the professional rules set a tolerance, stricter for large tiles;
- cohesion: a dusty substrate or a render that scratches easily will not hold the adhesive;
- cleanliness: dust, grease, old adhesive or paint prevent bonding;
- the residual moisture of a recent screed, measured before laying, especially for an anhydrite screed;
- stability: active cracks, a floor that deflects, expansion joints to be carried through.
Depending on the findings, we apply a primer, then a levelling compound if flatness requires it. Loading on extra adhesive to fill a dip is not accepted practice: tile adhesive is a thin bed. This preparation is part of our screed and levelling service; for a substrate that is already tiled, see our article on tiling over existing tiles.
Choosing the adhesive: what C1, C2, S1, E, T and F mean
Tile adhesives are classified under the European standard EN 12004. The first letter gives the type of product: C for a cement-based adhesive, D for a ready-mixed paste, R for a resin-based adhesive. Then come the performance codes, explained in our glossary entry on adhesive classes:
| Code | Meaning | Typical use |
|---|---|---|
| C1 | Normal adhesion. | Small porous tiles indoors, if the data sheet allows it. |
| C2 | Improved adhesion. | Porcelain, large formats, renovation, outdoors. |
| F | Fast setting. | Quick return to use, small repairs. |
| T | Reduced slip. | Wall tiling. |
| E | Extended open time. | Large areas, warm rooms. |
| S1, S2 | Deformable, or highly deformable. | Large formats, underfloor heating, outdoors. |
A C2 S1 adhesive covers many porcelain situations, but the final choice cross-checks three data sheets: the tile’s, the adhesive’s and that of the system underneath, such as a membrane or waterproofing. Grouts have their own classification too, under EN 13888: CG1 or CG2 for cement-based grouts, RG for resin grouts.
Bonding with no voids: notched trowel, open time and back-buttering
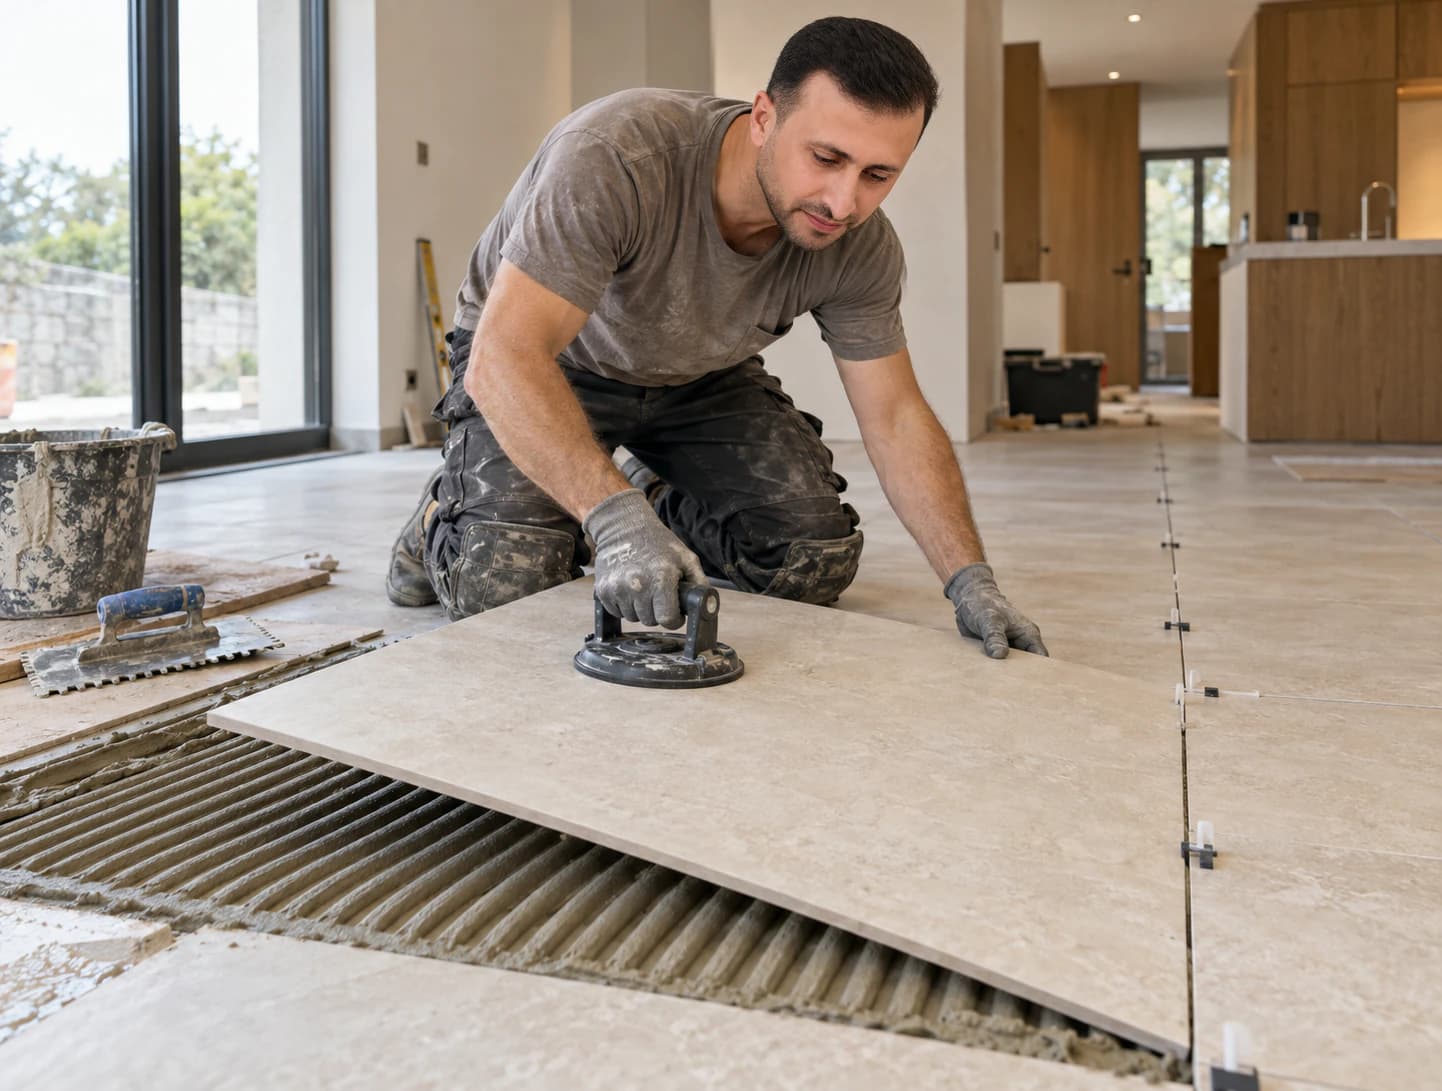
What holds a tile is the contact area between its back and the adhesive: the coverage. The notched trowel is chosen according to the tile size and the flatness of the substrate; the ridges are combed in one direction, then the tile is slid across them and beaten in. At regular intervals, we lift a freshly laid tile to check that its back is fully covered.
Adhesive also has an open time, during which it can still wet the tile. After that, a skin forms and the tile no longer really bonds, even if it seems to hold. Sun, draughts and absorbent substrates shorten that time: you only spread what you can cover in time.
Back-buttering, adhesive on both the substrate and the back of the tile, is required above a certain tile size and outdoors. We also use it whenever a tile is long, heavy or exposed to water, for void-free contact where water or frost would find the weak spot.
Perimeter joints, movement joints and grout joints
Tiling moves little, but it does move: with temperature, underfloor heating and shrinkage of the substrate. The laying rules therefore provide for three types of joint:
- the perimeter joint, against walls, columns and door frames, hidden by the skirting or filled with a flexible sealant;
- movement joints, which divide large areas and mark changes of substrate, on top of the building’s expansion joints, which are always carried through;
- the joints between tiles, whose minimum width depends on the tile: even rectified tiles are never laid without a joint.
In the internal corners of a shower or against a bath, cement grout gives way to a flexible sealant. The position of movement joints is decided at the layout planning stage, so that they fall on a grout line.
Respecting drying times
Each step has its own waiting time, given on the data sheet and lengthened by cold or damp. As orders of magnitude, depending on the products and conditions:
- before grouting: usually the next day with a standard adhesive, a few hours with a fast-setting one;
- before walking on it: light foot traffic first, then a longer wait before heavy furniture;
- before turning underfloor heating back on: a gradual rise in temperature, as set by the manufacturers;
- in a bathroom, waterproofing under the tiles dries between coats and before tiling, and the grout must be dry before the first shower.
Cutting these times short to save a day is a classic cause of cracked grout: we set them out in the schedule of the quote.
Flatness, lippage and handover: what you can check
At the end of the job, a few simple checks let you judge the work:
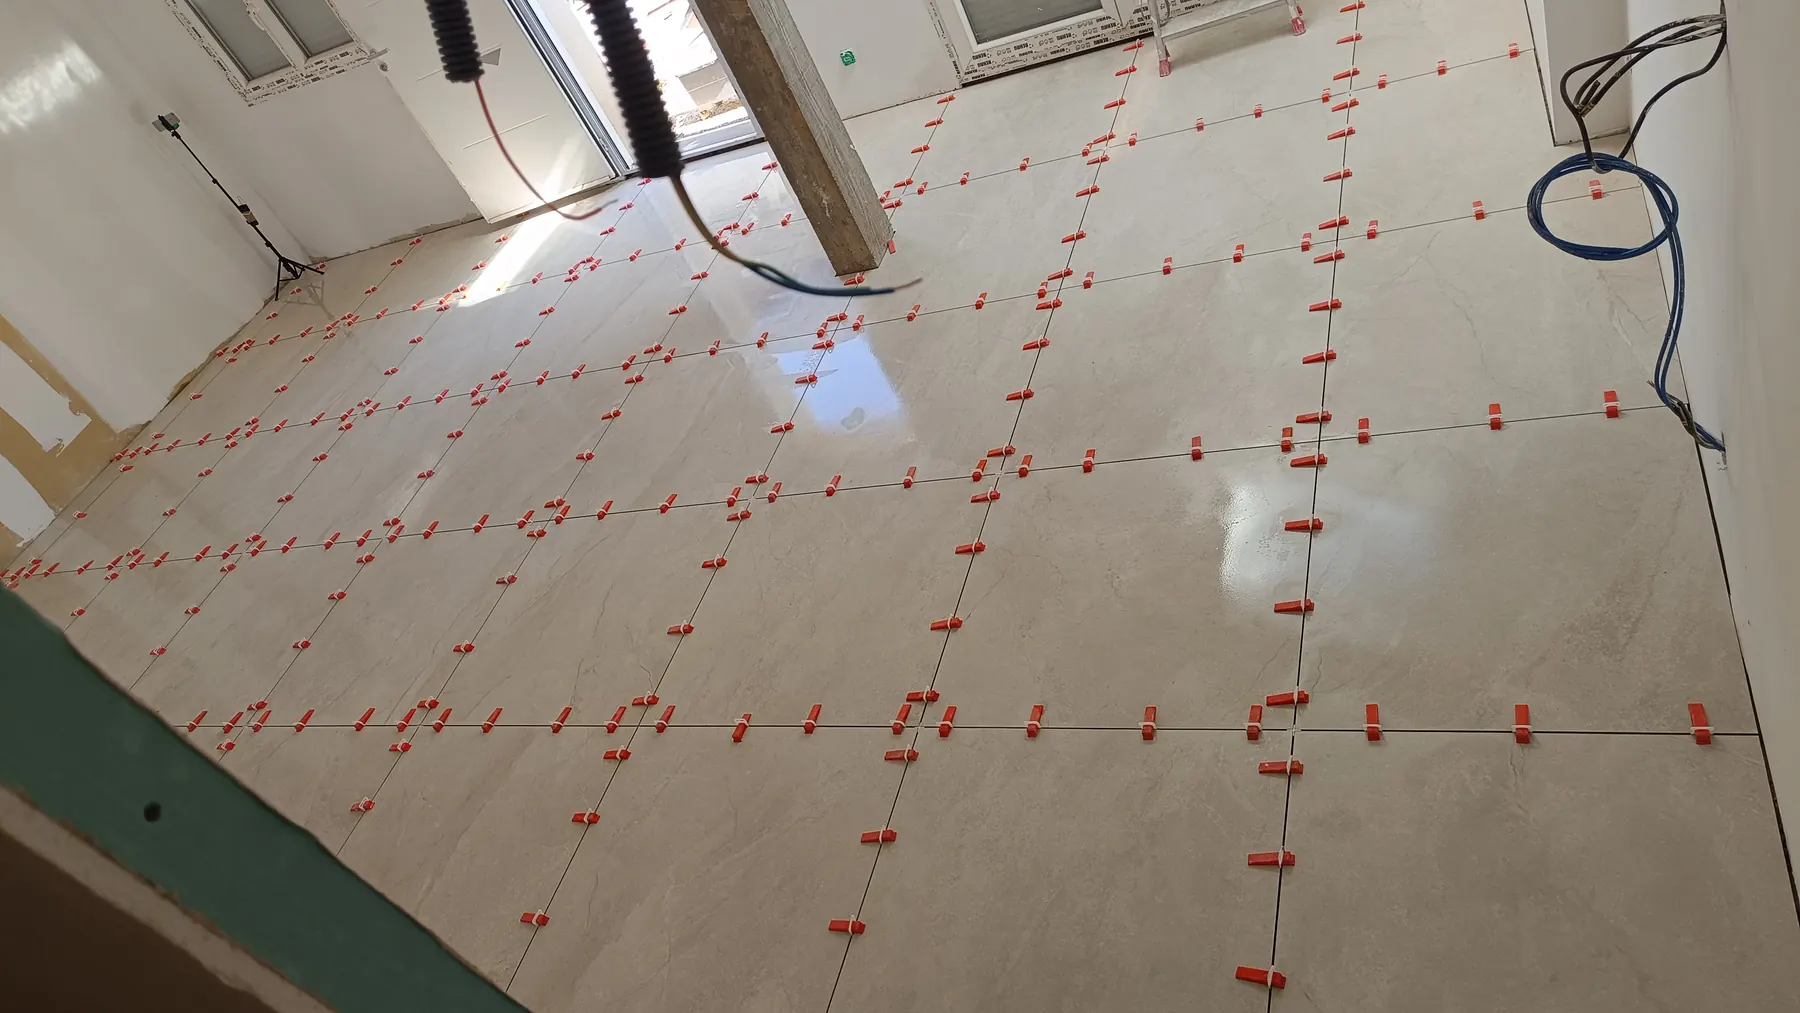
- in grazing light, in front of a window or with a torch laid on the floor, the edges stay flush, with no marked lippage;
- gentle tapping with a hard object reveals no hollow-sounding areas, especially at the corners of the tiles;
- grout lines are full, even and consistent in colour, with clean, well-distributed cuts;
- there is a flexible sealant wherever the tiles meet another material.
The professional rules set tolerances for flatness and lippage, which are the reference in case of disagreement. After handover, the French ten-year builder’s liability, the garantie décennale, covers damage that undermines the soundness of the work or makes it unfit for its purpose; our work is covered by it. In Évreux as in Île-de-France, our floor and wall tiling page describes how we work.
Frequently asked questions
Is NF DTU 52.2 compulsory for work in a private home?
Not in the sense of a law: a DTU becomes contractual when the quote or contract refers to it. Yet it is the trade’s technical reference: in a dispute, the expert judges the work against its rules, and insurers distinguish so-called standard techniques, which include the DTUs, from the rest. A reference to NF DTU 52.2 in the quote is therefore a useful commitment to ask for.
Is a C1 adhesive enough for porcelain tiles?
Rarely. Porcelain absorbs very little water: the adhesive cannot key into the tile and must bond to an almost closed surface. Manufacturers therefore generally recommend an improved C2 adhesive, often deformable S1 for large formats, heated floors or outdoor use. A C1 may suit porous tiles, such as indoor ceramic wall tiles, if the tile and adhesive data sheets allow it.
Bonded or mortar-bed tiling: which suits my floor?
On a flat, sound substrate, whether a slab, a screed or a levelling compound, thin-bed bonded tiling is the norm: lighter, quicker and suited to all current tiles. Mortar-bed laying, on a bed several centimetres thick, is mainly justified to make up large differences in level, for some natural stone and terracotta, or outdoors. It is heavier and takes longer to dry.
Why do some tiles sound hollow after laying?
A hollow sound signals a void between the tile and the adhesive, or between the adhesive and the substrate: incomplete coverage, adhesive past its open time, or a dusty or poorly prepared substrate. An isolated spot does not always cause a problem, but a large area, especially at the corners, points to a risk of cracking or debonding under load. The only lasting remedy is to lift the tile and lay it again.
Is a primer always needed before tiling?
Not always, but often. On a very absorbent cement screed, it stops the substrate drawing water out of the adhesive too quickly. On an anhydrite screed, manufacturers require a specific primer, because the cement in the adhesive and the calcium sulphate react together in the presence of moisture and destroy the bond. On old tiles, a bonding primer helps the adhesive grip. The adhesive data sheet states what each substrate needs.