Choosing your tiles
Kitchen tiles: choosing the floor and the splashback
For a kitchen floor, choose a low-porosity porcelain tile with a matt or lightly textured finish, so it does not get slippery when wet. For the splashback, ceramic wall tiles, porcelain, metro tiles and zellige all work, provided the grout behind the hob and the sink is chosen with care.
A kitchen puts tiles through a lot: grease splashes, water around the sink, heat behind the hob, dropped pans. The floor and the splashback face different stresses, so they are not chosen on the same criteria.
Which tiles for a kitchen floor?
For a kitchen floor, our first choice is porcelain: it is barely porous, so it does not soak up oil, wine or coffee, and it cleans with water and a mild product. Ceramic wall tiles are too soft and too porous for a floor. Terracotta and limestone remain possible, but they stain and need regular protection.
- Stain resistance: glazed or full-body porcelain resists grease, while heavily textured finishes hold more dirt in their relief.
- Impact resistance: a tile bonded over its whole surface, with no voids underneath, copes far better with a dropped pan. Voids left by adhesive applied in dabs are a classic cause of cracked kitchen tiles.
- How a chip looks: full-body porcelain has the same colour right through, so a small chip shows much less.
- Slip resistance: a little water or a drop of oil makes a glossy tile slippery. A matt or lightly textured finish, with a suitable rating such as R10, is safer day to day.
The French UPEC rating and the PEI class, which measures how well the glaze resists wear, help compare tiles: a kitchen floor in a home is ordinary domestic use, without the demands of a shop. We explain these benchmarks in our article on UPEC, R and PEI tile ratings.
Tile size and continuity with the living area
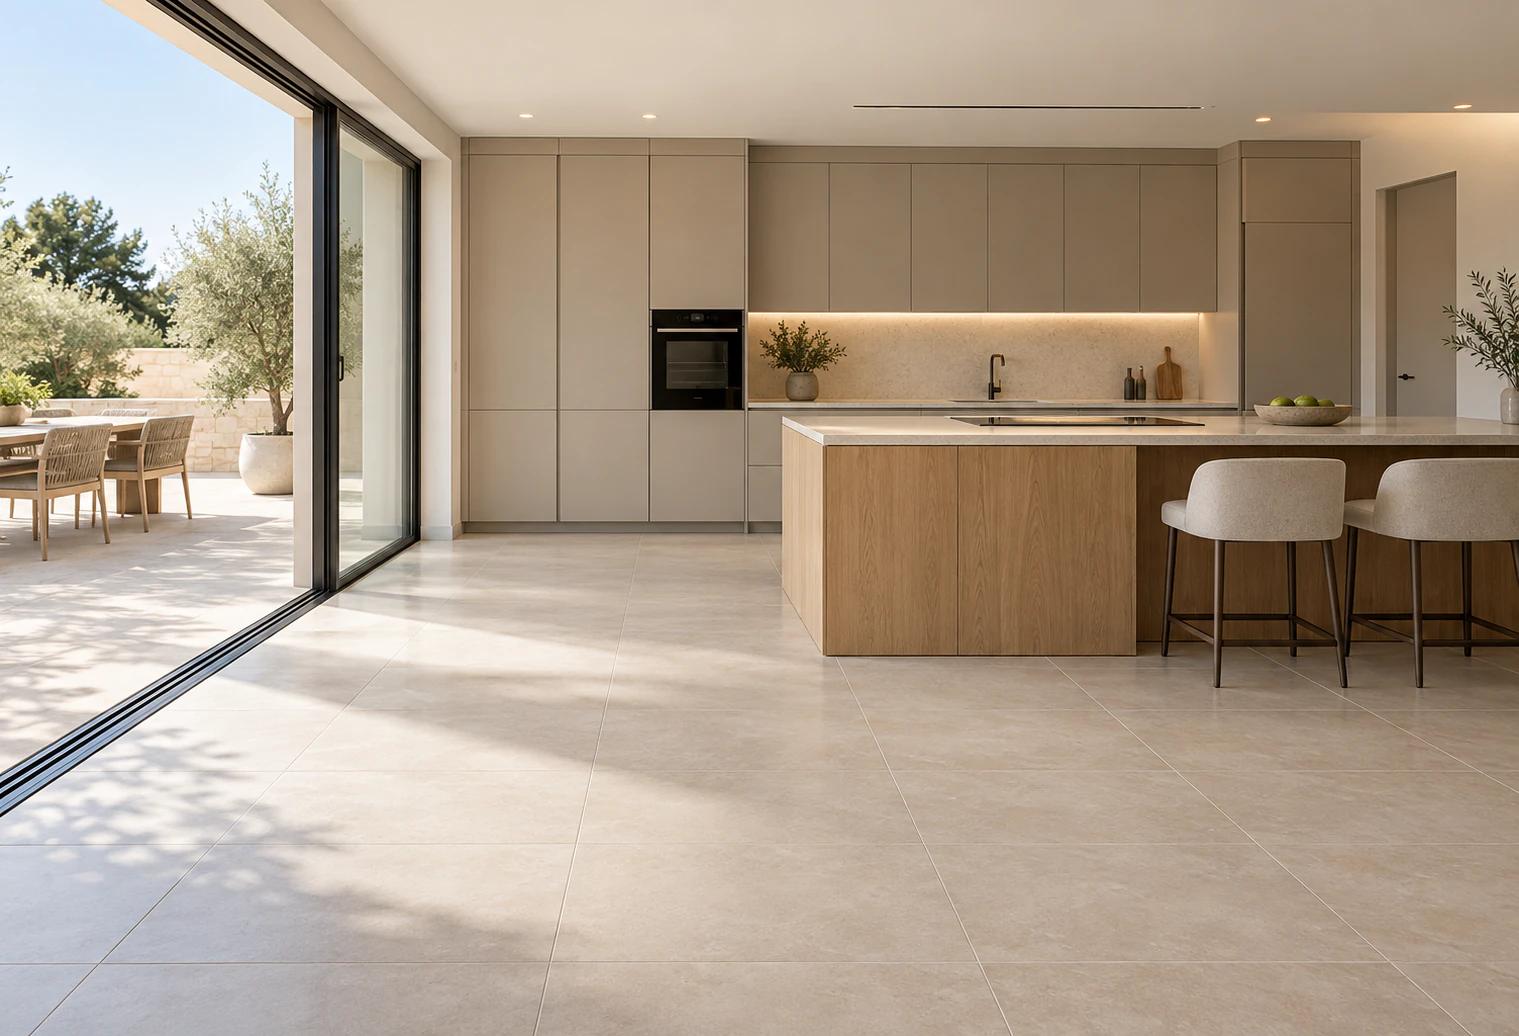
In an open-plan kitchen, the best result is often the same tile running from the living area into the kitchen, with no threshold or change of material. Large formats such as 60 × 60 or 60 × 120 cm mean fewer joints, so fewer lines for dirt to settle in, and they make the space look bigger. In return, they need a very flat substrate and more demanding installation.
Rectangular tiles laid along a galley kitchen make it look longer, laid across they make it look wider. Where possible, the layout lines the joints up with the island or the run of units, so the cut along the cabinet fronts stays even.
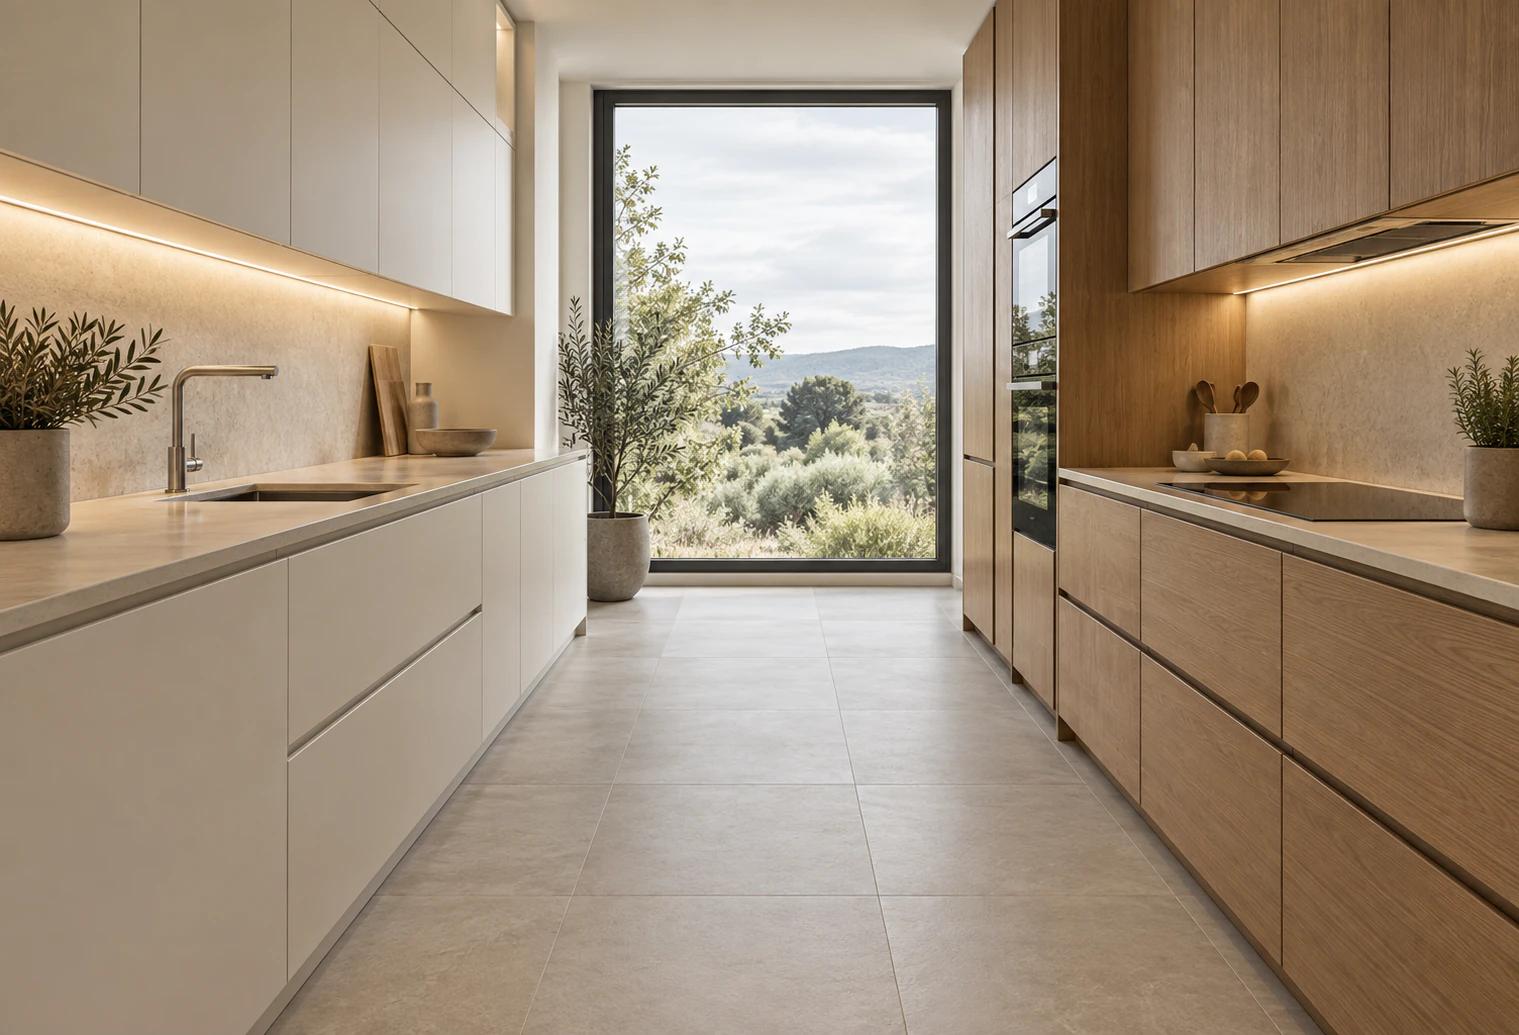
Tiling under the units or around them?
Tiling the whole room before the units go in uses a few more tiles but makes everything simpler: no cuts along the plinths, cabinet legs adjusted on a flat surface, and a kitchen that can be changed later without leaving a hole in the floor.
Tiling around existing units saves tiles and avoids dismantling the kitchen, but watch the extra height: an integrated dishwasher or fridge can end up trapped in its housing, which is now lower than the new floor. So we always tile at least under the appliance spaces, and check that the unit plinths can be trimmed. The same goes for an island: it is better to tile before it is installed.
Ceramic, porcelain, metro or zellige: which wall tiles for a kitchen?
On a wall, the tile takes no foot traffic, so a splashback is chosen for its look, how easy it is to clean and how well it resists stains. It covers at least the area between the worktop and the wall units, and often runs up behind the cooker hood to the hood itself or to the ceiling.
| Tile | Strengths | Points to watch |
|---|---|---|
| Ceramic wall tiles | Wide choice of colours and glazes, light, easy to cut around sockets | Softer glaze, walls only |
| Porcelain | Very low porosity, resists stains and heat, can match the floor tiles | Harder to cut, heavier |
| Metro tiles | Timeless style, many possible laying patterns | Lots of joints to maintain, cuts remove the bevel |
| Zellige | Shifting reflections, handmade look | Irregular, porous edges, needs protection and gentle cleaning |
| Large porcelain slabs | Hardly any joints, cleaned with one wipe | Perfectly flat wall, two-person handling, very precise cuts |
There is no shortage of kitchen wall tile ideas: metro tiles in a brick bond or laid vertically, small rectangles in herringbone, zellige in a bold colour, or a single large porcelain slab that echoes the worktop. Gloss reflects light under the wall units, matt hides marks better: our pointers are in the article on matt or gloss tiles.
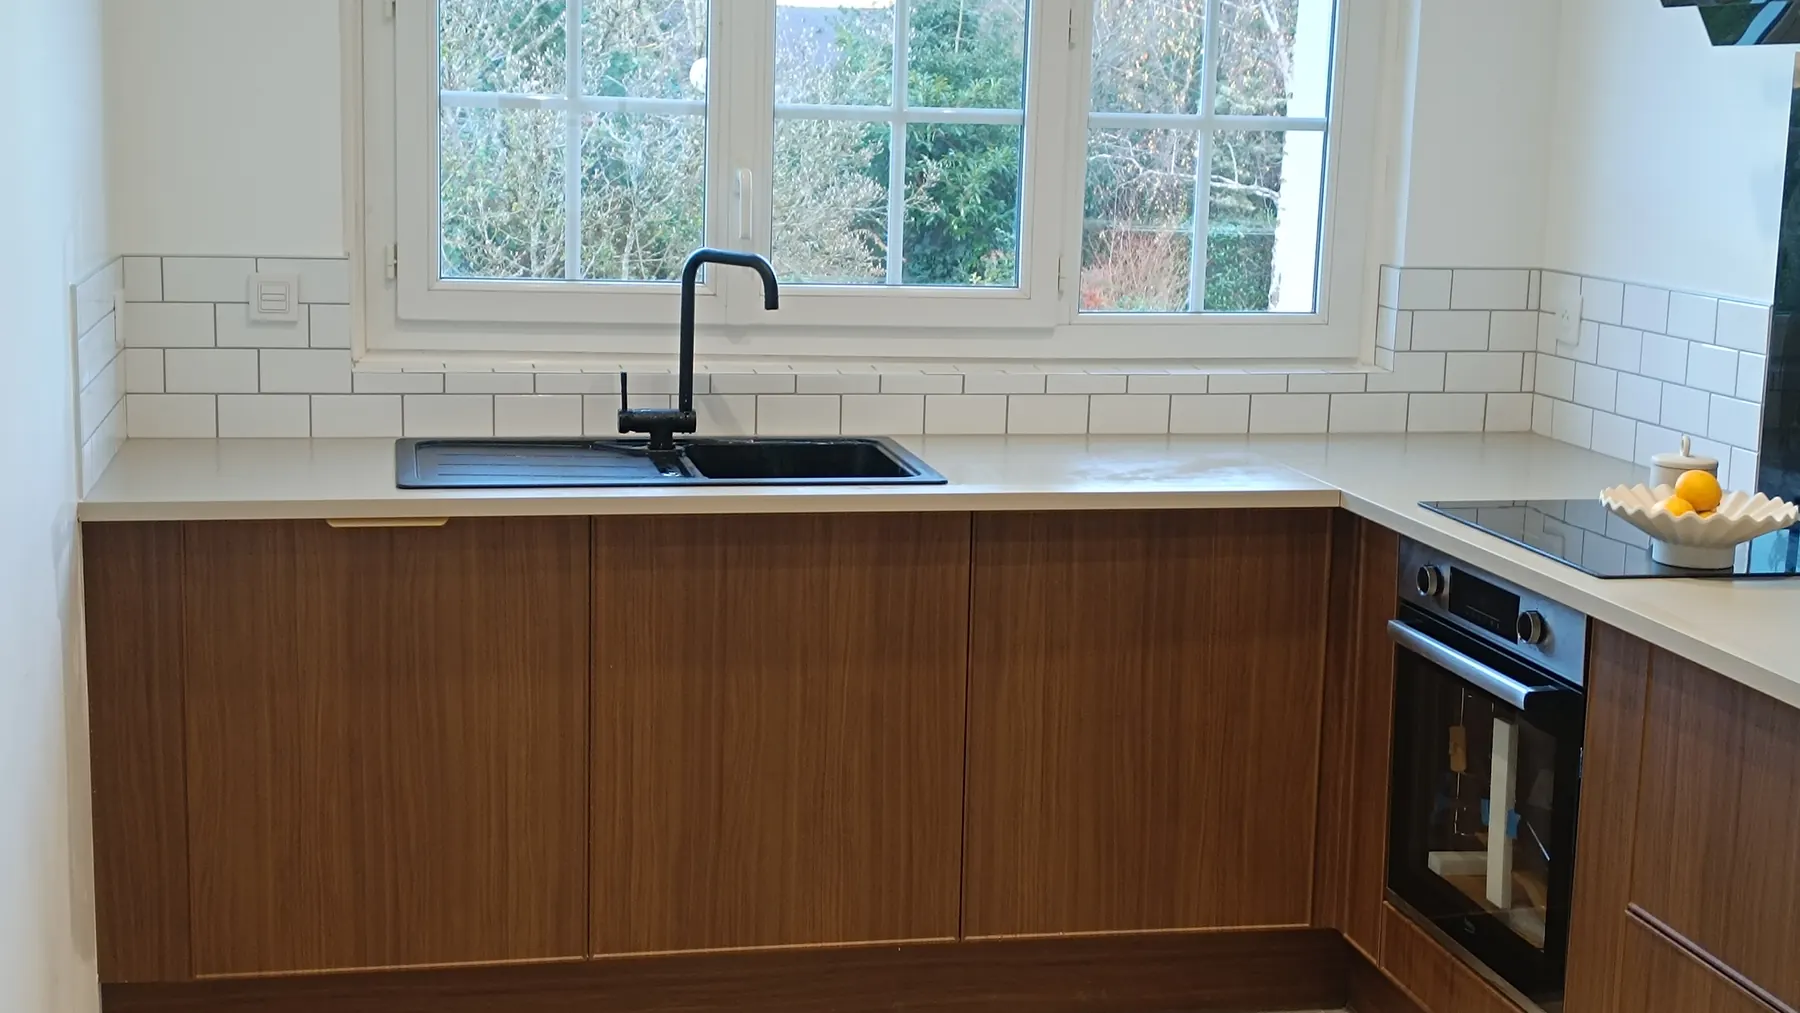
Grout: epoxy behind the hob and sink
Grout is a kitchen’s weak point: more porous than the tile, it absorbs grease and darkens over time. Behind the hob and around the sink, we recommend epoxy grout, which absorbs neither water nor grease and stands up to degreasers. Elsewhere, an improved cement grout is enough, ideally in a mid tone that shows less than pure white.
A thin, well-packed joint cleans more easily than a wide, recessed one. If your splashback grout has already darkened, it can be raked out and redone without changing the tiles: the method is set out in our article on regrouting tiles.
Cutting around sockets, windows and the worktop
A splashback is seen up close, at eye level, so the quality of the cuts matters as much as the choice of tile. The setting-out starts from a level line, never from the worktop, which is not always perfectly straight, and the axes are taken from the hob, the sink or the window.
- Sockets and switches: the power is switched off, the faceplates removed, and each opening is cut cleanly, centred on a tile or on a joint where possible. Since the wall gains a few millimetres, the back boxes are brought out flush with the tiles.
- Window above the sink: the reveals are tiled with matching cuts on each side, and the external corner gets a trim profile or a mitred edge.
- Junction with the worktop: no cement grout, but a flexible sealant joint in sanitary silicone. The worktop and the wall move differently, and a rigid joint would end up cracking and letting water through.
Renovating a splashback over the old tiles
Covering an old splashback avoids removal, dust and making good the wall. It is possible if the old tiles are sound: we tap each one with a mallet, and any tile that sounds hollow is removed and the gap filled. In a kitchen, degreasing is crucial, because a film of grease, even an invisible one, stops the adhesive from bonding. After degreasing and rinsing, a primer suited to non-absorbent surfaces is applied before tiling.
The added thickness also has to be planned for: sockets to bring forward, wall units and hood to check, window reveals and side edges to finish with trims. When to cover and when to remove: see our article on tiling over existing tiles.
We handle wall tiling and splashbacks and floor tiling around Louviers and Évreux, across the Eure, in Paris and throughout Île-de-France.
Frequently asked questions
Can the same tile be used on the floor and the splashback?
Yes, with porcelain: a tile made for floors also works on a wall, as long as the adhesive suits its weight and the substrate. The reverse is not true, since ceramic wall tiles cannot take foot traffic. Running the floor tile up the splashback gives a very unified kitchen, while a smaller or glossier wall tile brings the wall more to life.
Can tiles withstand the heat behind a hob?
Ceramic tiles, whether wall tiles or porcelain, are not bothered by the heat of a domestic hob. The weak points lie elsewhere: the grout, which stains faster under grease splashes, and some decorative finishes, such as metallic glazes or stone, to check on the manufacturer’s data sheet. Behind a gas cooker, also respect the clearances given by the manufacturers of the appliance and the hood.
Which tile colour suits a kitchen floor that gets dirty quickly?
Mid tones with slight variation, such as warm greys, beiges or stone and concrete effects, hide crumbs, water marks and dust best between cleans. Pure white or plain black show everything. A matt finish and grout close to the tile colour also help avoid highlighting every speck of dirt.
Does the kitchen have to come out to replace the floor tiles?
Not always. If the units stand on adjustable legs with clip-on plinths, the floor can be tiled around them and the plinths trimmed. But integrated appliances must still be able to come out of their housings despite the new floor, which is higher by the thickness of the tile and adhesive. When the kitchen is old or due to be replaced, tiling the whole room before refitting remains the best solution.
Is a metro tile splashback hard to keep clean?
A little more than a large slab, because it has many joints. With thin, well-packed grout, epoxy behind the hob and the sink, cleaning stays simple: a wipe with a mild degreaser after cooking is enough. On bevelled tiles, grease settles more easily in the hollow of the bevel.