Choosing your tiles
Rectified or non-rectified tiles: differences, joints and laying
A rectified tile has its edges ground after firing, so every tile has the same size and sharp, square edges, which allows thin joints on a very flat substrate. A non-rectified tile keeps slightly rounded edges and small size differences: it needs a wider joint, but it is more forgiving and suits rustic looks better.
Put two tiles of the same range side by side, one rectified and one not, and the difference shows mainly at the edge: a sharp arris on one, a slightly rounded edge on the other. Yet this manufacturing detail decides the joint width, the floor preparation and the care needed when laying.
What is a rectified tile?
During firing, a tile shrinks slightly, and that shrinkage varies a little from one tile to the next and from one kiln batch to another. The same range therefore comes out of the kiln with small size differences. Rectification means passing the fired tiles under diamond grinding wheels that machine all four edges to a single size, with square corners.
The result is very consistent dimensions and crisp edges, often softened by a tiny chamfer that limits chipping. Rectified tiles are mostly porcelain, especially in large formats, but rectified ceramic wall tiles exist too. The actual size, called the work size, can differ by a few millimetres from the nominal size printed in the catalogue: the work size is the one used for the layout plan.
Non-rectified tiles: calibre and shade
A non-rectified tile keeps the slightly rounded edges left by pressing and firing. To limit the variations, the manufacturer sorts its output by calibre: within one calibre, sizes are close; between two calibres, the difference can show in the joints. The box also gives a shade, or tone, grouping tiles of identical colour. Three precautions follow:
- order the whole area in a single calibre and a single shade, with a margin for cuts and breakage;
- check the boxes on delivery, before opening the first one: a different calibre cannot be made up for during laying;
- keep a few spare tiles from the same batch, as a reorder a few years later will rarely match the shade exactly.
| Criterion | Rectified | Non-rectified |
|---|---|---|
| Edges | Sharp, machined square edges | Slightly rounded edges from firing |
| Dimensions | Very consistent from tile to tile | Small variations, sorted by calibre |
| Joints | Thin, often around 2 mm | Wider, to absorb the variations |
| Substrate | Must be very flat | More tolerant of small defects |
| Look | Contemporary, almost continuous surface | More traditional, joints more visible |
| Typical uses | Large formats, marble, concrete or smooth stone effects | Small formats, terracotta effect, metro tiles, old houses |
Thin joints, but never no joint
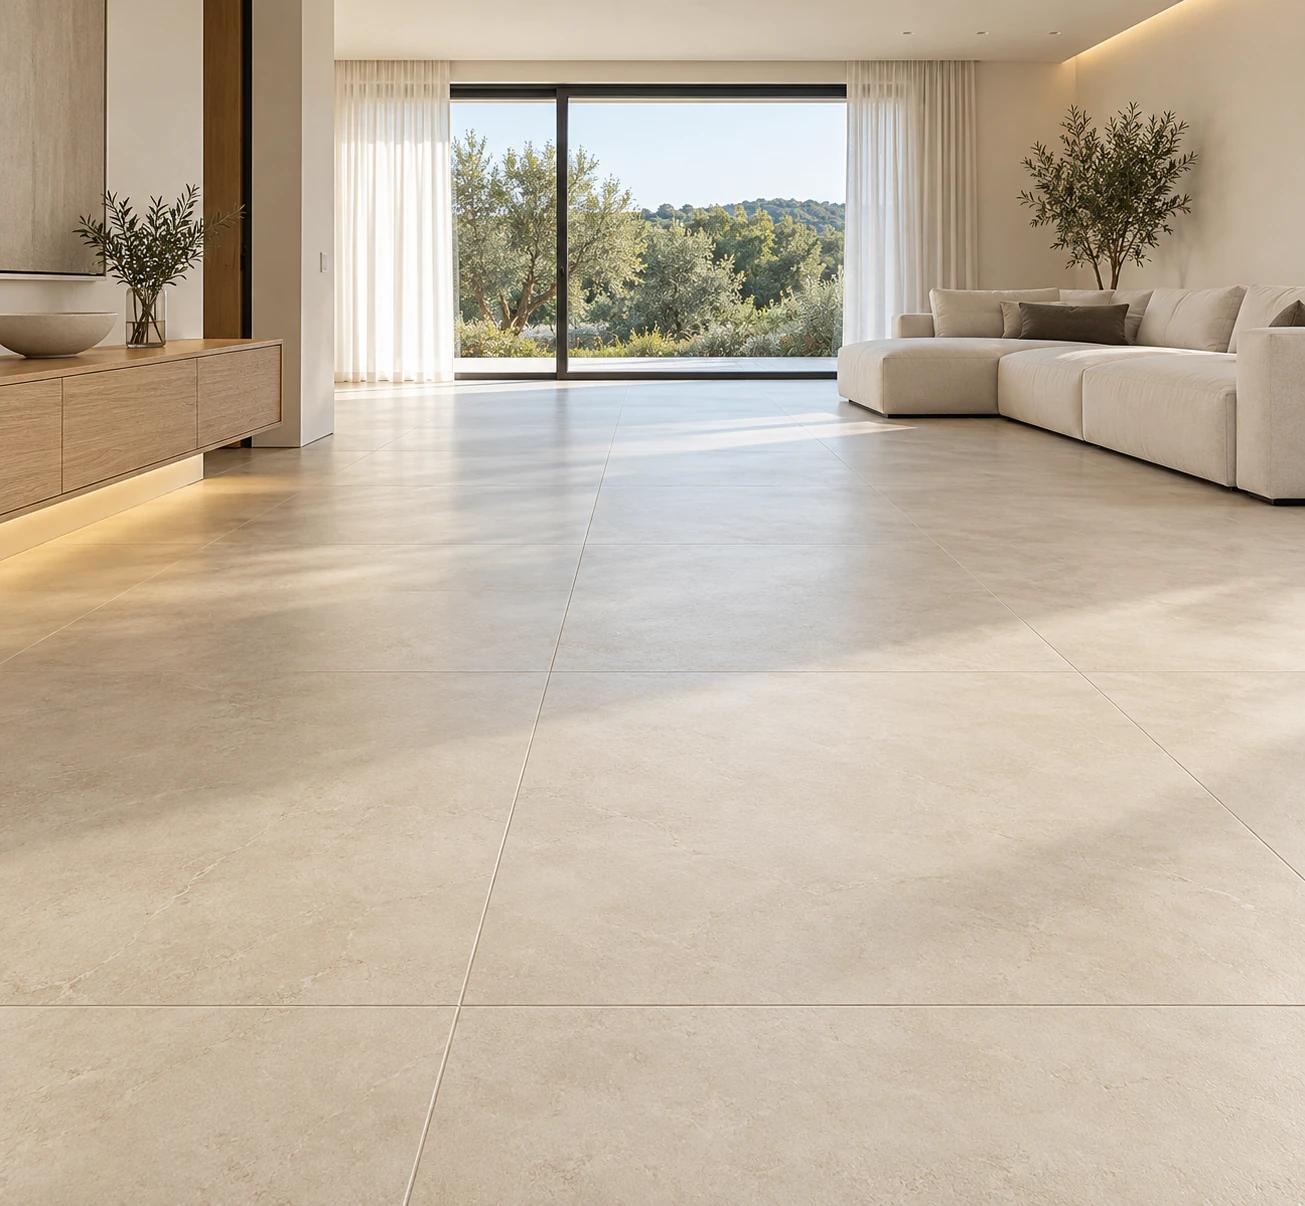
Rectification allows thin joints, often around 2 mm according to the manufacturer’s data sheet. It does not allow them to be left out. Even rectified tiles keep small manufacturing tolerances; above all, the substrate, the adhesive and the tiles move with changes in temperature and humidity, and the joint absorbs that movement. Laid edge to edge, tiles chip along their edges or end up lifting.
The minimum width is set by the manufacturer and by the laying rules, and we never go below it. With non-rectified tiles, the joint has to be wider, otherwise the size differences add up from one row to the next and the lines wave.
A thin joint is filled with a grout designed for that width: every bag of cement grout states the range of joint widths it accepts. Chosen in the colour of the tile, it almost disappears.
Substrate flatness and lippage
The thinner the joint and the sharper the edge, the more visible the slightest height difference between two tiles. This defect is called lippage: it catches low-angle light and can sometimes be felt underfoot. On a non-rectified tile, the rounded edge and wider joint partly hide it; on a rectified tile, nothing does. Its causes are well known:
- a substrate that is not flat enough and needs a levelling compound before tiling;
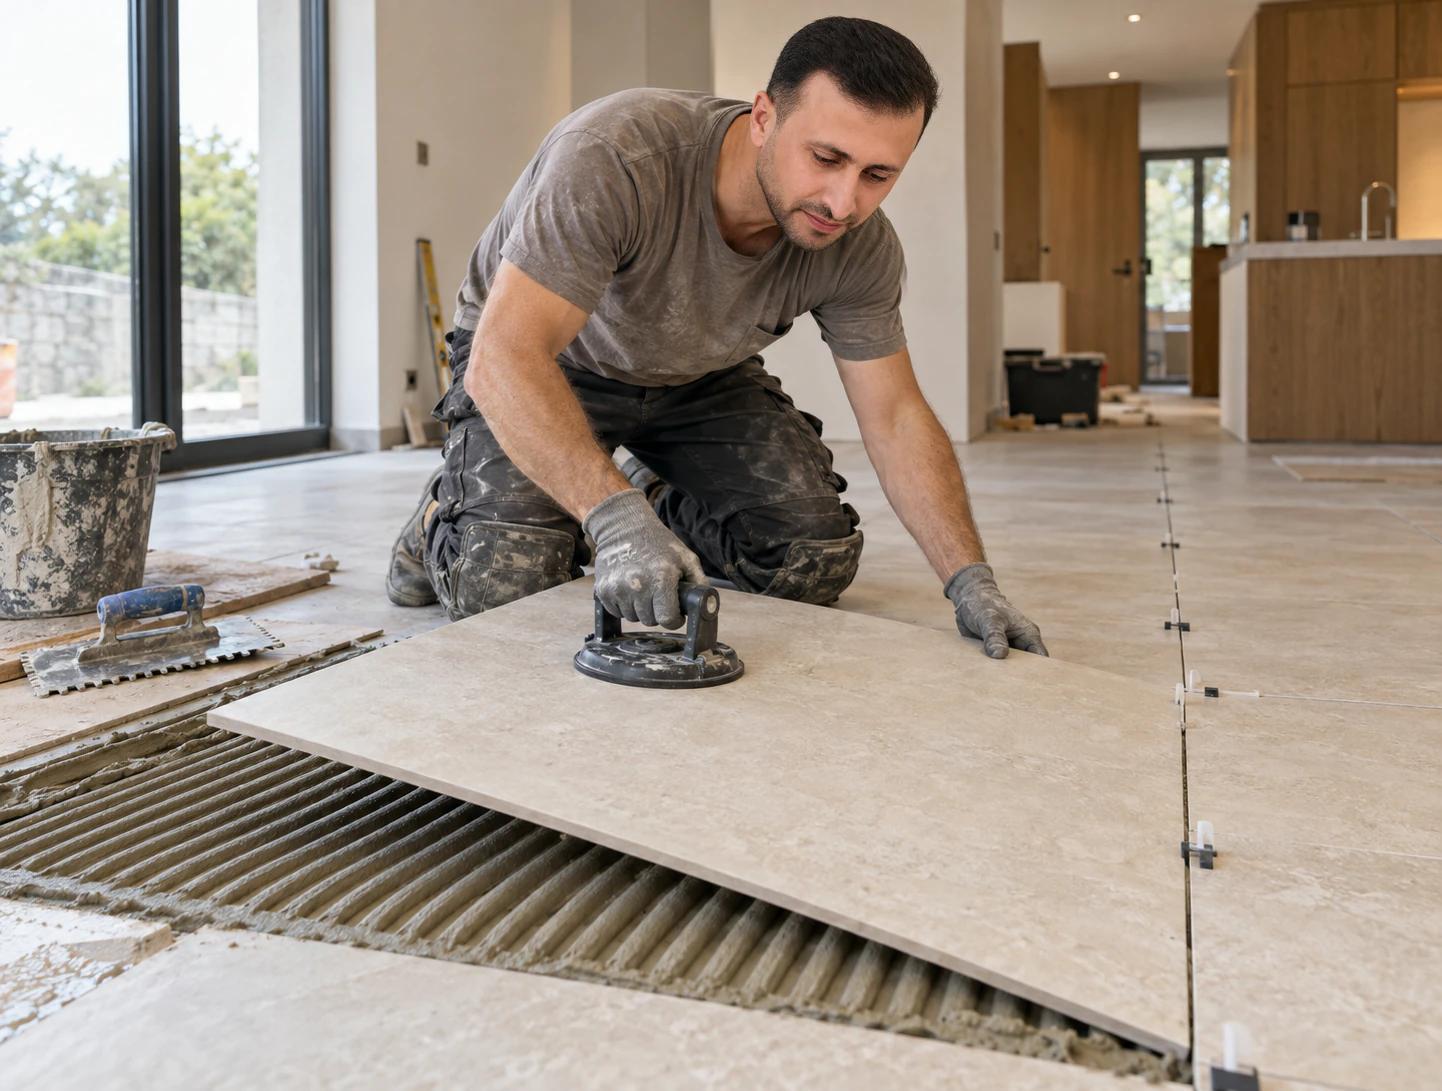
- uneven adhesive, avoided with the right notched trowel and, on large formats, back-buttering as well;
- the slight natural bow of long tiles, made worse by a half offset, which manufacturers often limit to a third (see our article on tile layout planning).
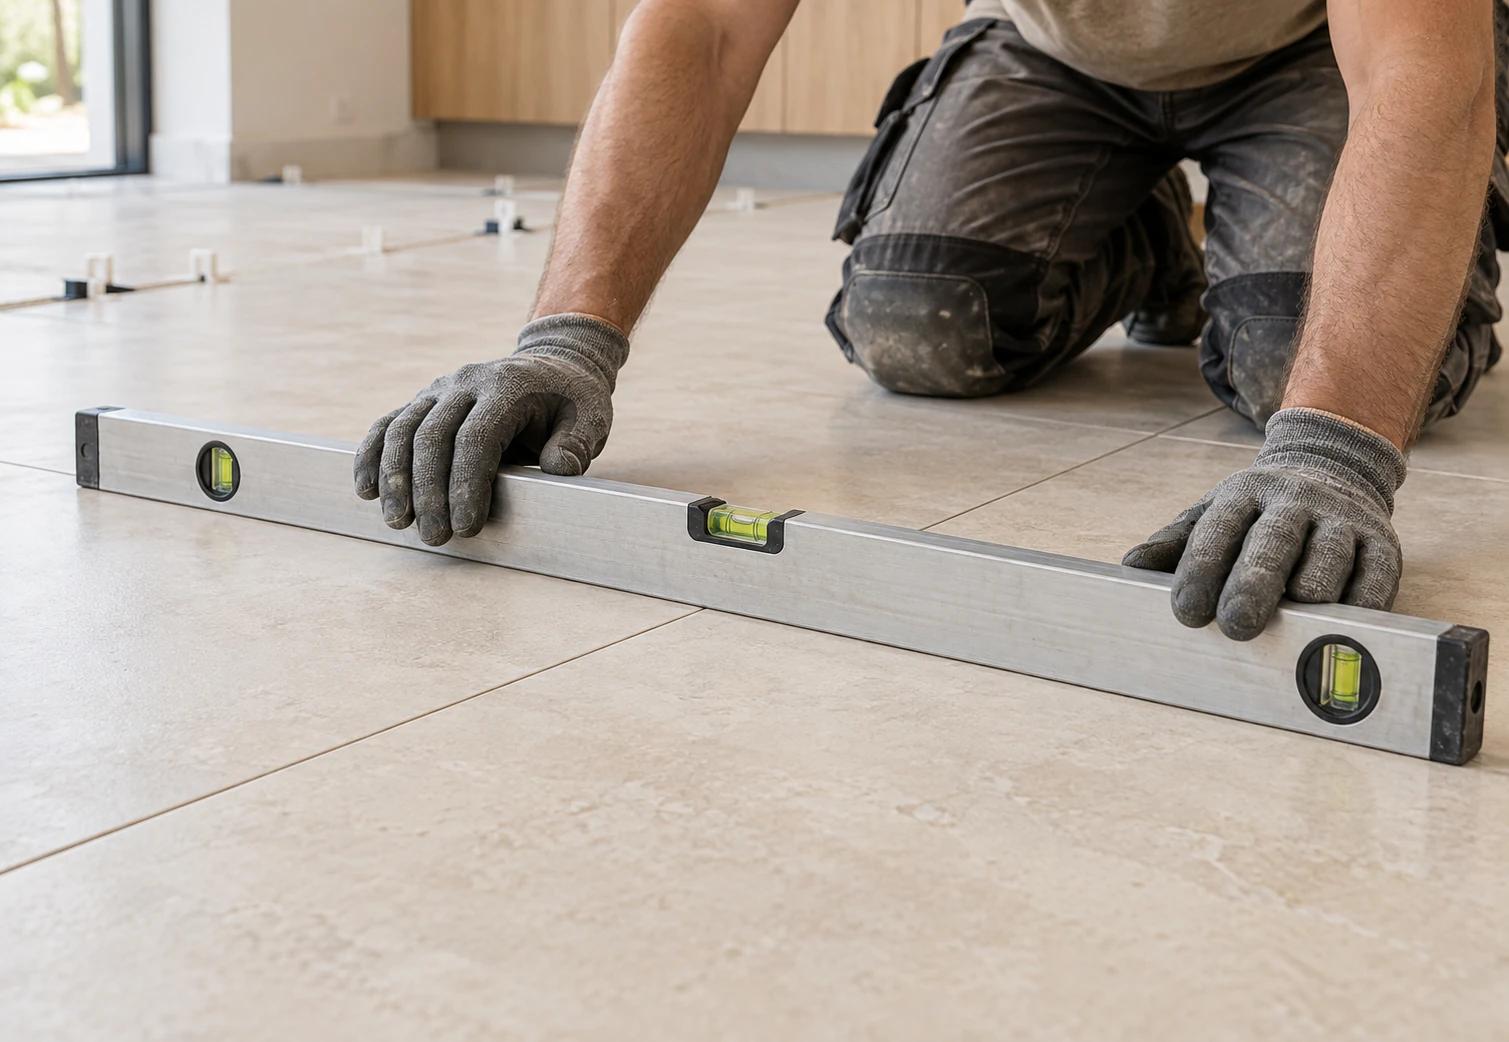
That is why laying rectified tiles starts with checking the floor using a long straightedge. Professional rules set tolerances for flatness and lippage, covered in our article on tiling rules and standards.
Levelling systems: useful, not miraculous
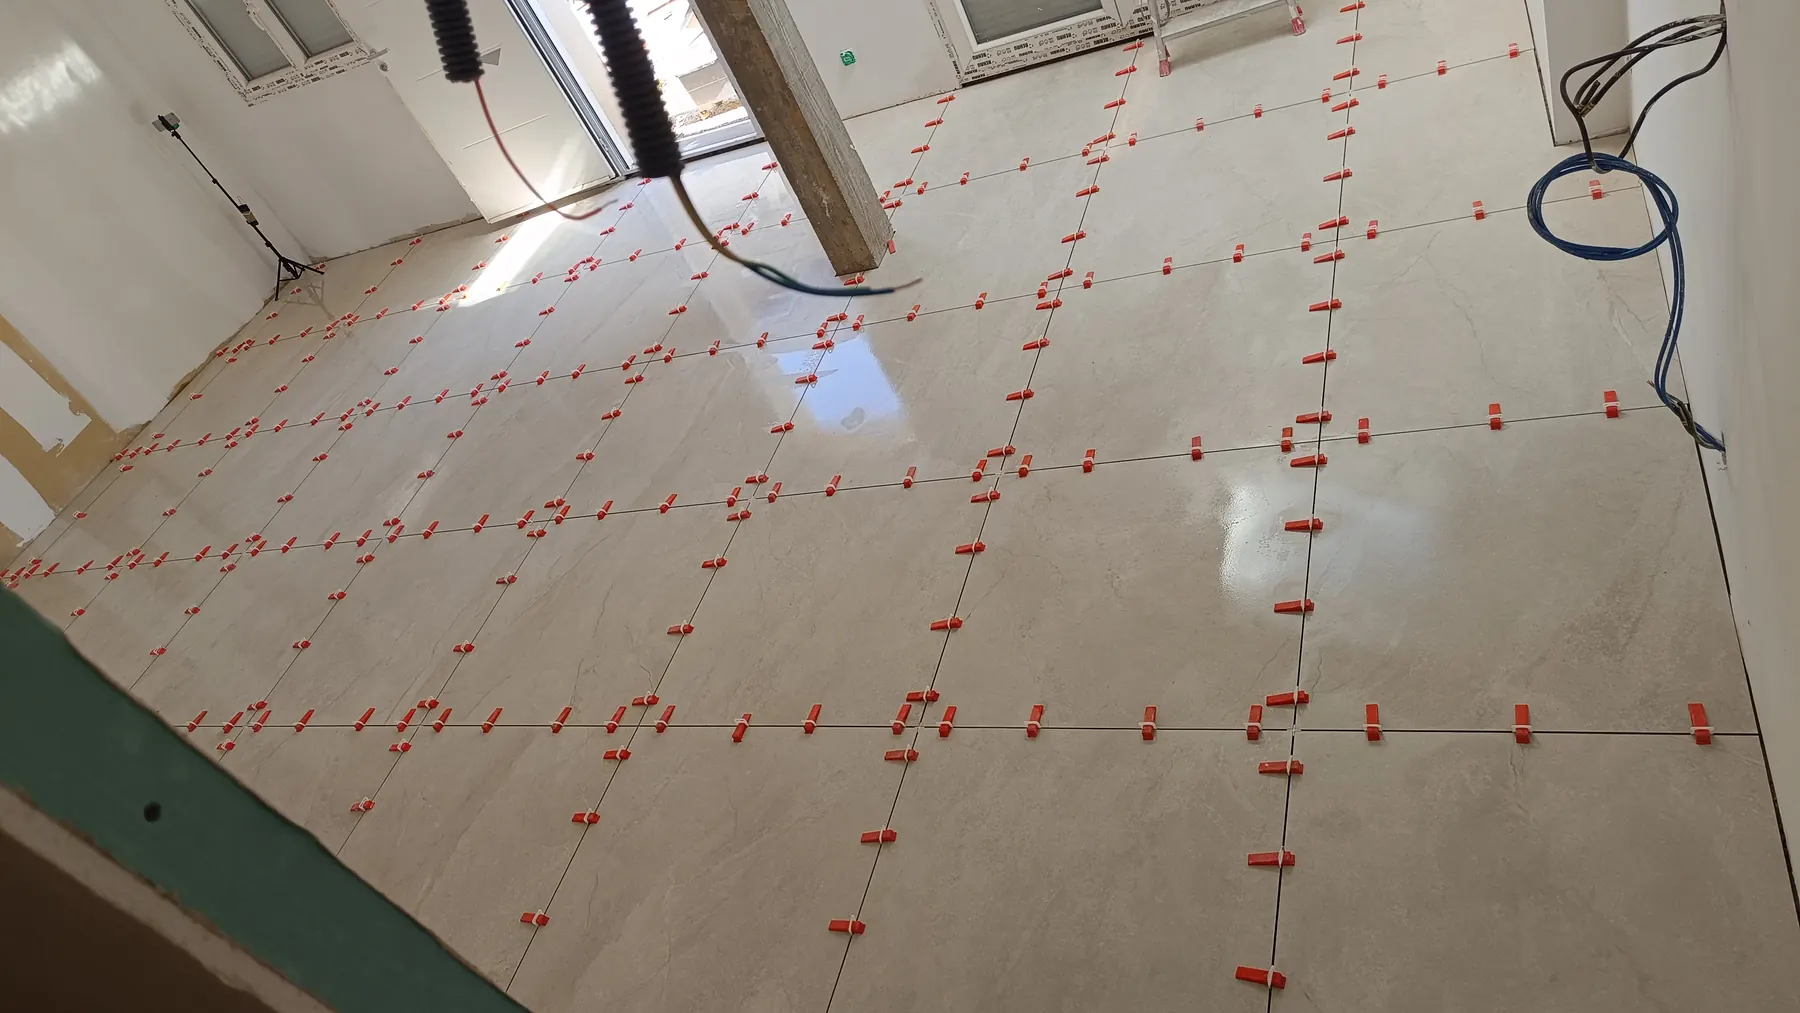
For rectified tiles, and large formats in particular, we lay with a tile levelling system: clips slipped under the tile edges and tightened with wedges or caps, which hold neighbouring edges at the same height while the adhesive sets and keep the joint width even. Once the adhesive has hardened, the visible part of each clip is snapped off flush with the joint.
These systems correct small differences between two tiles, not a bumpy floor: on an uneven substrate, the clips force the tiles and leave voids under the adhesive. They complement preparation without replacing it. That is our method on large-format tiling jobs.
When non-rectified tiles are the better choice
Non-rectified tiles are not a second-rate option. They are actually preferable in several situations:
- rustic or handmade looks, such as terracotta or tomette effects, where a wider joint is part of the charm;
- metro tiles and many small wall formats, whose rounded edge is part of the design;
- old houses with irregular walls and floors, where a more generous joint absorbs the defects without drawing the eye.
Conversely, a marble, concrete or smooth stone effect in large format loses a great deal with wide joints: there, rectified tiles are almost always the right choice.
How rectification affects the price
Rectification is an extra manufacturing step, so within the same range a rectified tile often costs a little more, but the range, the format and the thickness weigh far more on the price.
On site, preparation is what counts. A large rectified tile needs a very flat substrate, sometimes a levelling compound, back-buttering, a levelling system and a precise layout, all of which the quote should show. A non-rectified tile needs less preparation but more grout. For orders of magnitude, see our guide to tiling costs per square metre.
Reading the box and the data sheet
Before ordering, look for these details:
- the word rectified (rectifié in French, rettificato from Italian manufacturers), or its absence;
- the work size in millimetres, used for the layout plan;
- the calibre and shade, to be checked as identical on every box;
- the recommended joint width and, for long formats, the maximum recommended offset;
- the quality grade, thickness and performance ratings, explained in our article on UPEC, R11 and PEI tile ratings.
During our visit, we go through this information with you, check how flat the floor is and tell you frankly whether your substrate can take thin joints: in Louviers, elsewhere in the Eure or in Île-de-France, that assessment shapes our proposal for floor and wall tiling.
Frequently asked questions
Can rectified and non-rectified tiles be mixed in the same room?
Yes, on different surfaces: a rectified floor and non-rectified wall tiles work very well together, each with the joint width that suits it. On the same surface, however, it should be avoided: the two tiles have neither the same actual size nor the same edges, and the joints could not stay even.
Are rectified tiles better quality?
Not necessarily. Rectification is about dimensional accuracy and the shape of the edges, not the strength of the tile. Its resistance to wear, stains, slipping or frost depends on the material and the ratings given on the data sheet. A good non-rectified porcelain tile is better than a rectified tile unsuited to the room: choose first for the use, then for the look.
How can I tell whether tiles already laid are rectified?
Look at the edges and the joints. Sharp, almost square edges and thin, perfectly even joints usually point to rectified tiles; rounded edges and wider joints, to non-rectified ones. It matters when a broken tile has to be replaced: spare boxes or the reference of the range remain the surest way of finding a compatible tile.
Why are there height differences between my rectified tiles?
This lippage usually comes from a substrate that is not flat enough, uneven adhesive or too large an offset on long tiles, which are naturally slightly bowed. Sharp edges and thin joints make it far more visible than on a tile with rounded edges. A slight difference can remain within the tolerances of the laying rules; beyond that, only lifting the affected tiles truly corrects the defect.
Does every rectified tile need a levelling system?
It is not compulsory. With a small format on a very flat floor, a careful tiler gets flush edges without clips. The system becomes very useful on large formats and long tiles, where the slightest bow shows. It never replaces preparation: on an uneven floor, the flatness must be corrected first, and only then can the tiles be laid.