Techniques and standards
Tile layout planning: how a tiler sets out a floor or wall
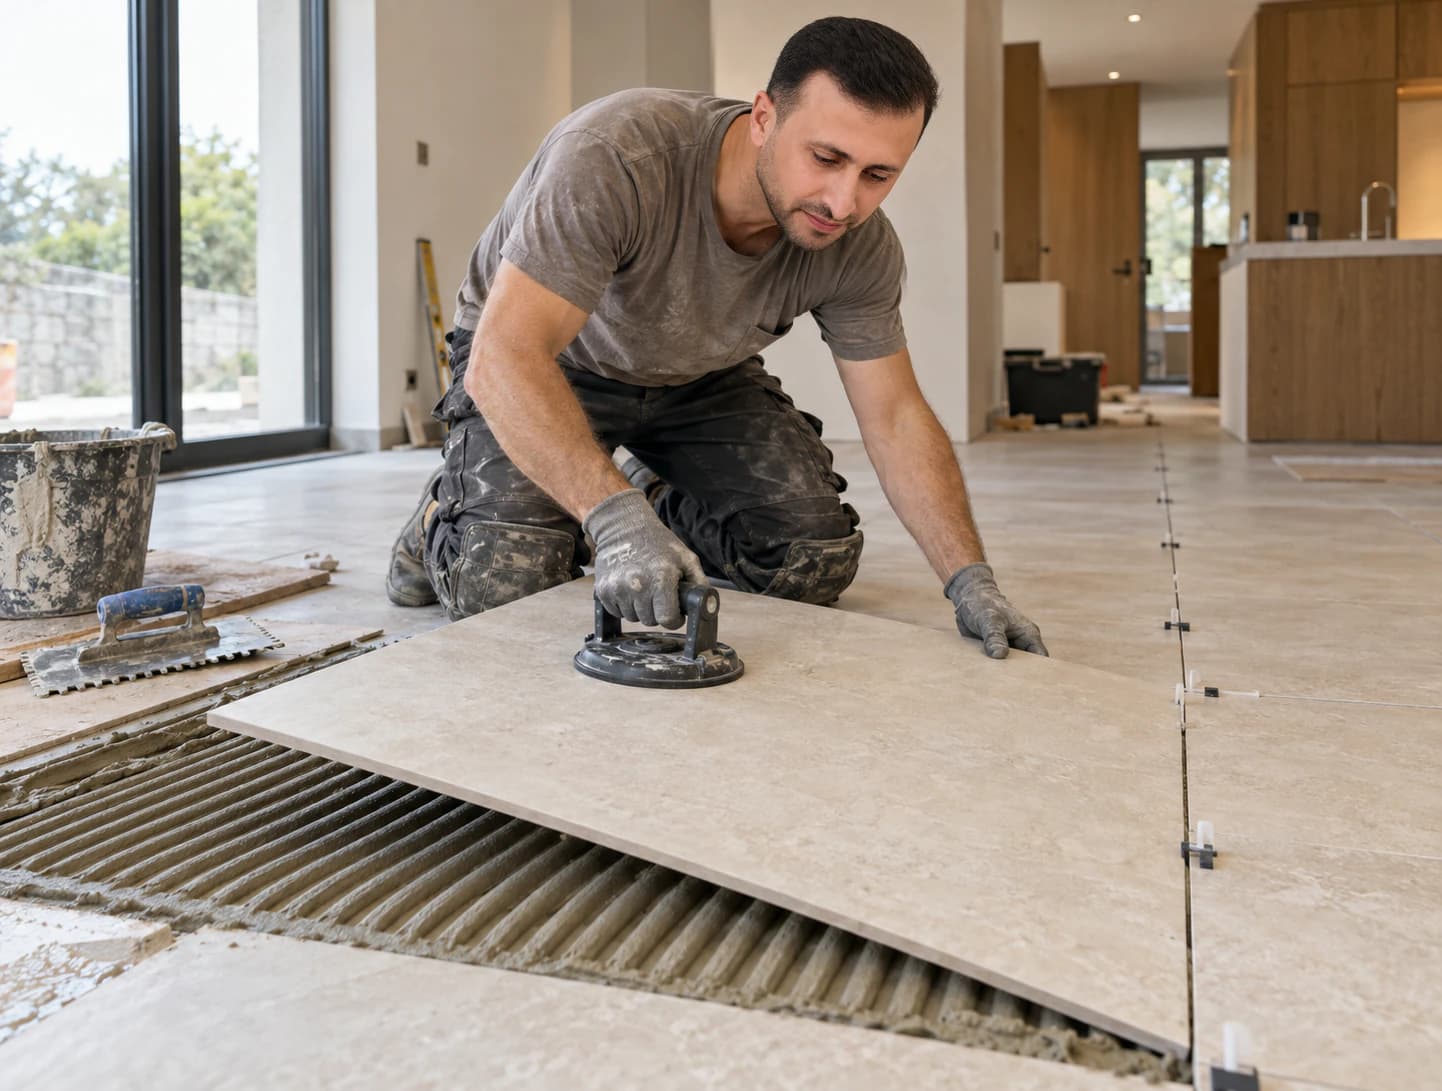
A tile layout plan (calepinage in French) sets the pattern, direction, starting point, joint width and position of the cuts before the first tile goes down. Done well, it gives symmetrical cuts, full tiles where the eye falls and joint lines that carry on from one surface to the next.
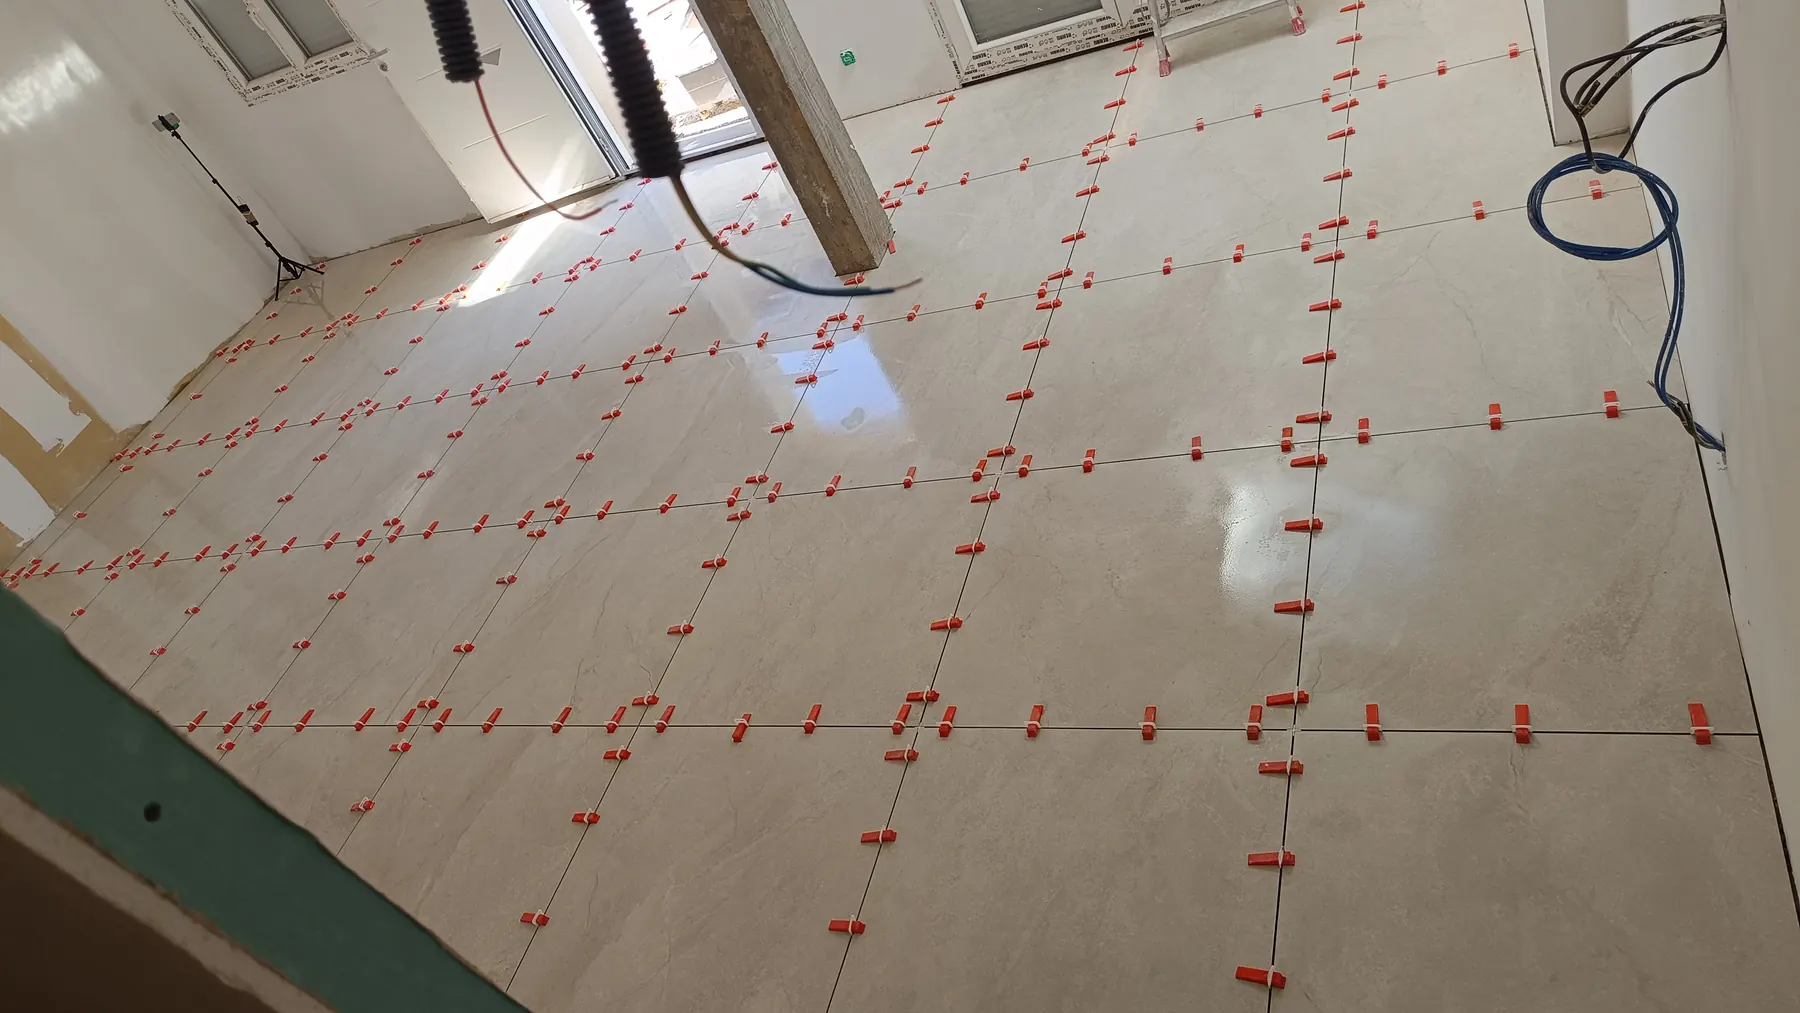
The layout is decided before the first box is opened: once the adhesive is spread, it is too late to move a cut. The plan is what prevents a 3 cm strip in front of the French window or a joint line drifting across the hallway. The larger the tiles, the less forgiving it is.
What a layout plan sets
A layout plan ranges from a dimensioned sketch for a simple room to a scale drawing for an open-plan living area, a bathroom with a niche or large formats. It always answers the same questions:
- the laying pattern and the direction of the tiles;
- the starting point and the reference lines;
- the joint width, according to the tile and the manufacturer’s data sheet;
- the position and width of the cuts, at the edges, around doors and around obstacles;
- where movement joints, thresholds and changes of floor covering go;
- on walls, the height of each row relative to the basin top, the niche, the windows and the ceiling.
Before marking out, we take measurements and check whether the room is square by comparing its diagonals. Walls are rarely perfectly square: measuring the error tells us where it will be absorbed.
Choosing the laying pattern
The pattern is first an aesthetic choice, but it also affects laying time, the number of cuts and how many tiles to order. The main options:
| Pattern | Look | Points to watch |
|---|---|---|
| Straight lay (grid) | Joints aligned both ways, calm lines. | An out-of-square wall shows along the edges. |
| Half offset | A brick-bond effect, a classic. | Best avoided on long tiles, which have a slight bow. |
| Third offset | A gentler offset, close to a wooden floor. | Often the recommended limit for large rectangles. |
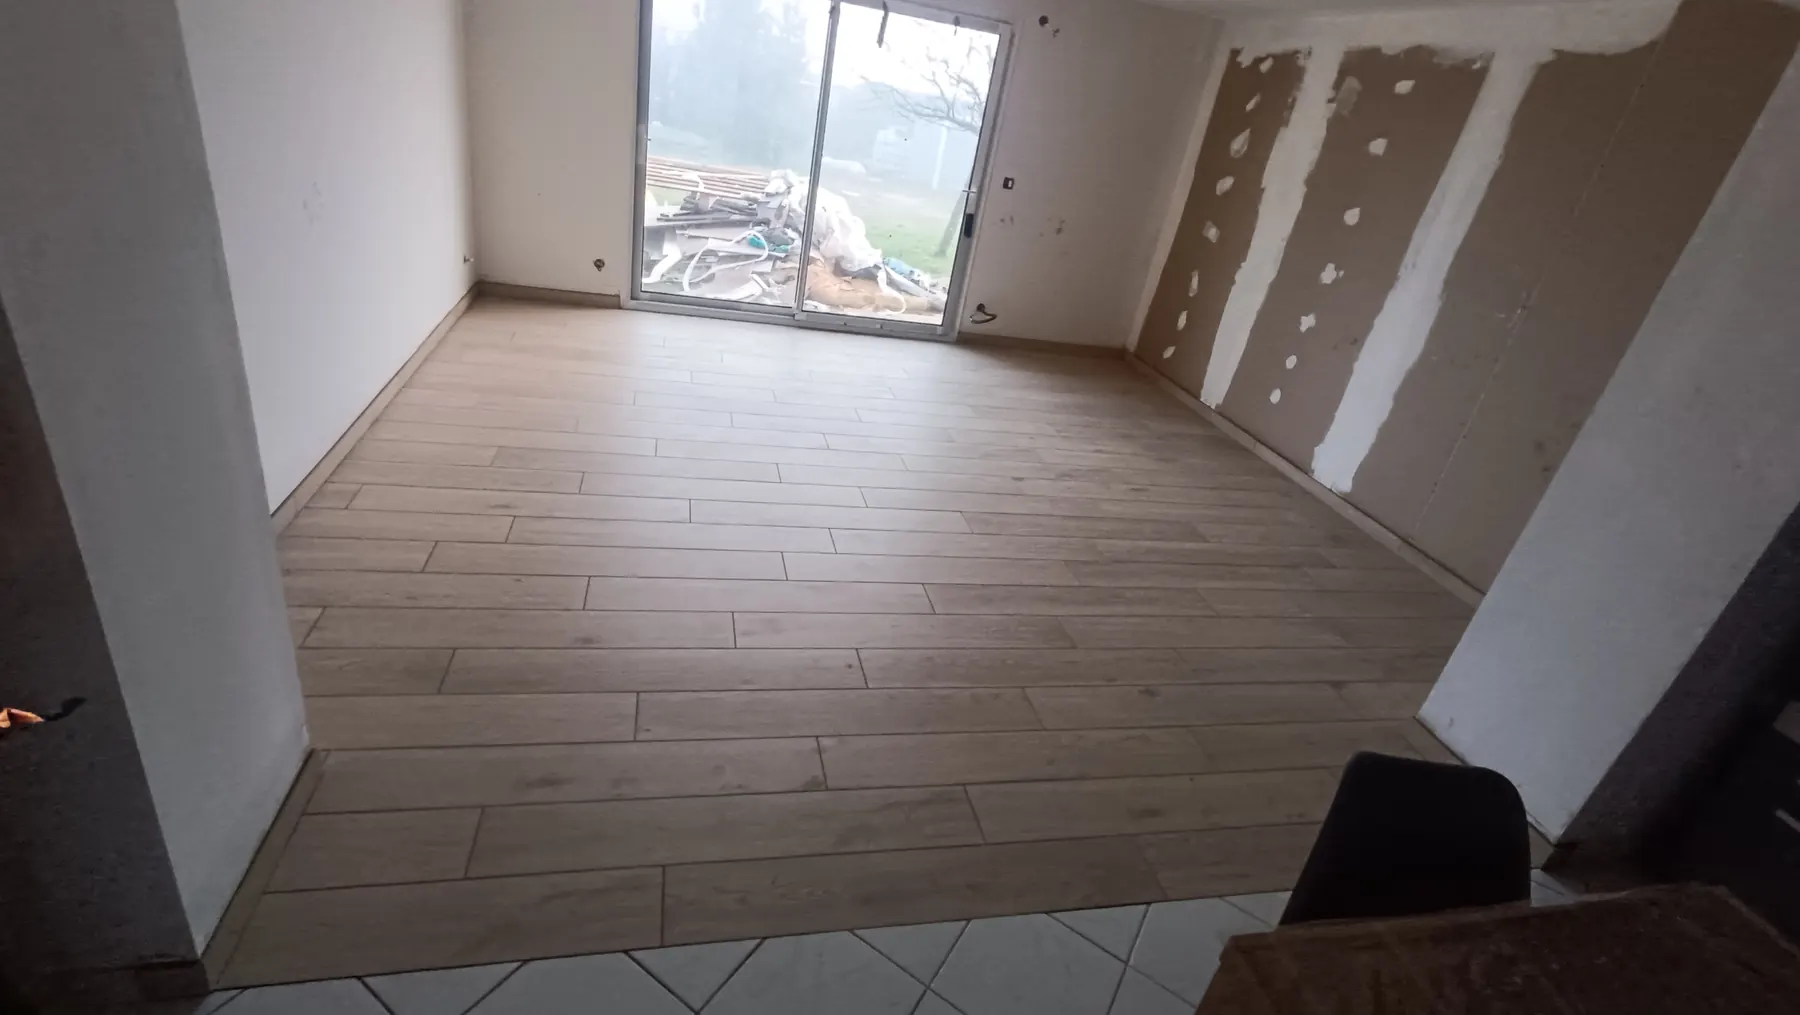
| Random offset | A natural look, ideal for wood-effect planks. | Keep enough distance between the joints of two rows. |
| Diagonal lay | Lines at 45°, which hide a crooked wall. | Angled cuts along every edge, more waste. |
| Herringbone and chevron | A zigzag pattern for a living room or hallway. | Precise setting out from a centre line, slower laying. |
Plank and chevron variants are covered in our article on laying wood-effect tiles. In every case, the quantity to order is worked out from the plan, with an allowance for cuts.
Finding the starting point and the centre lines
The classic mistake is to start in a corner: the tiles then follow a wall that may be crooked, and all the cuts end up on the opposite side. We work from reference lines instead: the line of the front door, a patio door, an island or the hallway, or the middle of the room. They are marked with a chalk line or a laser level, then checked by dry-laying a few tiles.
From these lines, we aim for symmetrical cuts of the same width on both sides, rather than a full tile on one side and a thin strip on the other. If the cuts are too narrow, and therefore fragile, we shift the start by half a tile. Full tiles go where the eye falls: at the entrance, in front of a French window, at the edge of a shower. Cuts go under furniture and behind doors.
Tile direction, light and room proportions
With rectangular tiles, the laying direction changes how the room feels: lengthwise, planks make a hallway look longer; across, they widen it but chop it up. In a living room, we often run the tiles in the direction of the light coming from the main window.
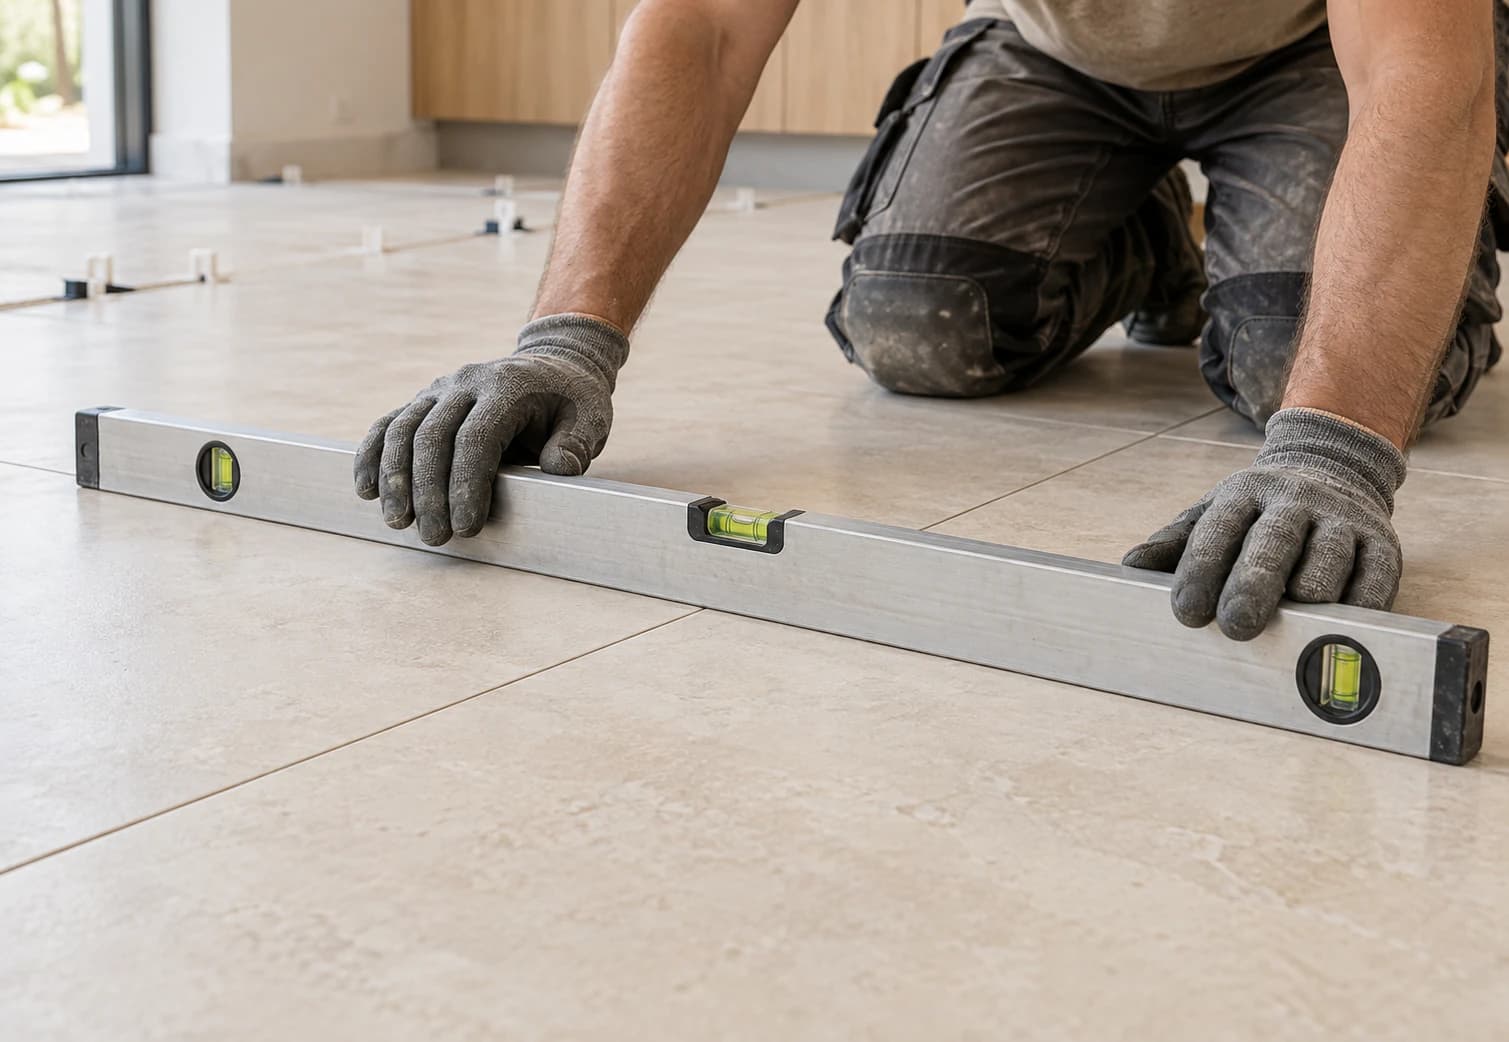
This is not only about looks. Grazing light that strikes the long edges of the tiles head-on picks out the slightest height difference between two edges, known as lippage. When the light runs along the tiles, those edges cast far less shadow.
Large rectangular tiles: a limited offset
A long tile is never perfectly flat: firing leaves it with a very slight bow, within the limits of manufacturing standards. With a half offset, the middle of one tile, its highest or lowest point, lands against the ends of its neighbours: the lippage becomes visible, and can be felt underfoot.
Manufacturers therefore often recommend an offset of a third of the length at most for 120 × 60 cm tiles and long planks, sometimes less. We read the data sheet before suggesting a pattern, and lay these formats with a levelling system, as on all our large-format tiling jobs. To choose the size itself, see our guide to choosing large-format tiles.
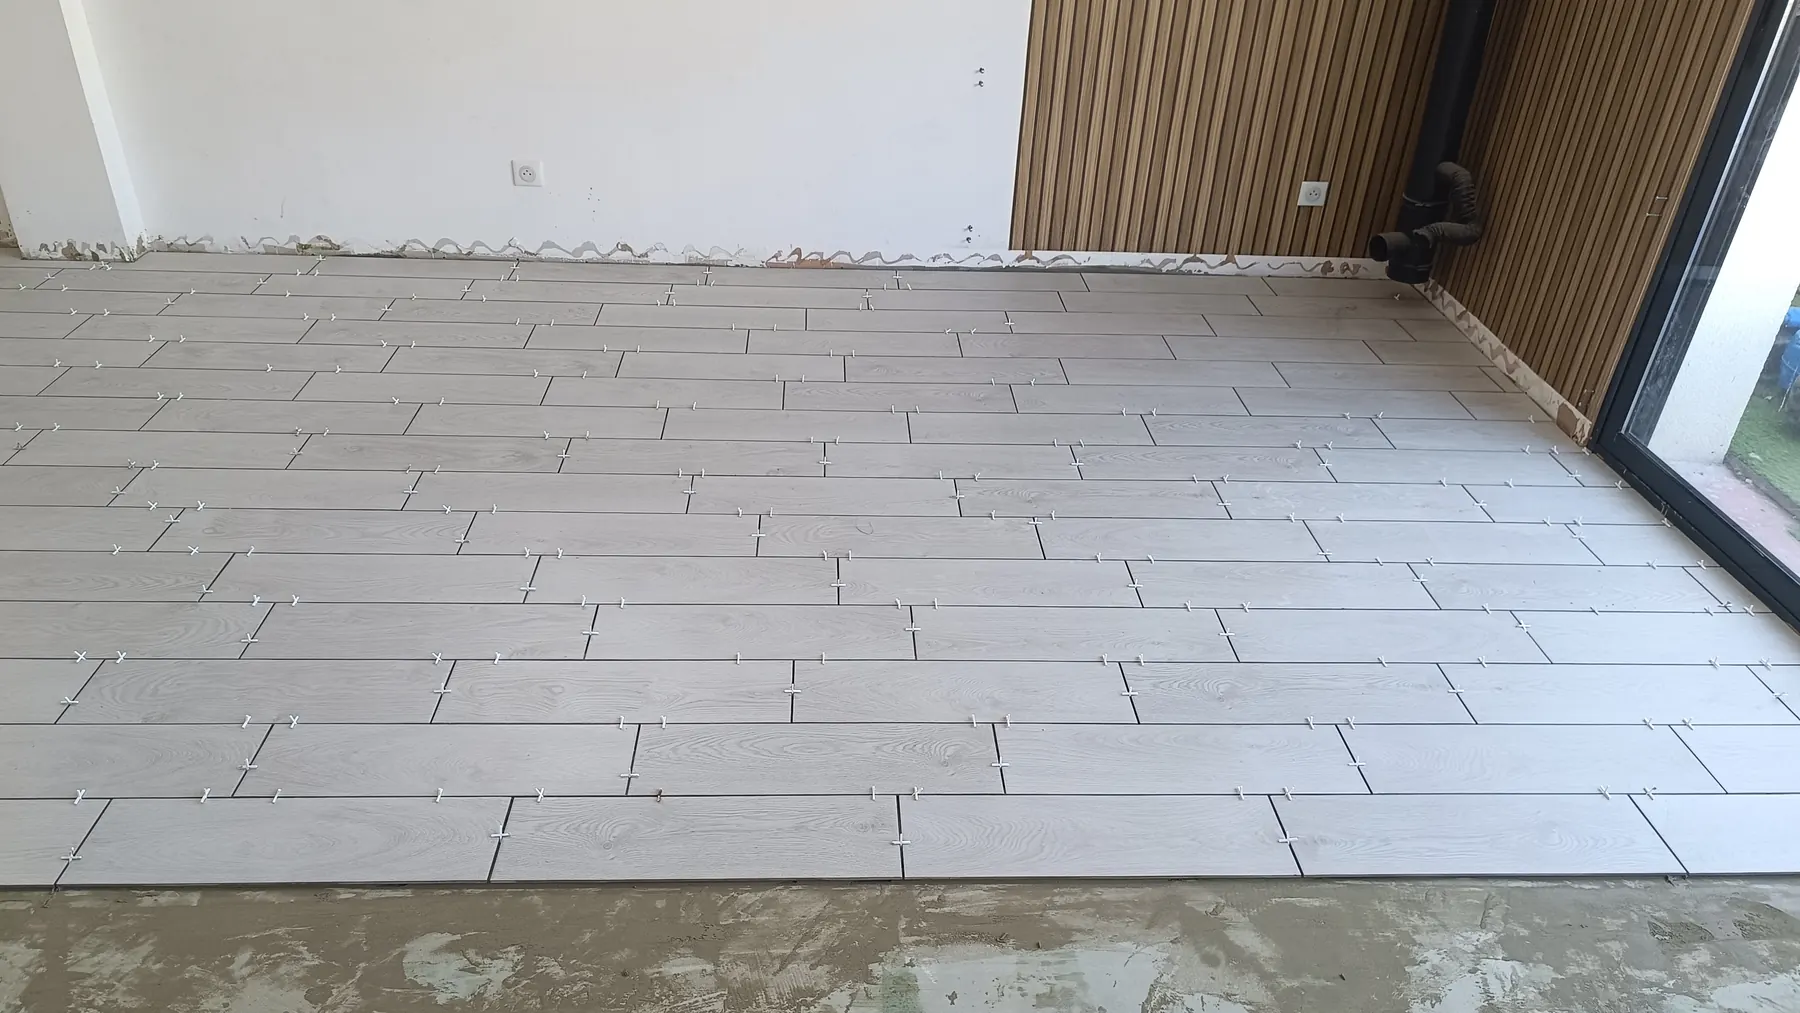
Lining up walls, floors and rooms
On walls, the layout starts from a level line, never from the floor, which is rarely level. We work out the row heights so that a joint lines up with the basin top, the edge of the bath or the niche, with no thin row just below the ceiling. Cuts around a window are spread evenly on either side of its centre line.
With compatible sizes, for example 60 × 60 cm on the floor and 30 × 60 cm on the walls, the joints run from floor to wall, a detail people notice in a walk-in shower. From one room to the next, with the same tiles, the joints carry on under the doors so that the lines follow through from the hallway to the living room.
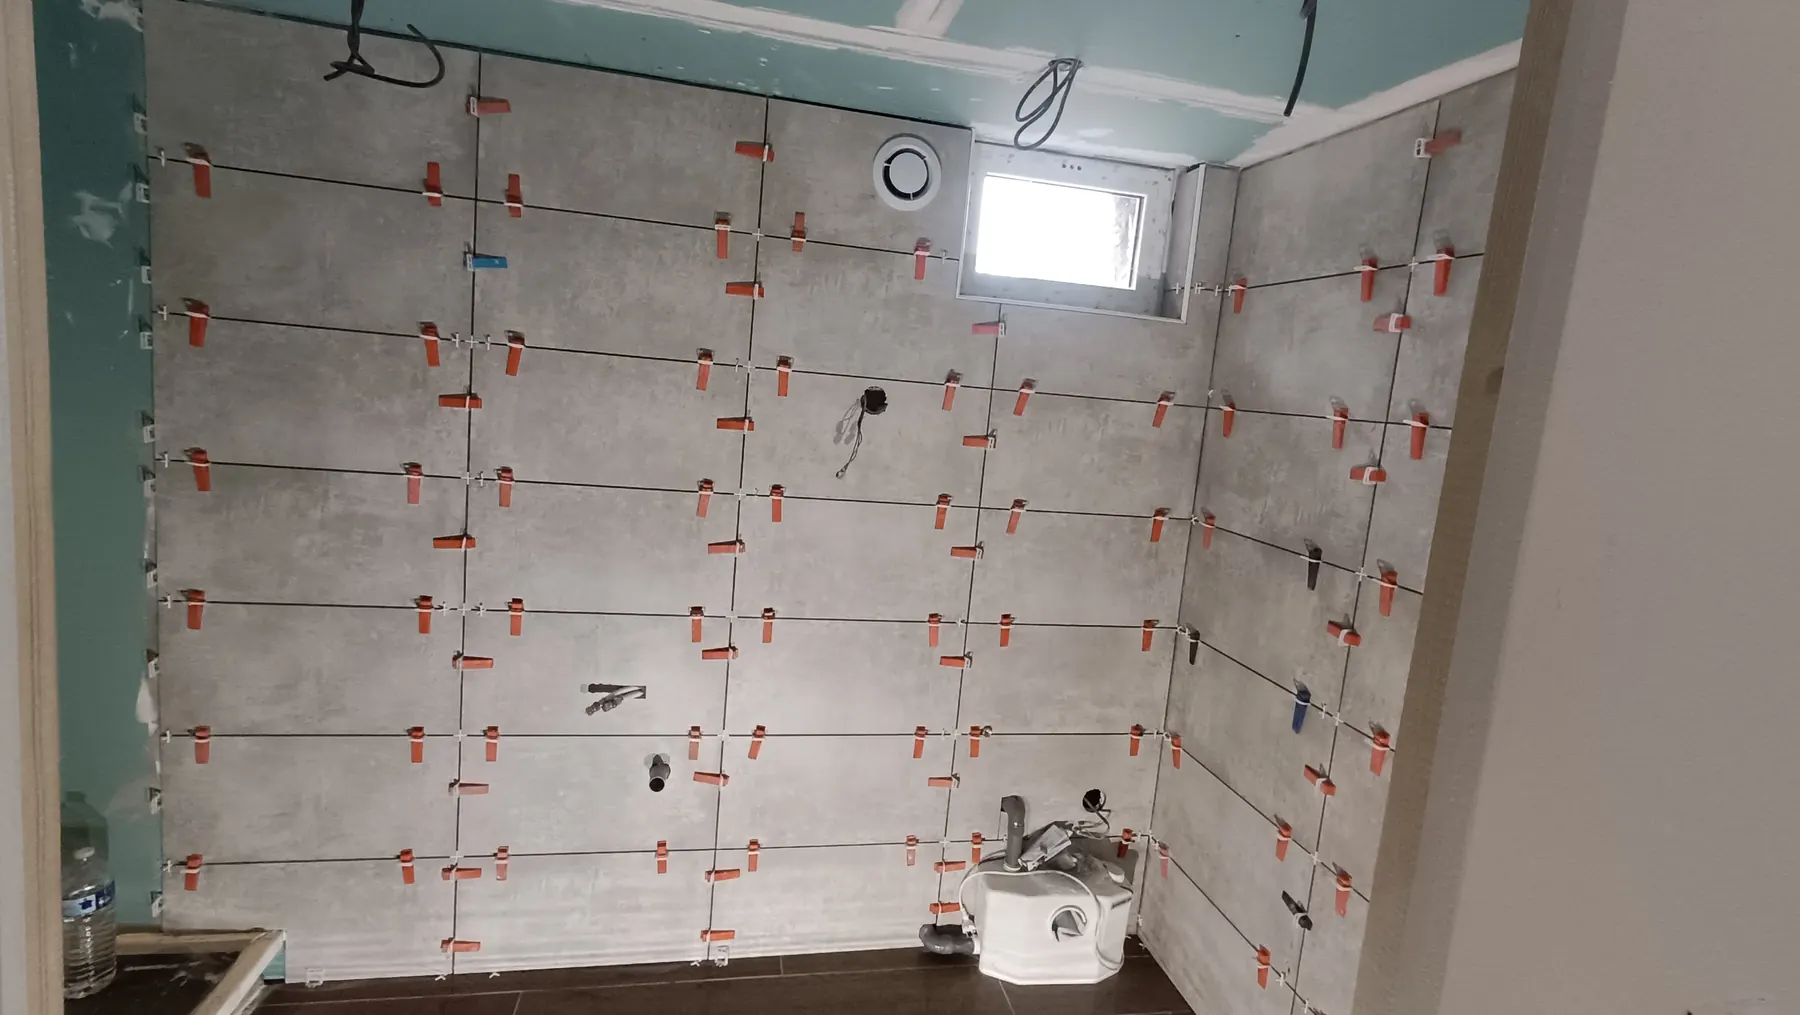
Planning movement joints, perimeter joints and thresholds
Tiling must never be locked against the walls: a perimeter joint is left all the way round, then hidden by the skirting or filled with a flexible sealant. On large areas, at changes of substrate, over underfloor heating and at doorways, movement joints divide the floor into bays; structural expansion joints in the building are always carried through the tiling.
We place these joints on a grout line, never across the middle of a tile, and directly under the closed door when they mark a doorway. Where the floor covering or the floor height changes, the threshold strip or edge trim is also drawn into the plan from the start.
Approving the layout before laying
In Évreux as in Île-de-France, we walk through the plan with you on site before starting: starting point, direction, joints and main cuts. This is the time to mention a piece of furniture that will move or a future island. Once the plan is approved, we sort the boxes by batch and shade, then lay from the reference lines.
Layout comes on top of the other tiling rules, from substrate preparation to choosing the adhesive, which we apply to every floor and wall tiling job.
Frequently asked questions
Who draws up the layout plan: the tiler or the client?
In principle the tiler, because the layout depends on the real dimensions of the room, how square the walls are and the exact size of the tiles. The choices remain yours: pattern, direction, grout colour and joint width. If an architect or kitchen designer provides a plan, we check it on site and point out any adjustments before laying, such as a thin cut that a small shift of the starting point is enough to avoid.
Do you need more tiles for a diagonal or herringbone layout?
Yes. These patterns multiply the angled cuts along the walls, and some of the offcuts cannot be reused. A straight lay remains the most economical in tiles. We calculate the quantity from the layout plan rather than from the floor area alone, and we advise keeping a few tiles from the same batch in reserve for any future repair.
Can floor and wall joints line up with different tile sizes?
Yes, if the sizes are compatible: one side of a tile must match a side of the other, or a multiple of it, joint included, as with 60 × 60 cm on the floor and 30 × 60 cm on the wall. With unrelated sizes, you line up one direction only, or offset the joints clearly so that the difference looks intentional. We check this against the actual tile dimensions, because the advertised size is rounded.
What if the walls of the room are not square?
You never start from the crooked wall. After measuring the diagonals, we set the layout on the most visible line, a door, a patio door or an island, and push the error to the least exposed wall, where a slightly tapered cut will go unnoticed under a piece of furniture or behind a door. A diagonal lay or a random offset also hides a crooked wall far better than a straight grid.
Does the laying pattern affect the price?
Yes, because it changes the time spent and the number of cuts. A straight lay is the quickest; a third offset adds little; a diagonal, a herringbone or a mix of sizes needs more setting out and cutting, and therefore more time. The chosen pattern should be stated in the quote, along with the tile size, so that you can compare like with like.