Finishes & details
Which grout colour should you choose for your tiles?
Tone on tone or subtle contrast: explore the combinations that bring out the best in your tiles and their lines.
Wall coverings
Bathroom walls, a splashback behind the sink and hob, a feature wall: we fix ceramic wall tiles, metro tiles, zellige or mosaic to a prepared wall, with a layout planned around every socket and every corner.

At a glance
Wall tiling means bonding wall tiles (glazed ceramic, porcelain, mosaic or zellige) to a prepared wall with a tile adhesive, then grouting and finishing the edges. A splashback is the tiled area that protects a kitchen wall between the worktop and the wall units, especially behind the sink and the hob.
On a wall, every flaw sits at eye level: a row that slopes, a thin sliver in a corner, a rough cut around a socket. That is why we give the setting out and the finishes as much care as the tiling itself, in Paris, Évreux and the surrounding areas.
Materials
Wall tiles carry no foot traffic, so the choice comes down to looks, upkeep and exposure to water.
A porous fired-clay body (water absorption above 10%) under a glaze. Light and easy to cut, it comes in bold colours as well as soft whites. It is for indoor walls only: never on floors, never outdoors.
Small rectangles inspired by the white bevelled tiles of the Paris metro. They are laid in a brick bond, stacked vertically or in herringbone. A cut removes the bevel, so the layout hides cuts in corners and under the wall units.
Handmade glazed terracotta tiles, traditionally from Morocco, with irregular edges and shifting reflections. Variations in thickness and shade, and small chips, are part of the product: the tiles are sorted and mixed before laying.
Denser and less porous than ceramic wall tiles, it can clad a shower wall or a whole wall in large formats, or carry the floor tiles up the wall. Its weight and hardness call for a suitable adhesive and cutting tools.
Small glass, ceramic or stone pieces on a mesh. It follows niches, window reveals and curved surfaces, and makes a striking band or a graphic splashback.
Aluminium, stainless steel or PVC profiles protect external corners and give a clean edge where the tiling stops mid-wall. We match their shape and colour to the tile.
Our method
A well-tiled wall shows in its lines, and those lines are decided before the first tile goes on.
We identify the substrate (plaster, plasterboard, cement render, concrete, old tiles, paint) and check that it is flat, sound and clean. In a bathroom we also map out the areas exposed to splashing water.
Paint is sanded or stripped, wallpaper is always removed and old tiles are tapped one by one and degreased. A primer suited to the substrate is applied. In a shower area, a water-sensitive substrate also receives a waterproofing system under the tiles (SPEC).
We mark a level line and the wall’s centre lines with a laser: the middle of the hob, the sink, a window or a mirror. The pattern is fixed (straight, brick bond, vertical or herringbone) and the cuts are balanced to avoid thin slivers in the corners and under the ceiling.
A temporary batten is fixed level at the height of the second row. Tiling starts on it and works upwards, so nothing slips. The bottom row is cut to size and fitted last, making up for a floor or worktop that is never perfectly level.
The adhesive is chosen for the substrate and the tile, then combed on with a notched trowel. Openings for sockets, pipes and windows are cut with a grinder or a diamond hole saw. External corners receive a trim, or a mitred joint on tiles that allow it.
Once the adhesive has set, the joints are filled and tooled, with cement grout or, behind the sink and hob, epoxy grout if you want better stain resistance. Internal corners and the junctions with the worktop, bath or shower tray receive a flexible sealant, then the socket plates go back on.
The grout haze is removed, then we check the work with you and tell you how long to wait before the first shower or before putting strain on the sealant joints.
Send us a photo of the wall, its dimensions and the tiles you have in mind: we will arrange a visit and a free quote.
Tools
On a wall, accurate setting out and clean cuts make all the difference.
Good practice
Wall tiling follows the trade’s rules too, especially in wet rooms.
Your questions
Not on just any paint: the adhesive can never hold better than the paint itself. Sound matt paint is sanded to key the surface, dusted and coated with a suitable primer. Gloss paint, or paint that flakes or lifts when you pull off a strip of adhesive tape, is removed. In a shower area, we go back to an accepted substrate before applying the waterproofing.
The worktop must be fitted and fixed before the splashback: the tiles sit above it, with a flexible sealant joint. For the wall units there are two options: fit them afterwards, with the tiles running slightly above their lower edge to hide the cut, or fit them first and tile in between. We agree this with your kitchen fitter so that no awkward join shows.
The power is switched off and the face plates are removed. When setting out, we try to place each socket in the centre of a tile or centred on a joint, symmetrically, then cut the opening cleanly. As the wall gains a few millimetres, the back boxes are brought flush with the tiles using extension rings. Adding or moving a socket is a job for an electrician.
Because the worktop and the wall do not move in the same way: wood and laminate react to humidity, and a worktop takes knocks and loads. A cement grout joint at that point almost always ends up cracking and letting water through. A flexible, watertight sanitary sealant absorbs these movements and is easy to renew after a few years.
Yes, in two respects. A cut removes the bevel, so we place cuts in internal corners, under the wall units or against the worktop, where they are least noticeable. An external corner cannot be closed neatly with two cut tiles, so it receives a finishing trim, or corner pieces when the range includes them. Joints stay thin so that the bevels define the pattern.
Yes, as long as you accept its nature: a handmade, irregular tile whose glaze may show fine crazing and whose edges stay porous. We sort the tiles, lay them with tight joints and, where needed, apply a protective treatment before grouting so the grout does not stain them. Behind a hob, it needs regular cleaning with mild products.
There is no single height. A splashback covers at least the space between the worktop and the wall units; behind the cooker hood, it often goes up to the hood or to the ceiling. In a bathroom, the shower area is best tiled well above the shower head, and many clients choose full height. We finish on a full row of tiles or with a trim.
Our other services
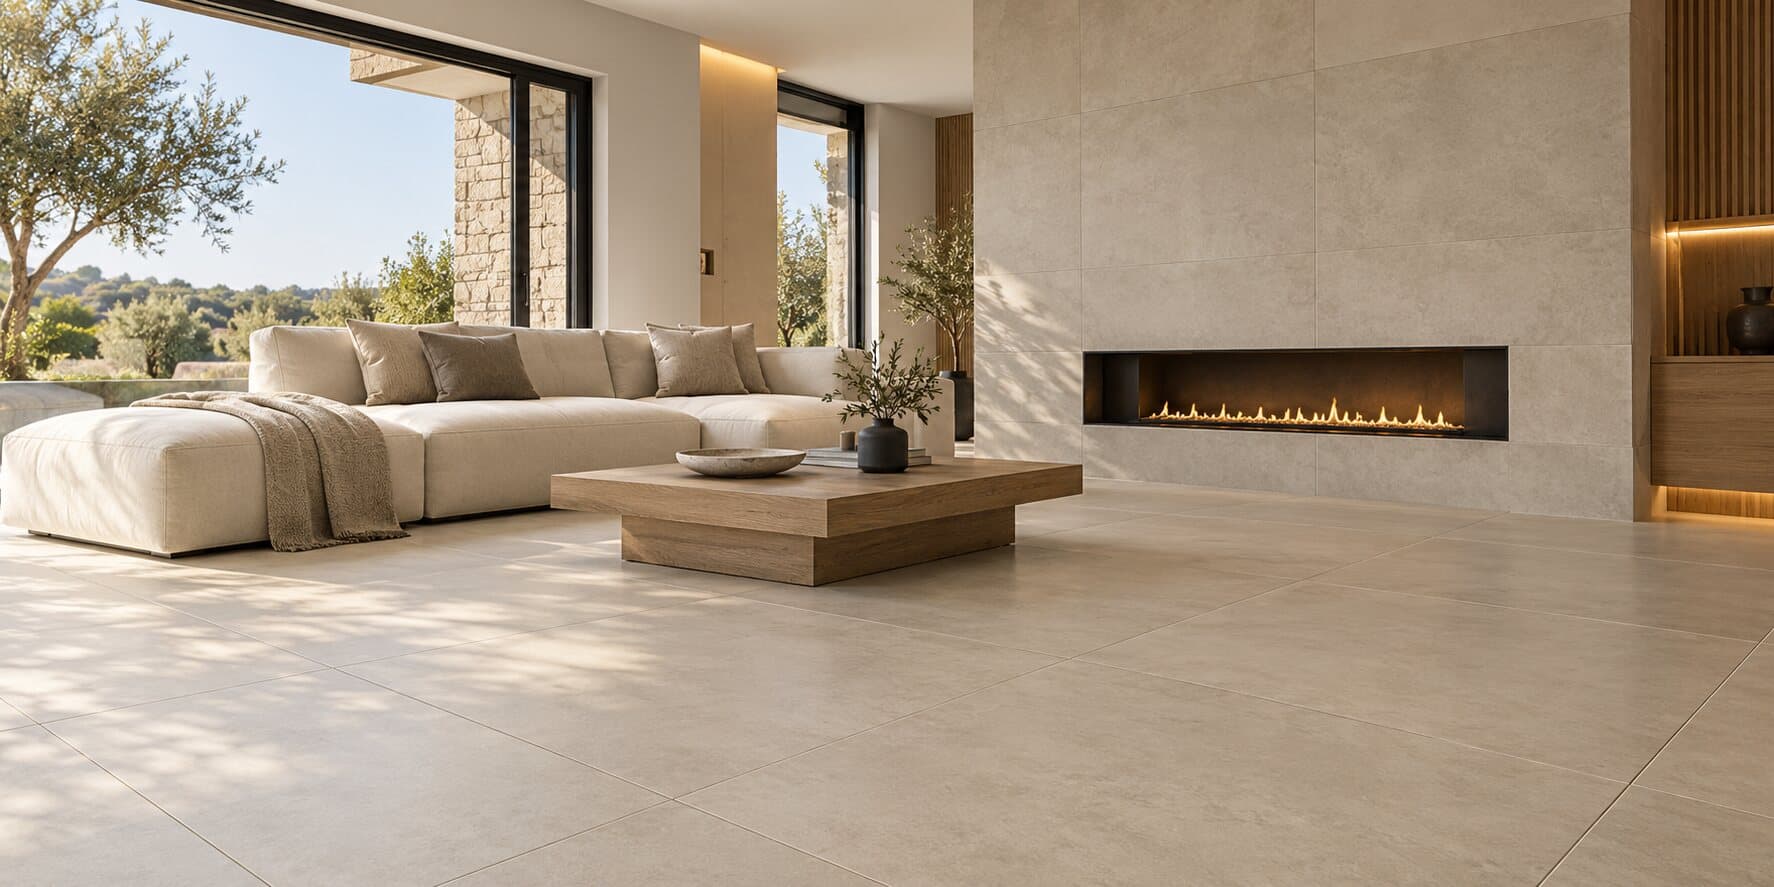
Finishes & details
Tone on tone or subtle contrast: explore the combinations that bring out the best in your tiles and their lines.
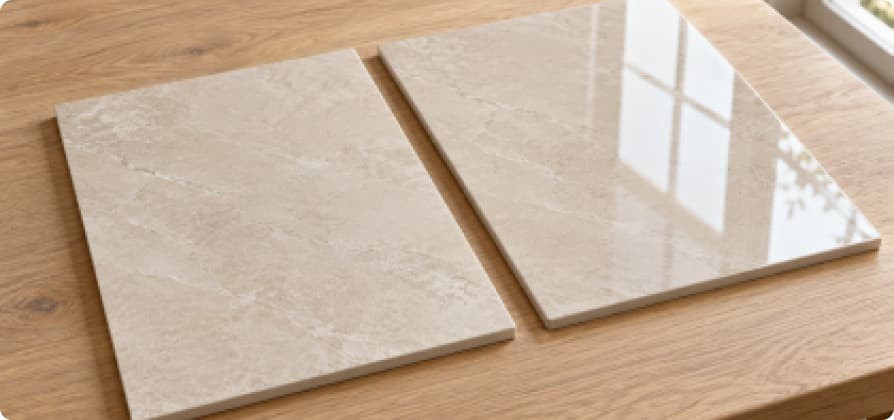
Choosing your tiles
Light, look and maintenance: discover the differences between these finishes to choose the one that suits your room.
Bathroom
Floor, walls, shower area: the criteria to consider when balancing your wishes, your needs and the everyday use of the room.