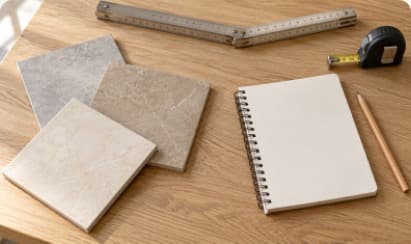
Planning your project
Tiling quote: what information should you prepare?
Surface area, condition of the substrate, preferred tile size: gather the details that help you present your project to a tiler.
Floor preparation
A floor covering is only as good as what lies beneath it. We lay the screed or levelling compound your floor needs, then check flatness and moisture before your tiles or parquet go down.
 AI-edited image
At a glance
A screed is a layer of mortar several centimetres thick, spread or poured over a concrete slab or insulation, which brings the floor to level and can embed underfloor heating pipes. A levelling compound is a floor smoothing layer a few millimetres thick that corrects the flatness of an already sound substrate. Both prepare the floor for tiles or parquet.
The right choice depends on the height to make up, the condition of the substrate, any insulation or underfloor heating, and the covering you have in mind. We carry out this work in Paris, Évreux and the surrounding areas, ahead of tile or parquet installation.
Materials
Each solution suits a specific situation. The right choice is made on site, once we have examined the substrate and the height available.
A sand and cement mortar ruled off with a straightedge and then floated. Versatile and forgiving, it suits dry and wet rooms alike, but it is thicker than a flowing screed and takes longer to dry.
Based on calcium sulphate, it is pumped into place and levels itself almost unaided. Very flat, it fully surrounds underfloor heating pipes. It is sanded before laying and, because it is sensitive to water, protected by a waterproofing system in exposed areas such as showers.
The same pouring principle with a cement binder: less sensitive to moisture than anhydrite, it can be used in a wider range of rooms. Thicknesses, accepted substrates and drying times follow the product’s technical approval (Avis Technique).
A fluid floor mortar applied in a thin layer, usually a few millimetres, over a sound, primed substrate. It removes flatness defects, but it does not strengthen a weak substrate or make up large differences in level.
Reinforced with fibres, it is designed for substrates that move more, such as rigid timber floors or mixed substrates. It can be applied more thickly, depending on the product, once the floor has been checked for stiffness.
Bonding or porosity-regulating primer, perimeter strips, separating membrane, insulation boards under the screed: these discreet components determine how well the whole floor performs.
Our method
A screed or levelling layer deserves the same care as any other part of the job: it will carry your floor covering for years.
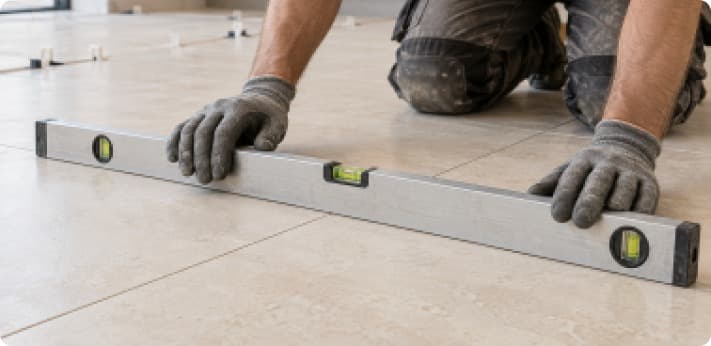
We take levels with a laser, check flatness with a straightedge, look at surface strength, cracks and moisture, and measure the height available under doors and at thresholds.
A bonded screed on a sound slab, an unbonded screed on a membrane, a floating screed on insulation, or simply a levelling compound when the substrate is already close to level: it depends on the height to make up and the condition of the substrate.
Removing the old covering where needed, scraping or grinding weak areas, filling holes, treating cracks and thoroughly vacuuming the dust.
A compressible strip is fixed along walls, columns and pipes so that the screed is never locked in place. The primer suited to the substrate is applied before any levelling compound.
A traditional screed is ruled off between level markers, a flowing screed is poured then dappled to release air, and a levelling compound is spread and smoothed. Movement joints go where the system requires them, particularly at doorways.
The surface is protected from frost, direct sunlight and draughts for the first few days, then the room is ventilated. Over underfloor heating, the first heating cycle follows the set procedure before anything is laid.
Flatness checked with a straightedge, laitance sanded off an anhydrite screed, then residual moisture measured. The floor covering is only laid once the readings meet the requirements of the product and the installation method.
Tell us about your substrate and the covering you are planning: we will come and take levels and flatness readings, then suggest the right solution with a free quote.
Tools
Measuring equipment matters as much as the tools used to lay the screed.
Good practice
Screeds and levelling compounds follow precise rules, supplemented by each manufacturer’s instructions.
Your questions
It depends on the height to make up and the condition of the substrate. A levelling compound corrects a few millimetres of unevenness on a sound, strong substrate. As soon as several centimetres need making up, underfloor heating has to be embedded, insulation added or a damaged substrate rebuilt, a screed is the answer. Laser and straightedge readings during the visit settle the question.
Often, yes, without a screed: the tiling rules allow tiles to be bonded to a slab that is flat, clean, sound and dry enough. A new slab must first have had time to dry. If its flatness falls short, a levelling compound is usually enough. A screed only becomes necessary to make up a difference in level or to incorporate insulation or underfloor heating.
It depends on the type of screed, its thickness, the temperature and the ventilation. For a traditional screed, a rule of thumb suggests about one week per centimetre for the first few centimetres, and longer beyond that. This is only an estimate: before laying, we measure the residual moisture and compare it with the limit accepted for the planned covering.
As it dries, an anhydrite screed forms a thin, weak film on its surface called laitance. Left in place, it undermines the adhesive bond and slows the drying of the screed. It is therefore removed by sanding, followed by thorough vacuuming, at the time the manufacturer specifies. A suitable primer is then applied, which is essential under a cement-based adhesive.
Yes, under certain conditions. The floor must be rigid, securely fixed, dry and ventilated underneath. A fibre-reinforced compound designed for timber substrates is then applied over the recommended primer, with perimeter strips along the walls. If the floor flexes underfoot, it must be stiffened first: no levelling compound can make up for a substrate that moves.
Not necessarily. Fine shrinkage cracks often appear as a screed dries and stay stable. A crack that keeps opening, an edge that lifts or an area that sounds hollow, on the other hand, points to a problem with the substrate or the separating layer. Depending on the assessment, we repair the crack (stitching and resin, for example), lay an uncoupling membrane under the tiles or rebuild the area.
Flowing screeds are often preferred: they surround the pipes without air pockets, which helps heat spread, and they can be thinner than a traditional screed. A traditional cement screed remains a proven option. Either way, the thickness above the pipes, the joints and the first heating cycle follow the system’s rules before the covering is laid.
Our other services
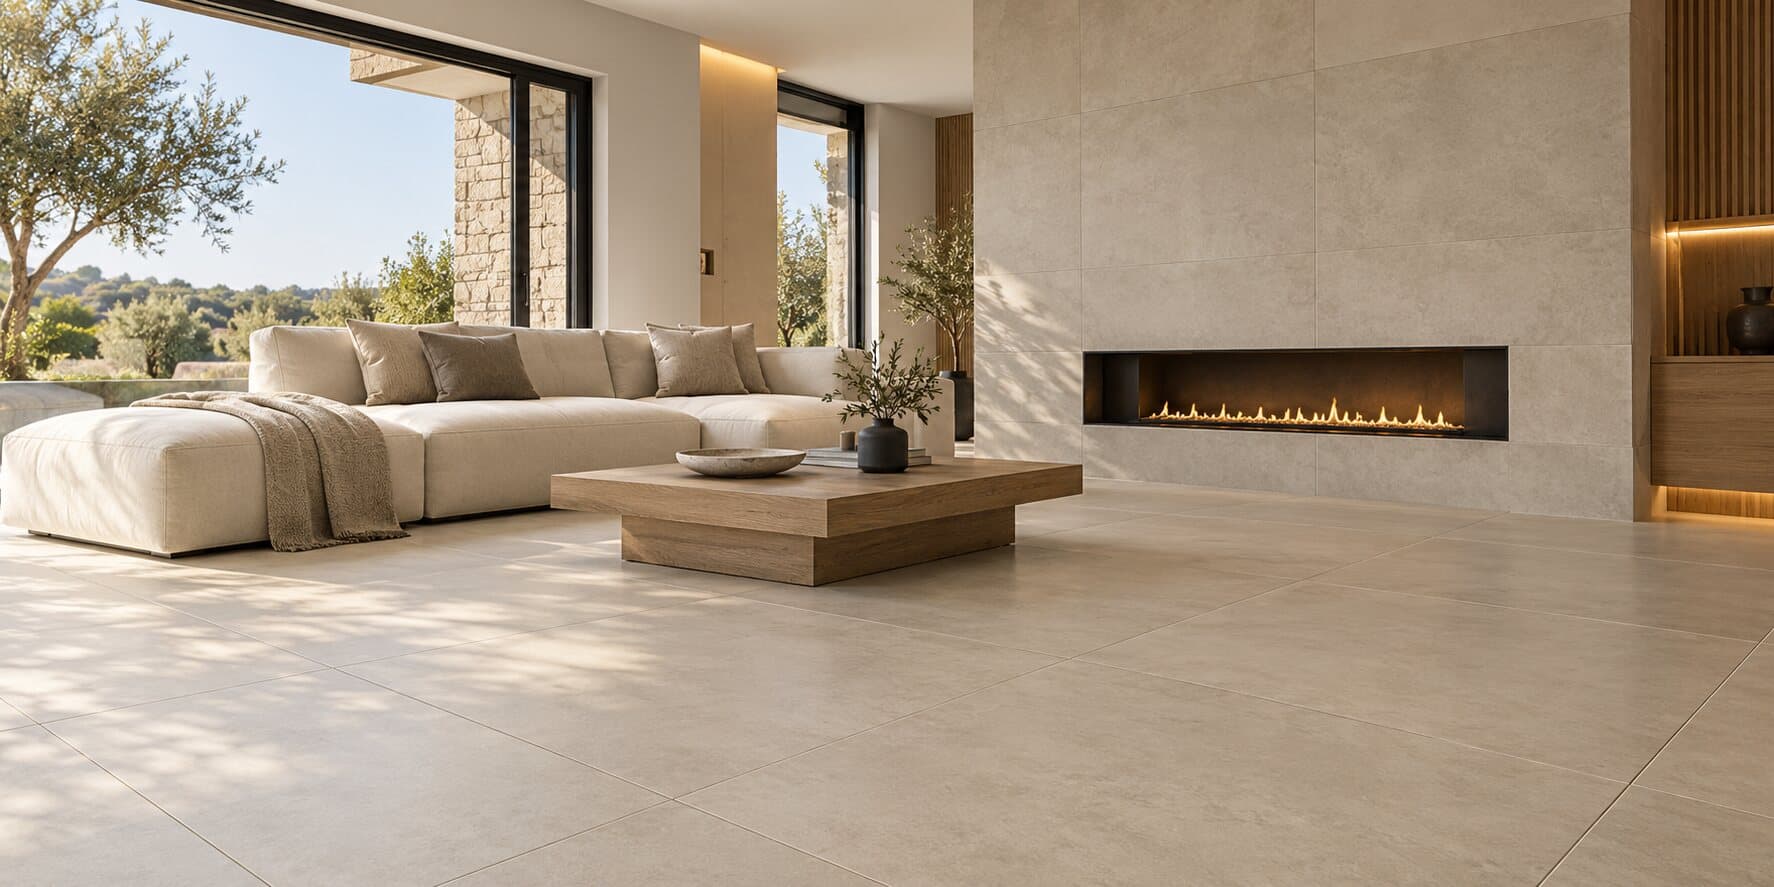
Planning your project
Surface area, condition of the substrate, preferred tile size: gather the details that help you present your project to a tiler.
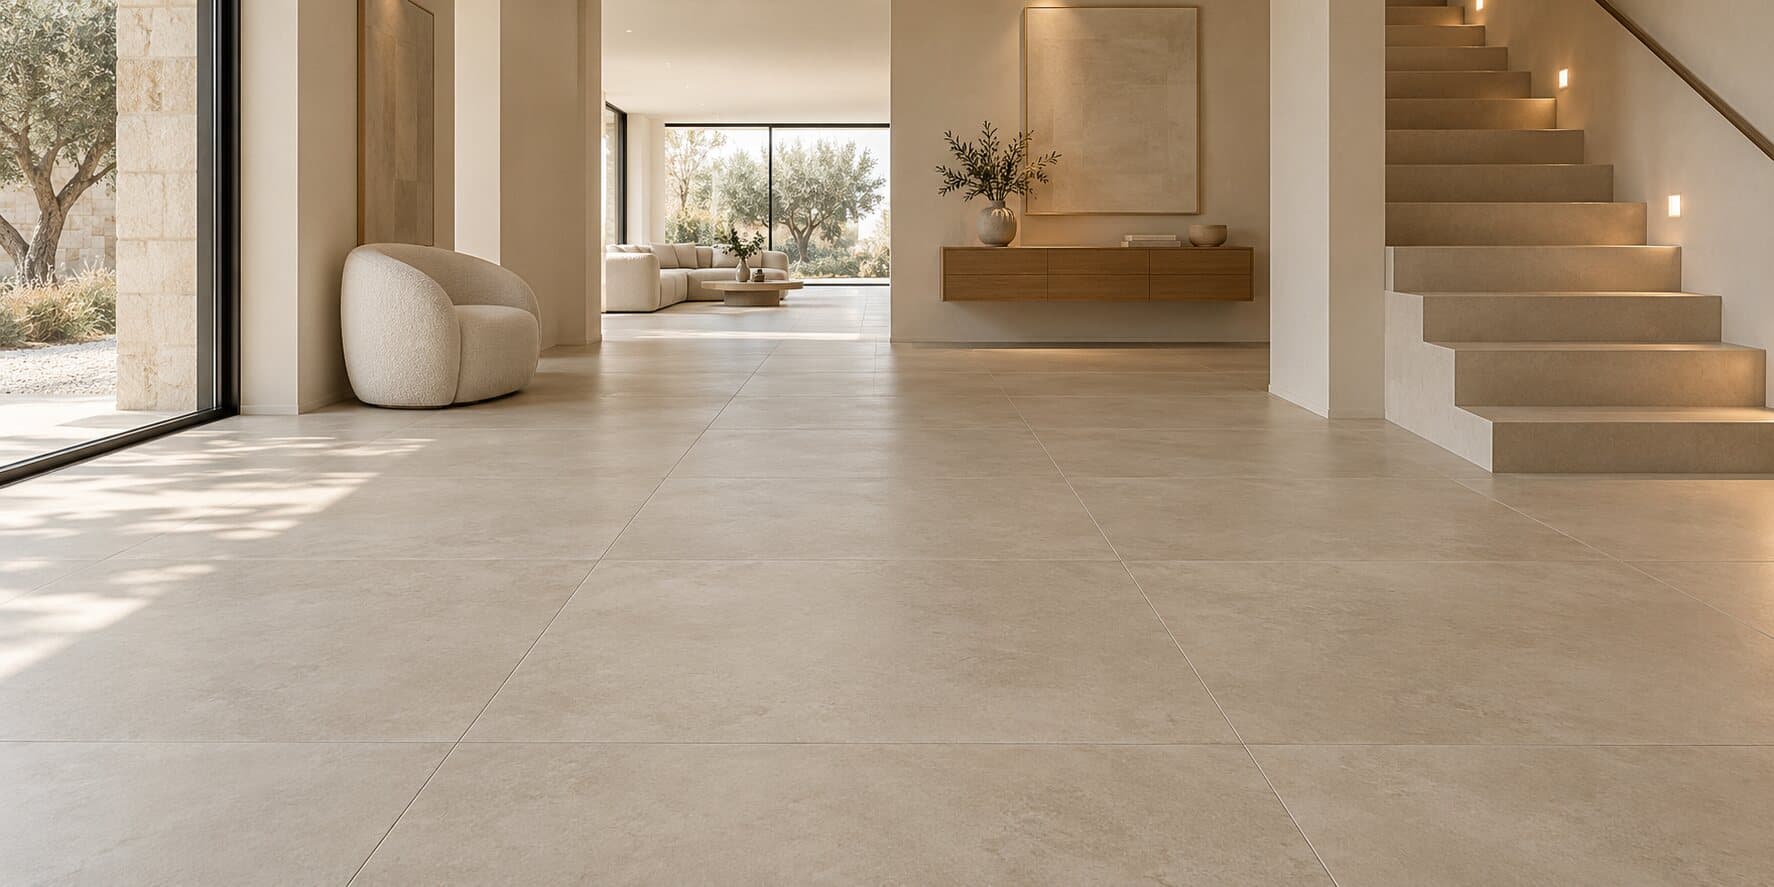
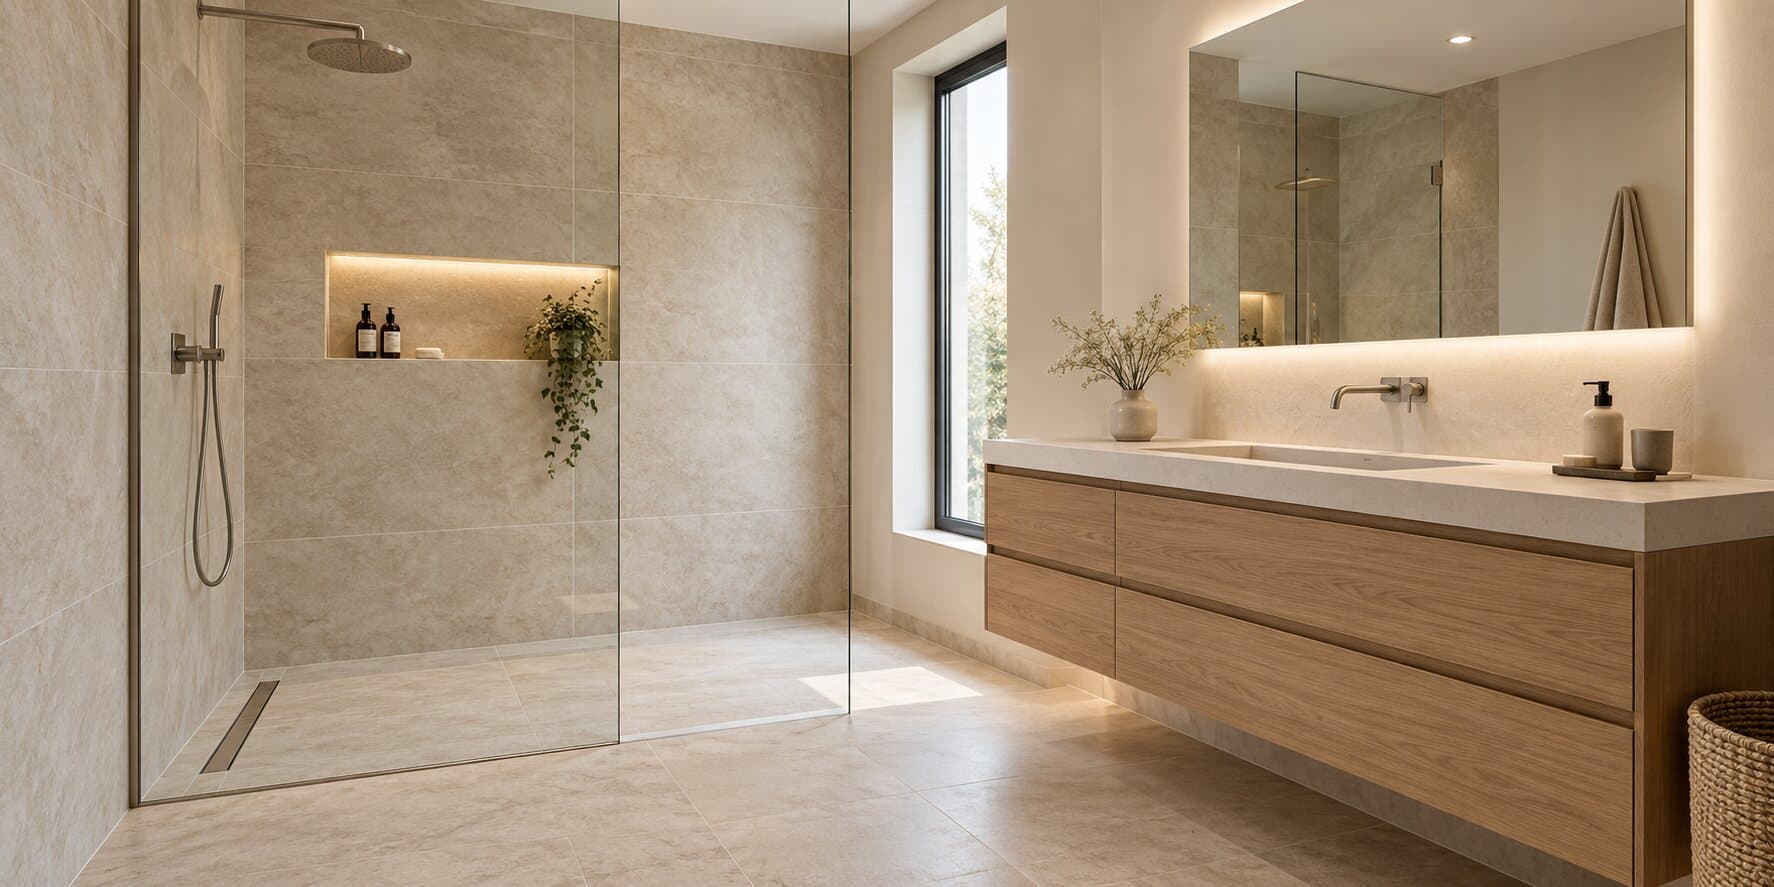
Choosing your tiles
Tile size, room proportions and the look you want: the points to consider when choosing a format that suits your space.