Choosing your tiles
Large-format tiles: how to choose them for your home
Tile size, room proportions and the look you want: the points to consider when choosing a format that suits your space.
Large formats
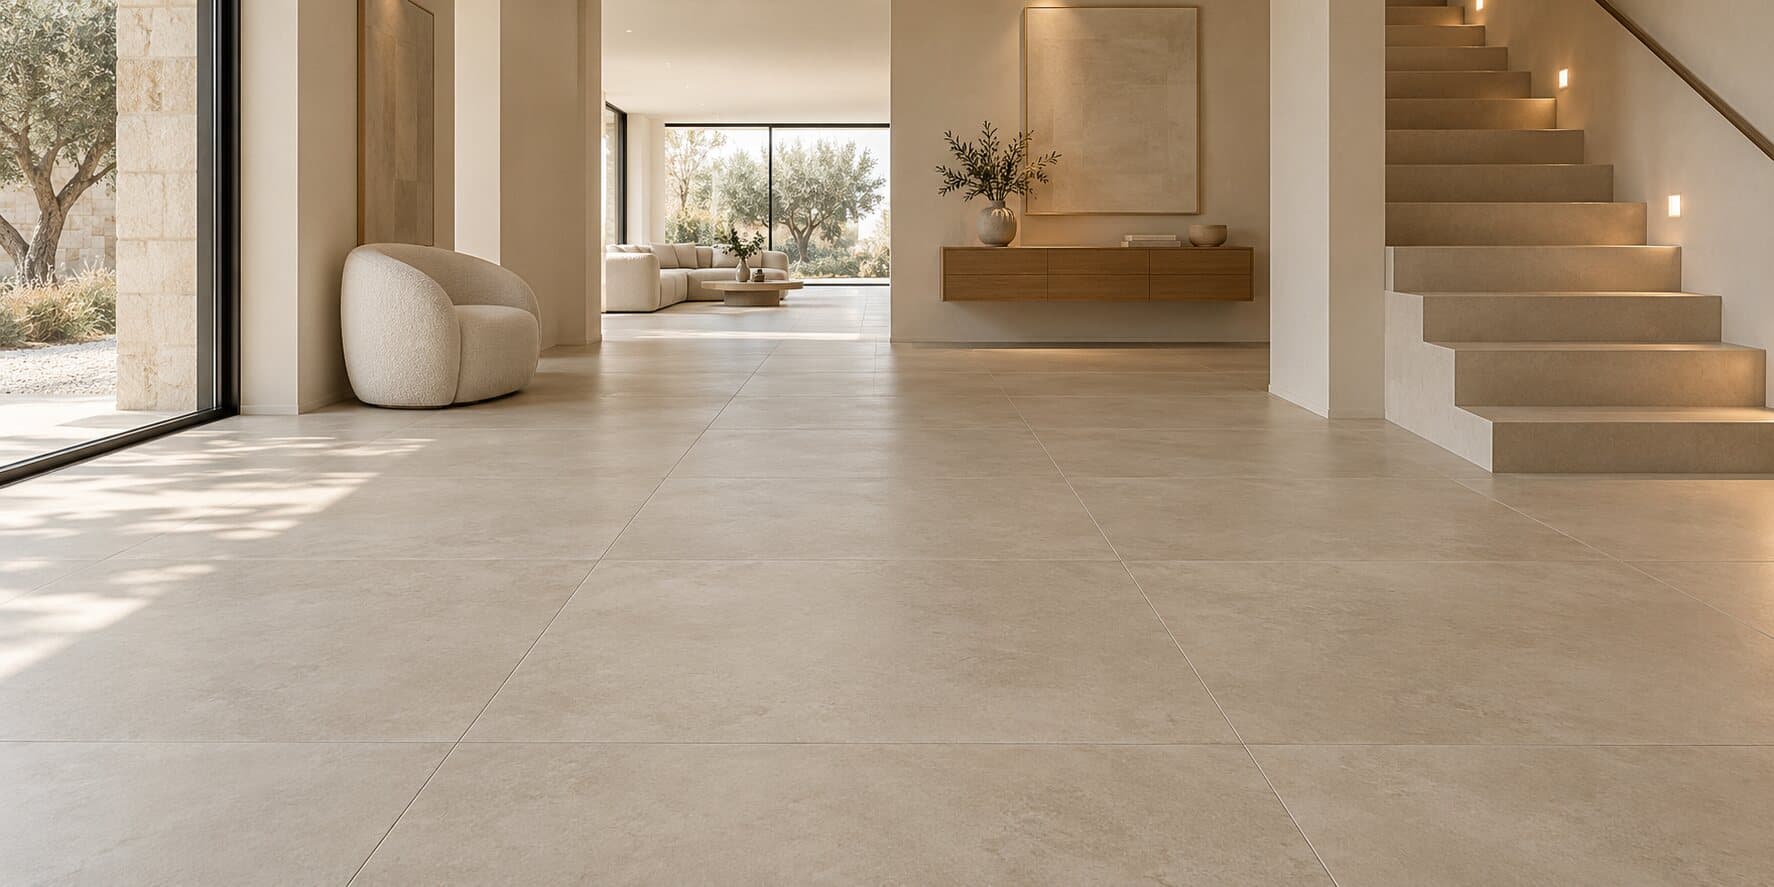
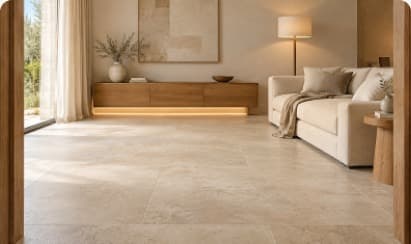
60 × 60, 120 × 60, 120 × 120 cm or full-size slabs: large formats create calm, continuous surfaces, as long as they are laid on a perfectly prepared substrate with the adhesive, method and tools they require.
At a glance
Large-format tiles are tiles with a large surface area, in practice from 60 × 60 cm upwards, up to 120 × 120 cm and slabs more than two metres long. They are laid on the same principle as standard tiles, with stricter requirements for substrate flatness, adhesive coverage, handling and lippage control.
Few joints and few tiles per room mean that every flaw stands out more. That is why we prepare these jobs with particular care, from checking the substrate to planning the layout, in Paris, Évreux and the surrounding areas.
Materials
The term large format covers very different products: their size, thickness and intended use change the way they are laid.
The most requested sizes for living rooms and entrance halls. They are still easy to handle, but already need a flat substrate and full adhesive coverage.
In stone, concrete or wood effects, they make a room look longer. Their length makes them more sensitive to their own slight natural bow, which limits the possible offset between rows.
At 10 mm thick, one tile weighs around thirty kilos. It is handled by two people with suction lifters, and laying it is planned as a small job in its own right.
Sizes such as 120 × 240 or 160 × 320 cm, used on floors, shower walls or splashbacks. Moving, cutting and fixing them takes a handling frame and several people.
Around 3 to 6 mm thick, sometimes reinforced with a mesh on the back, it allows renovation with minimal build-up, for example over existing tiles. Its adhesive and installation method are those specified by the manufacturer.
Most large formats are rectified: their edges are ground after firing for precise dimensions. That is what allows thin joints, but never zero joints.
Our method
With large formats, the laying stage corrects almost nothing: everything is decided beforehand.
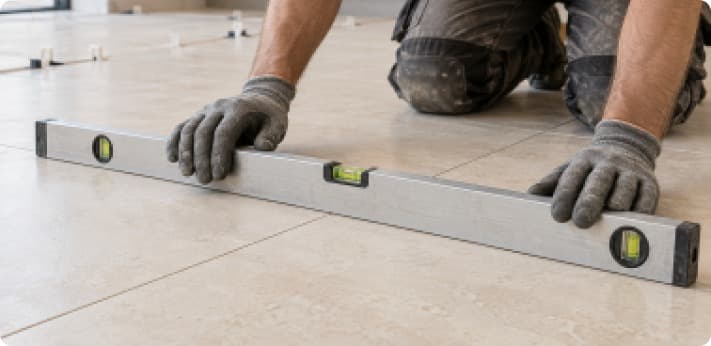
We measure flatness with a 2 m straightedge and a short rule, in several directions, and check the substrate’s strength, surface cohesion and moisture. A dip that a small tile would have absorbed becomes, here, a tile that rocks or sounds hollow.
If the substrate is not flat enough, we apply a primer and a self-levelling compound, or rework local defects. Loading on more adhesive to compensate is no solution: the extra thickness settles unevenly and creates lippage.
We check the batch and shade on the boxes and test a few tiles with a straightedge. The layout plan sets the starting point, direction, offset and the position of movement joints, aligning joints from room to room where possible.
The adhesive is combed onto the substrate with a large-notch trowel, in straight parallel ridges running one way so that air can escape, and a thin coat is spread on the back of the tile. We regularly lift a laid tile to check that contact is complete.
The tile is placed with suction lifters, slid across the ridges and then beaten in to collapse the adhesive. The clips and wedges of the levelling system hold neighbouring edges at the same height while the adhesive sets.
Once the adhesive has hardened, the clips are removed and the joints are grouted with a suitable mortar. Perimeter and movement joints are finished with a flexible sealant, followed by skirting and trims.
We check flatness, alignment and lippage with you, including in grazing light from the windows, then tell you when the floor can take foot traffic and furniture.
Tell us the size you have chosen, the area and the condition of the floor or wall: we will come and check the substrate and give you a free quote.
Tools
Some tools are specific to large formats: they protect the tiles as much as they ensure the quality of the work.
Good practice
Large formats require a clear understanding of the scope of the reference texts, and of their limits.
Your questions
There is no single threshold. In the trade, tiles are generally called large format from 60 × 60 cm, extra-large beyond 120 cm a side and slabs once they exceed two metres. For installation, what matters is the tile’s surface area, length, thickness and location: these determine the adhesive, the method and the technical framework that applies.
A large tile is never perfectly flat: it has a very slight bow, within the limits allowed by manufacturing standards. With a half-length offset, the middle of one tile, its highest or lowest point, meets the edge of its neighbour, and the lippage becomes visible. Manufacturers therefore often recommend a limited offset, usually a third of the length at most: we check it on the technical data sheet.
Yes, on shower walls, splashbacks or a whole living room wall. First we make sure the wall can take the weight: a plasterboard partition has a limited load capacity that depends on the boards and the framing. Tiling starts from a level batten, with back-buttering and a reduced-slip adhesive, and heavy tiles are fixed by two people with suction lifters.
In some cases, but never without a prior assessment. A timber floor deflects under load and moves with humidity, while a large tile is rigid: the risk is cracking or debonding. Depending on how stiff the floor is, it can be reinforced, overlaid with suitable boards and an uncoupling membrane, or fitted with a system under technical assessment. For some formats we will suggest a smaller tile instead.
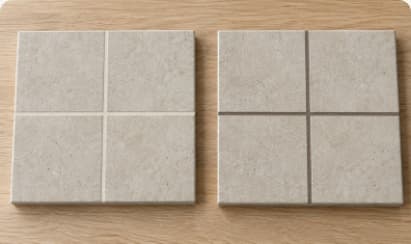
No. Even rectified tiles keep a joint: it absorbs small size differences as well as movement in the substrate and the tiles. Laid edge to edge, tiles risk chipping at the arrises or lifting. With rectified tiles, however, the joint can stay very thin, around 2 mm, and be matched to the tile colour so that it fades into the background.
We strongly recommend it. A range can be discontinued, and two production batches never have exactly the same shade. A tile cracked by a heavy falling object can be replaced: the grout is removed, the tile is cut out, the adhesive is cleaned off and a new one is laid. With a tile from the same batch, stored flat in a dry place, the repair stays discreet.
Not necessarily, but it needs planning. Before ordering, we check the door widths, the stairwell and its turns, because a 120 cm tile or a large slab does not bend. The tiles are carried up by two people, protected and held on edge, which takes time and has to be included in the quote. For very large slabs, access sometimes dictates the choice of format.
Our other services
 AI-edited image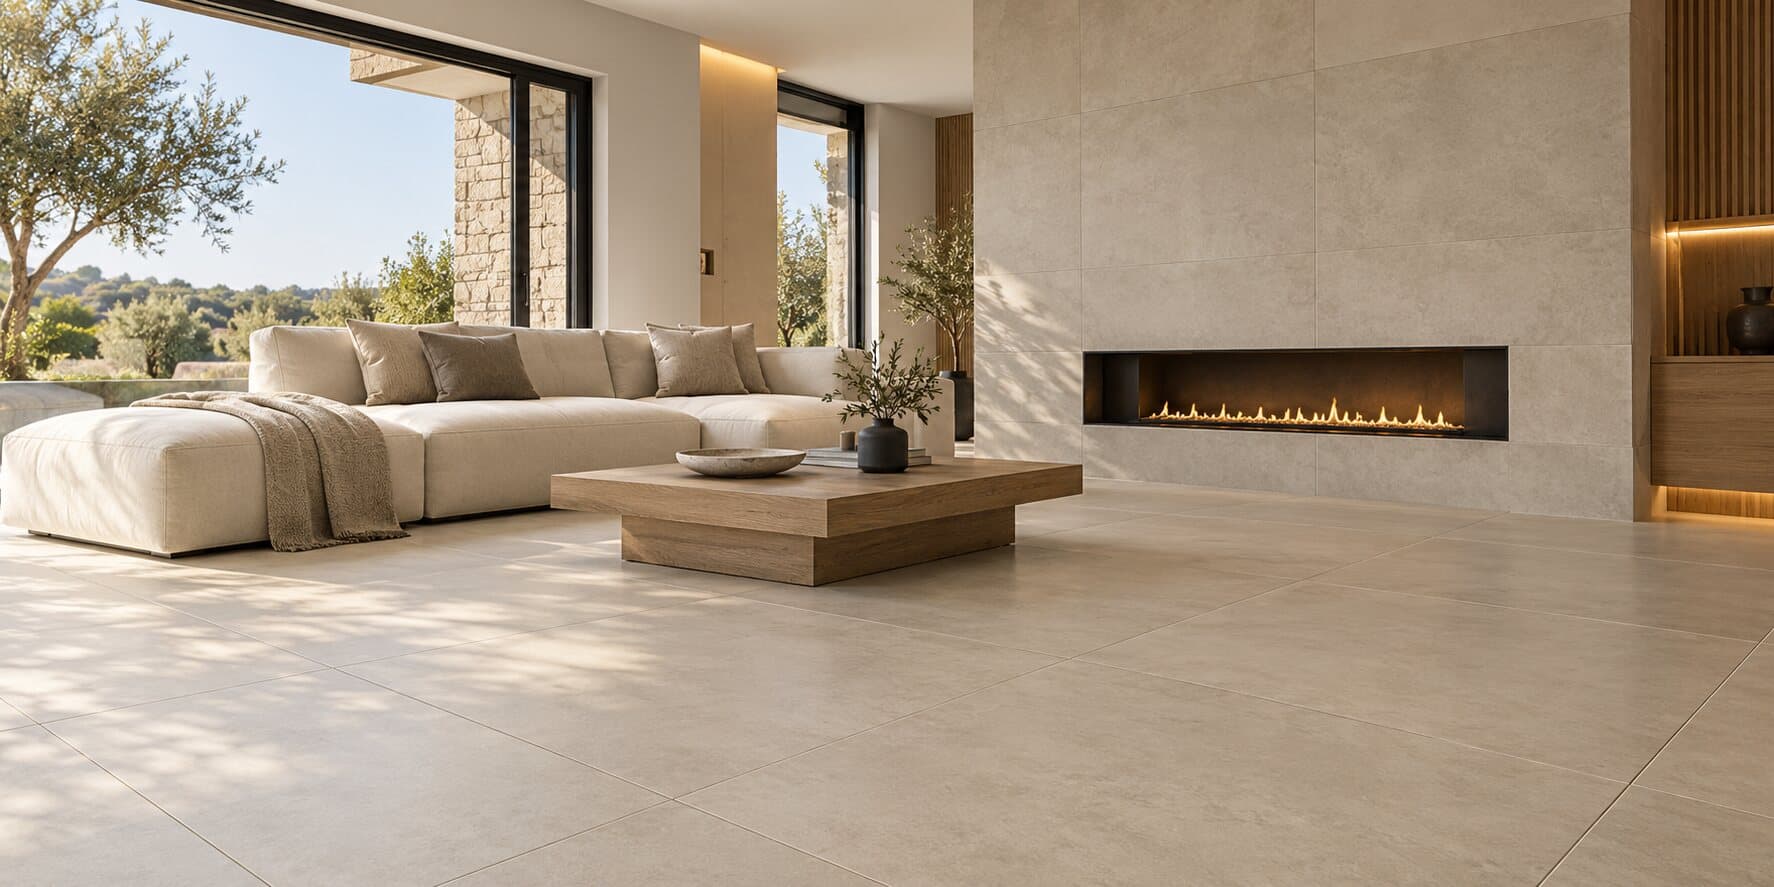

Choosing your tiles
Tile size, room proportions and the look you want: the points to consider when choosing a format that suits your space.
Finishes & details
Tone on tone or subtle contrast: explore the combinations that bring out the best in your tiles and their lines.
Inspiration
Natural shades, textures and pairings with wood: find inspiration to create a simple, welcoming space.